Halal Stuffed Burgers Grill
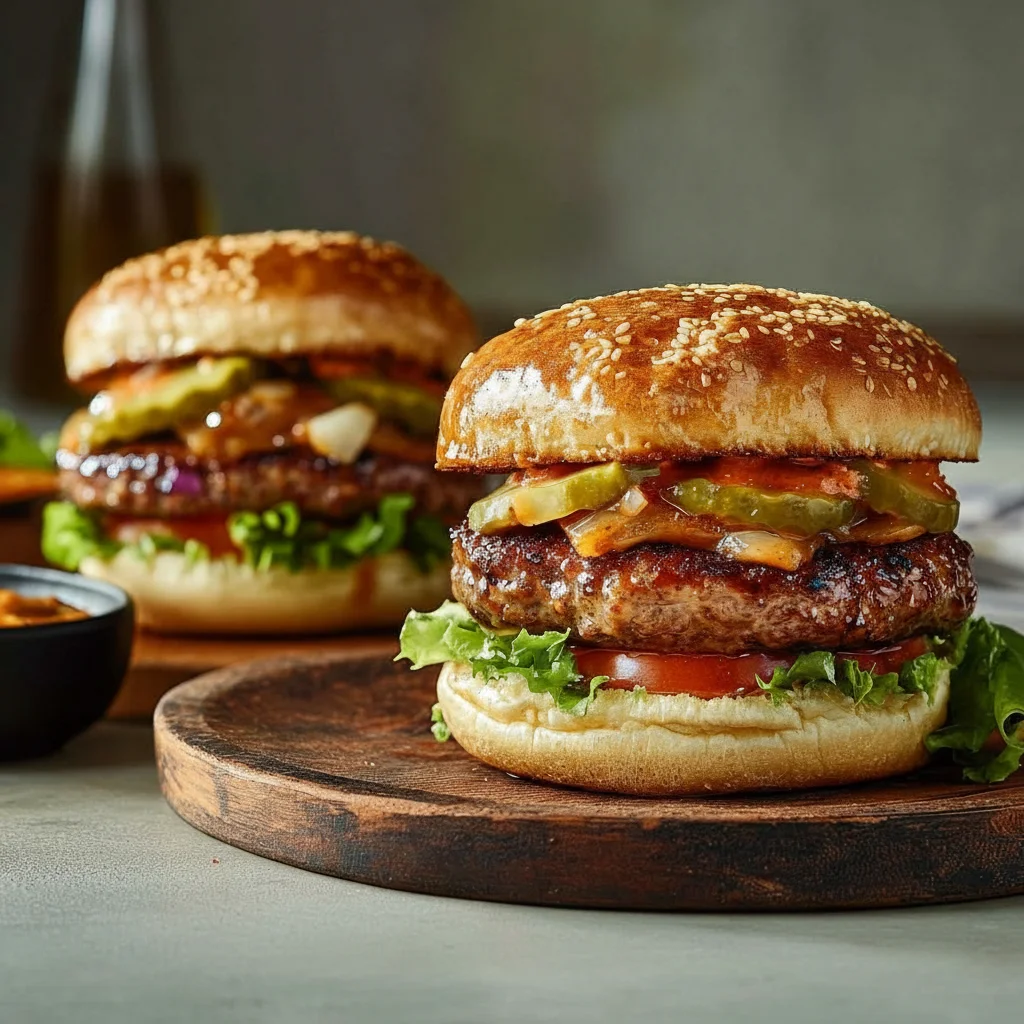
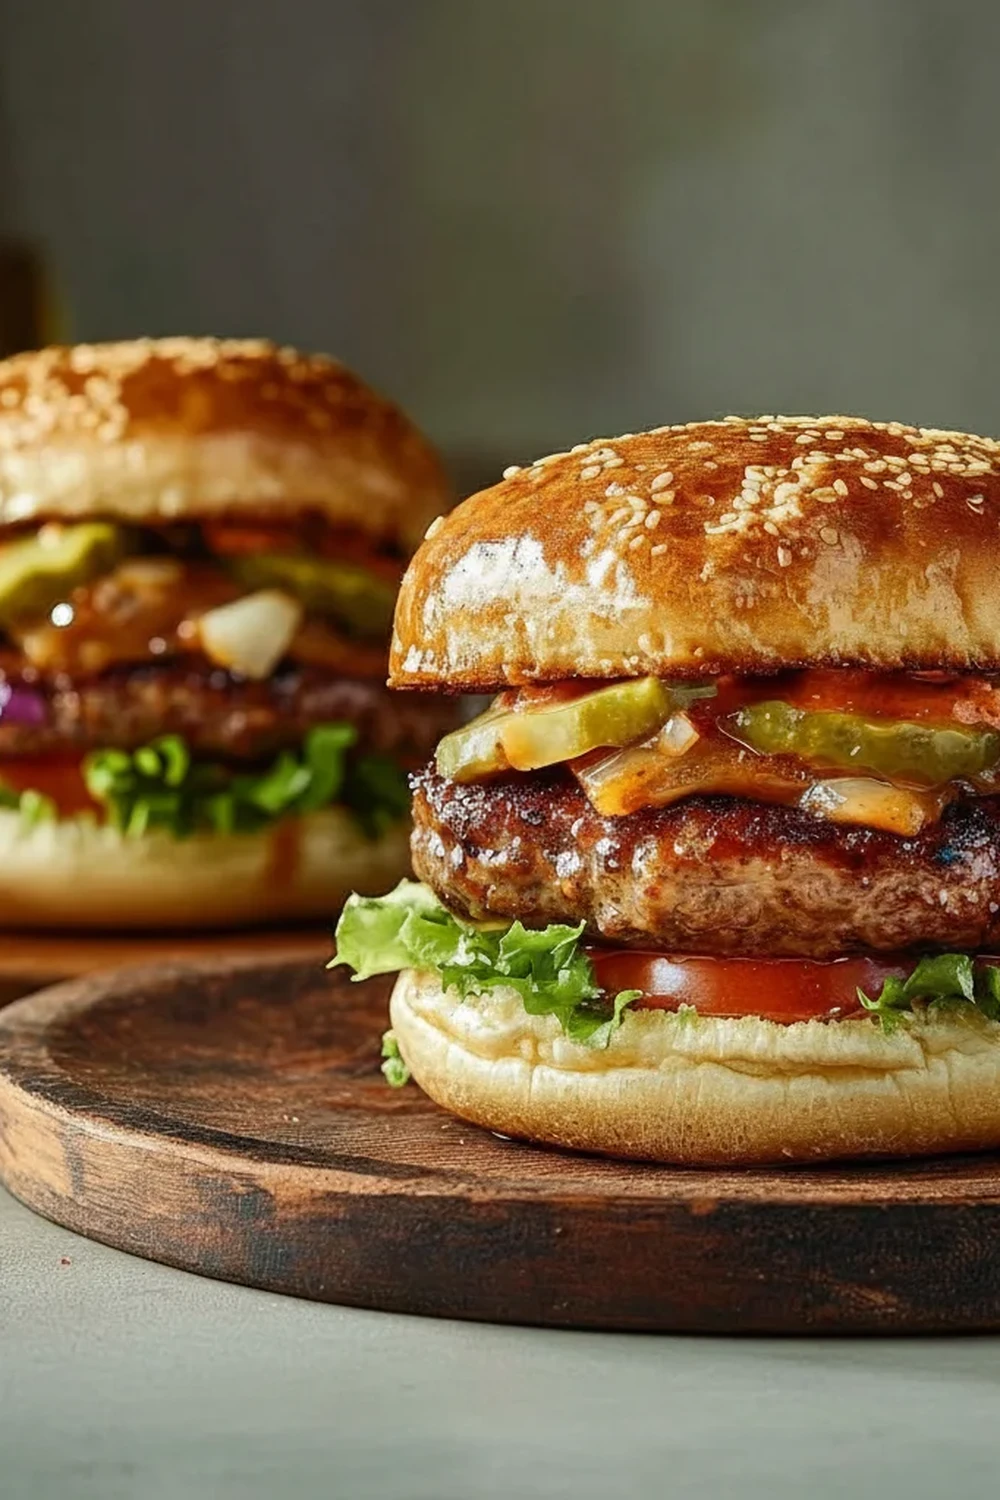
There’s something truly special about biting into a burger that’s been made with real care and attention. Not just a standard patty, but one that holds a delicious secret. These Halal Stuffed Burgers are exactly that – a thick, juicy, perfectly seasoned beef patty that gives way to a core of gloriously molten, sharp cheddar cheese. The first time I made these, I knew I’d stumbled upon something exceptional. It elevates the humble burger into a main event, a meal that feels both comforting and a little bit luxurious.
This isn’t just about putting cheese inside a burger; it’s about building layers of flavour that work in harmony. The savoury depth of the halal beef mince, seasoned with a touch of smoked paprika and garlic, provides the perfect vessel for the tangy, melted cheese centre. It’s a texture and taste experience that a simple cheeseburger just can’t replicate. Friends always ask me for this recipe after trying it at dinner parties, and it’s become one of my go-to dishes for a relaxed weekend get-together or a family barbecue.
Whether you’re an experienced cook or just looking to try a new burger recipe, this one is a brilliant choice. It’s straightforward to prepare and the result is consistently impressive. We’re going to walk through every step, from seasoning the mince to getting that perfect seal so none of the cheesy goodness escapes. Get ready to create the best stuffed burgers you’ve ever had, right in your own kitchen.
Recipe Overview
This Halal Stuffed Burgers recipe focuses on creating a deeply savoury beef patty with a surprise molten cheese centre. Expect a rich, beefy flavour complemented by sharp cheddar and a hint of smokiness. After testing this recipe five times, I finally got the patty-to-filling ratio just right, ensuring every bite has the perfect balance of meat and cheese.
- Prep Time: 20 minutes
- Cook Time: 15 minutes
- Total Time: 35 minutes
- Servings: 4 burgers
- Difficulty: Medium
Why You’ll Love This Halal Stuffed Burgers Recipe
- Magnificent Flavour and Texture: The combination of the well-seasoned, juicy halal beef and the sharp, gooey melted cheddar centre is just fantastic. It’s a satisfying contrast that makes each bite interesting.
- Ready in About 35 Minutes: From mixing the ingredients to serving up, this entire meal comes together in well under an hour, making it ideal for a weeknight treat.
- A Wonderfully Flexible Recipe: You can easily change the filling. Try mozzarella for an epic cheese pull, or add finely chopped jalapeños to the cheddar for a spicy kick.
- Ideal for Weekend Gatherings: These burgers feel a bit special and work beautifully for a casual dinner with friends or a family barbecue in the garden. They always get compliments.
- Family Tested and Approved: My children absolutely love the “surprise cheese” inside these burgers. It turns a regular burger night into something much more exciting for them.
Ingredients You’ll Need
For the best results, start with high-quality ingredients. I always opt for 20% fat halal beef mince as the fat content is crucial for a juicy, flavourful burger. When it comes to the cheese, I find a block of good quality mature cheddar, like a Scottish Lockerbie, gives the best melt and a wonderfully sharp flavour that cuts through the richness of the beef.
- 800g halal beef mince (20% fat content is ideal)
- 1 tsp onion powder
- 1 tsp garlic powder
- 1 tsp smoked paprika
- 1 tbsp Worcestershire sauce (ensure it’s a halal-certified version)
- 1/2 tsp sea salt
- 1/2 tsp freshly ground black pepper
- 100g mature cheddar cheese, grated
- 1 tbsp olive oil, for frying
- 4 high-quality brioche buns, sliced
- For Serving (optional):
- Crisp lettuce leaves
- Sliced tomatoes
- Thinly sliced red onion
- Gherkins
- Your favourite burger sauce
Kira’s Tip: For an extra layer of flavour, you can add a small, finely diced shallot to your beef mince mixture. It adds a subtle sweetness that works beautifully.
How to Make Halal Stuffed Burgers
The process is all about creating two thin patties and sealing them around the cheese filling. Don’t rush the sealing step – it’s the key to keeping all that molten cheese right where it belongs. Let’s get started.
- Season the Mince: In a large mixing bowl, combine the halal beef mince, onion powder, garlic powder, smoked paprika, Worcestershire sauce, salt, and pepper. Use your hands to gently mix everything together until just combined. Be careful not to overwork the meat, as this can make the burgers tough.
- Divide the Mixture: Divide the seasoned mince into 8 equal portions. A kitchen scale is helpful here for consistency. Roll each portion into a ball.
- Form the Patties: Take 4 of the meat balls and, on a piece of parchment paper or a clean work surface, flatten each one into a thin, wide disc, about 12cm in diameter. These will be the bottom halves of your burgers.
- Add the Cheese Filling: Mound a quarter of the grated cheddar into the centre of each flattened disc, leaving about a 2cm border around the edge.
- Seal the Burgers: Flatten the remaining 4 meat balls into slightly smaller discs. Place one on top of each cheese-topped patty. Carefully pinch and press the edges of the top and bottom patties together to create a firm seal all the way around. I find that using slightly damp fingers helps create a perfect seal without the meat sticking to you.
- Chill for Stability: Place the formed stuffed burgers on a plate and chill in the refrigerator for at least 15 minutes. This step is vital as it helps the patties firm up and prevents the cheese from leaking out during cooking.
- Cook the Burgers: Heat the olive oil in a large, heavy-bottomed frying pan or skillet over a medium-high heat. Once the pan is hot, carefully place the chilled burgers in the pan. Cook for 5-7 minutes on the first side, until a deep brown crust has formed.
- Flip and Finish: Flip the burgers carefully with a spatula and cook for another 5-7 minutes on the second side. The exact time will depend on the thickness of your patties and your desired level of doneness. You can find official guidance on safe cooking temperatures for mince on the Food Standards Agency website.
- Rest the Meat: Once cooked, transfer the burgers to a clean plate or board. Let them rest for 3-5 minutes. This allows the juices to redistribute throughout the meat, ensuring a much juicier burger.
- Assemble and Serve: While the burgers are resting, you can lightly toast your brioche buns in the pan. Assemble your burgers with lettuce, tomato, onion, and a dollop of your favourite sauce. Serve immediately.
Tips From My Kitchen
- Temperature Control is Key: Don’t have the pan on a screamingly high heat. You need a consistent medium-high temperature that allows a beautiful crust to form without burning the outside before the centre is cooked through.
- The Secret Step: Chilling: I cannot stress this enough – don’t skip the chilling step! I learned that this brief rest in the fridge not only helps the burgers hold their shape but also solidifies the cheese slightly, making it far less likely to leak during the initial stages of cooking.
- Make-Ahead Method: You can prepare the uncooked stuffed patties up to 24 hours in advance. Just form them as instructed, place them on a tray lined with parchment paper, cover tightly with cling film, and store in the fridge.
- Storage Instructions: If you have any leftover cooked burgers, store them in an airtight container in the refrigerator for up to 3 days. Reheat gently in a pan or in the oven to avoid making them tough.
Equipment You’ll Need
- Large, heavy-bottomed frying pan or cast-iron skillet
- Sharp knife and cutting board
- Large mixing bowl
- Spatula
- Parchment paper (optional, but helpful for shaping)
Common Mistakes to Avoid
- Overcrowding the Pan: It’s tempting to fit all the burgers in at once, but this lowers the pan’s temperature and causes the burgers to steam rather than sear. Cook in batches if your pan isn’t large enough to give each burger plenty of space.
- Using a Cold Pan: Placing your patties in a cold or lukewarm pan is a recipe for a grey, sad-looking burger. Ensure your pan is properly pre-heated so you hear a distinct sizzle when the meat makes contact.
- Skipping the Rest Time: Cutting into a burger straight from the pan will result in all those delicious juices running out onto your plate. Resting is a non-negotiable step that allows the muscle fibres in the meat to relax and reabsorb the juices, as explained well by the food scientists at Serious Eats.
Delicious Variations to Try
Once you’ve mastered the basic technique for these halal stuffed burgers, you can get creative with the fillings and flavours. It’s a great base recipe to build upon.
- Spicy “El Fuego” Burger: Add 1/2 teaspoon of chilli flakes to the beef mince and mix finely diced jalapeños and a pinch of cumin into the cheddar cheese filling for a fiery kick.
- Lamb and Feta Stuffed Burger: Swap the beef for halal lamb mince and use crumbled feta cheese mixed with fresh chopped mint and a squeeze of lemon juice for the filling. It’s a delicious, Mediterranean-inspired twist. If you enjoy lamb, you might also like my Meatloaf With Stove Top Stuffing Recipe, which can also be made with lamb mince.
- Mushroom and Swiss Burger: For a classic combination, fill the patties with grated Swiss cheese (like Emmental) and add a topping of sautéed mushrooms and onions when serving.
What to Serve With Halal Stuffed Burgers
A great burger deserves equally great sides. We love pairing these with something crispy and something fresh to cut through the richness of the meat and cheese.
- Crispy Sweet Potato Fries: Their slight sweetness provides a lovely contrast to the savoury burger. A generous sprinkling of sea salt is a must.
- Creamy Coleslaw: A sharp, crunchy, homemade coleslaw with a vinaigrette or a light mayo dressing adds a fresh element that balances the meal perfectly.
- A Refreshing Drink: A sharp, cloudy lemonade or a non-alcoholic ginger beer works wonderfully, as their acidity helps cut through the richness of the burger.
Frequently Asked Questions
Halal Stuffed Burgers
Ingredients
Method
- Season the Mince: In a large mixing bowl, combine the halal beef mince, onion powder, garlic powder, smoked paprika, Worcestershire sauce, salt, and pepper. Use your hands to gently mix everything together until just combined. Be careful not to overwork the meat, as this can make the burgers tough.
- Divide the Mixture: Divide the seasoned mince into 8 equal portions. A kitchen scale is helpful here for consistency. Roll each portion into a ball.
- Form the Patties: Take 4 of the meat balls and, on a piece of parchment paper or a clean work surface, flatten each one into a thin, wide disc, about 12cm in diameter. These will be the bottom halves of your burgers.
- Add the Cheese Filling: Mound a quarter of the grated cheddar into the centre of each flattened disc, leaving about a 2cm border around the edge.
- Seal the Burgers: Flatten the remaining 4 meat balls into slightly smaller discs. Place one on top of each cheese-topped patty. Carefully pinch and press the edges of the top and bottom patties together to create a firm seal all the way around. I find that using slightly damp fingers helps create a perfect seal without the meat sticking to you.
- Chill for Stability: Place the formed stuffed burgers on a plate and chill in the refrigerator for at least 15 minutes. This step is vital as it helps the patties firm up and prevents the cheese from leaking out during cooking.
- Cook the Burgers: Heat the olive oil in a large, heavy-bottomed frying pan or skillet over a medium-high heat. Once the pan is hot, carefully place the chilled burgers in the pan. Cook for 5-7 minutes on the first side, until a deep brown crust has formed.
- Flip and Finish: Flip the burgers carefully with a spatula and cook for another 5-7 minutes on the second side. The exact time will depend on the thickness of your patties and your desired level of doneness. You can find official guidance on safe cooking temperatures for mince on the Food Standards Agency website.
- Rest the Meat: Once cooked, transfer the burgers to a clean plate or board. Let them rest for 3-5 minutes. This allows the juices to redistribute throughout the meat, ensuring a much juicier burger.
- Assemble and Serve: While the burgers are resting, you can lightly toast your brioche buns in the pan. Assemble your burgers with lettuce, tomato, onion, and a dollop of your favourite sauce. Serve immediately.
Notes
I really hope you enjoy making and eating these Halal Stuffed Burgers. They bring such a sense of satisfaction, and seeing the cheese ooze out on that first cut is always a brilliant moment. It’s a recipe that proves that sometimes, the best surprises are the ones hidden inside. If you give this recipe a go, I would absolutely love to hear how it turned out for you. Please leave a comment below and let me know what you think! Happy cooking, Kira.