
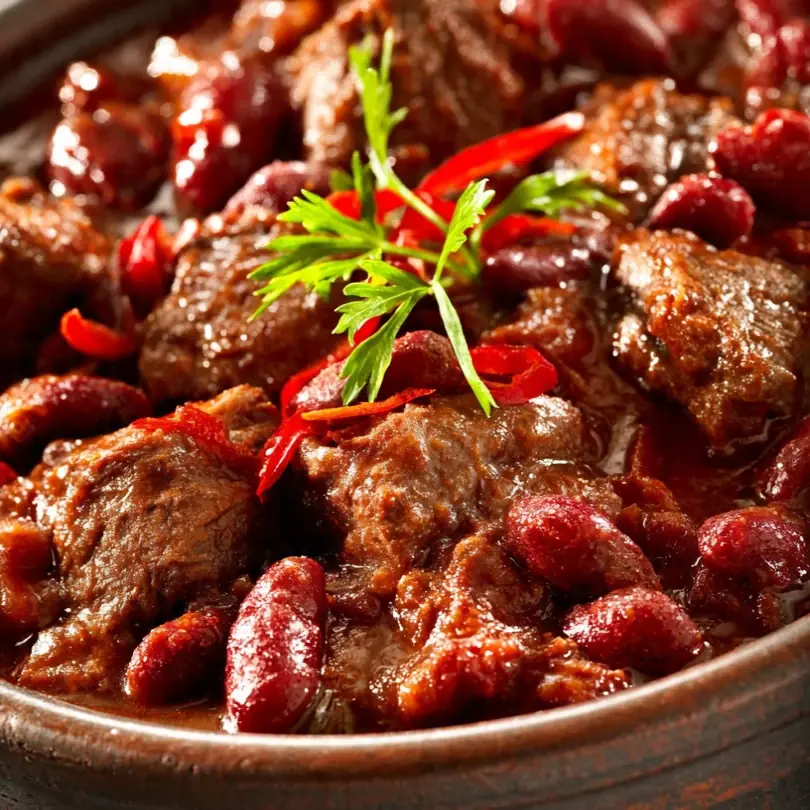
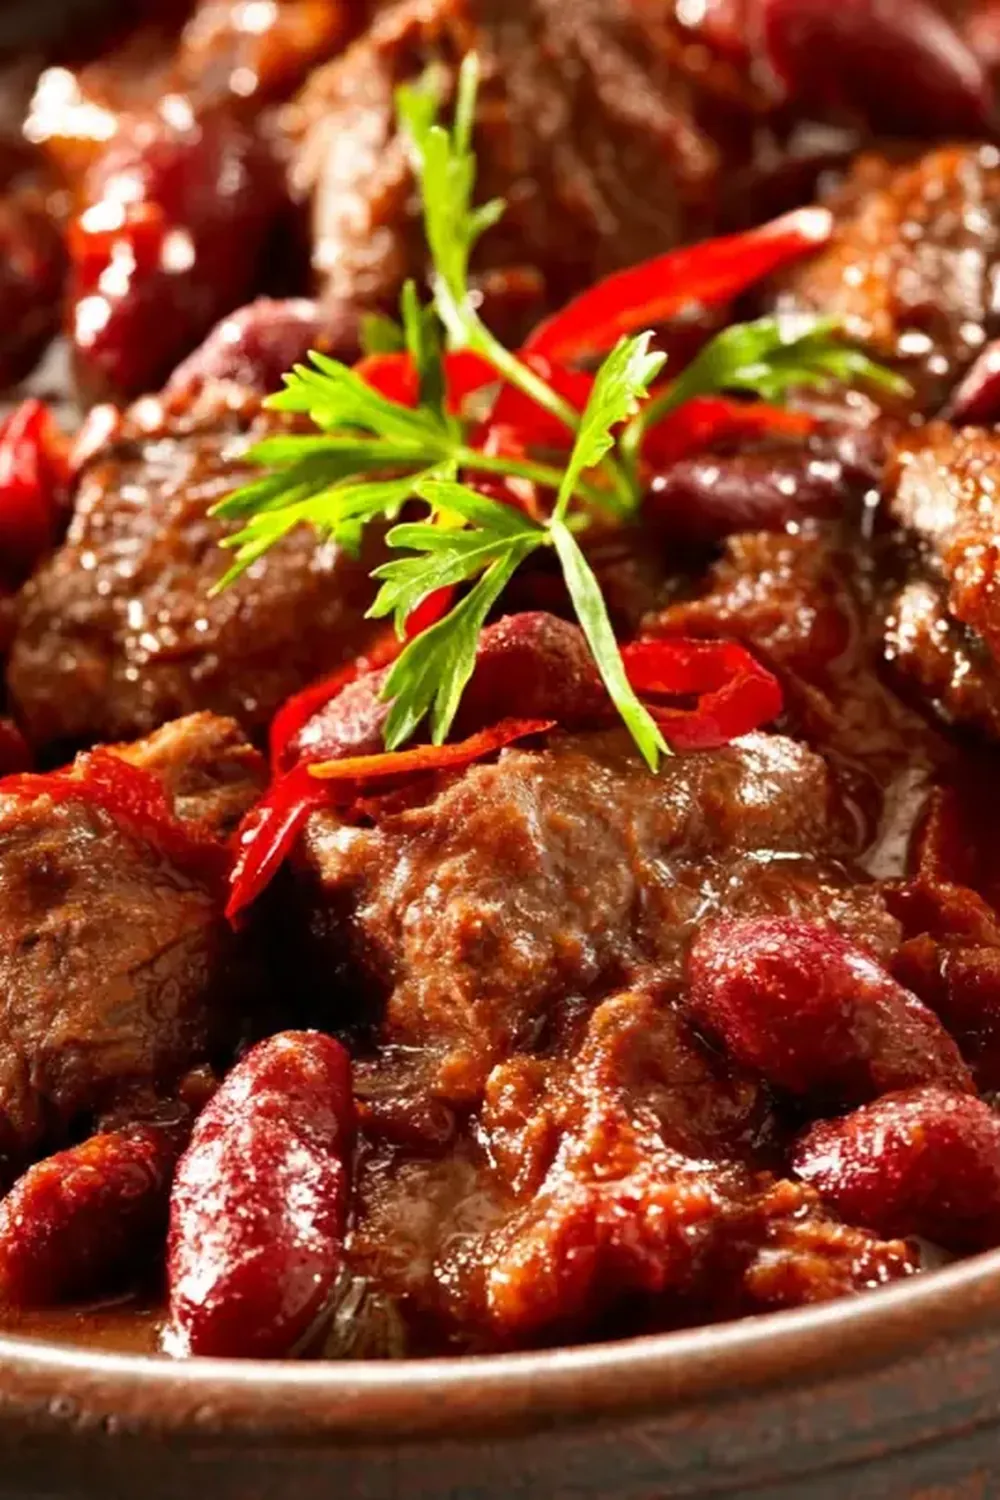
Beef & Bean Chili (Award-Winning)
I still remember the cold, rainy Saturday when this recipe first came together in my kitchen. I was determined to create a chili that would win over my spice-wary family, and after a few experimental batches, I finally nailed it. I’ve been making this Beef & Bean Chili (Award-Winning) for over 6 years, and it never disappoints. My kids absolutely devour this every time I make it, and it has since become the star of every autumn gathering we host.
Recipe Overview
- Prep Time: 20 minutes
- Cook Time: 1 hour 30 minutes
- Total Time: 1 hour 50 minutes
- Servings: 8 generous portions
- Difficulty: Medium
Why You’ll Love This Beef & Bean Chili (Award-Winning)
- Deep, Layered Flavour: The slow simmer melds the spices and beef into a rich, savoury broth that tastes even better the next day.
- Perfectly Balanced Heat: It carries a gentle warmth that builds slowly without overwhelming, making it suitable for everyone at the table.
- Hearty and Satisfying: Packed with tender beef and three types of beans, every spoonful is substantial and filling, much like a classic Hamburger Steak With Onion Gravy.
- Make-Ahead Friendly: This chili freezes beautifully and actually improves in flavour after a day in the fridge.
- Customisable Toppings: From sharp cheddar to fresh avocado, the toppings let each person tailor their bowl to their liking.
Ingredients You’ll Need
- 2 tablespoons olive oil
- 1 kg beef mince (15-20% fat recommended)
- 2 large onions, finely diced (about 400g)
- 4 cloves garlic, minced
- 2 tablespoons tomato paste
- 1 tablespoon ground cumin
- 2 teaspoons smoked paprika
- 1 teaspoon dried oregano
- ½ teaspoon cayenne pepper (adjust to taste)
- 1 teaspoon salt, plus more to taste
- ½ teaspoon black pepper
- 800g tinned chopped tomatoes
- 500ml beef stock (low sodium preferred)
- 400g tinned kidney beans, drained and rinsed
- 400g tinned black beans, drained and rinsed
- 400g tinned pinto beans, drained and rinsed
- 2 tablespoons brown sugar
- 1 tablespoon apple cider vinegar
Tip: For the best texture, use a mix of bean varieties. The kidney beans hold their shape, while the pinto beans break down slightly, naturally thickening the chili.
How to Make Beef & Bean Chili (Award-Winning)
- Brown the Beef: Heat the olive oil in a large, heavy-bottomed pot over high heat until it shimmers. Add the beef mince in a single layer and let it cook undisturbed for 4 minutes — you’ll hear a satisfying sizzle and see a deep, dark crust forming on the bottom. Break the meat apart with a wooden spoon and continue cooking until no pink remains, about 6 minutes total.
- Sweat the Aromatics: Reduce the heat to medium. Add the diced onions and stir constantly for 5 minutes until they turn translucent and glossy, with a sweet, fragrant smell filling your kitchen. Add the garlic and tomato paste, stirring for 1 minute more until the paste darkens to a rusty red colour.
- Toast the Spices: Sprinkle the cumin, smoked paprika, oregano, cayenne, salt, and black pepper over the meat mixture. Stir vigorously for 30 seconds — you’ll notice the spices release a heady, earthy aroma that signals their full flavour is awakening.
- Deglaze and Build the Base: Pour in the tinned tomatoes and beef stock, scraping the bottom of the pot with your spoon to lift all those browned bits. The liquid will bubble up immediately, turning a rich brick-red colour. Bring the mixture to a boil, then reduce the heat to low.
- Simmer Low and Slow: Cover the pot and let the chili simmer gently for 45 minutes. Stir occasionally, and you’ll notice the liquid reducing and thickening, with the colour deepening to a dark mahogany. The aroma will become more concentrated and complex.
- Add the Beans and Sweetness: After 45 minutes, stir in all three types of beans, the brown sugar, and the apple cider vinegar. The vinegar’s sharp scent will mellow as it cooks. Simmer uncovered for another 30 minutes, stirring every 10 minutes, until the chili has a velvety, spoon-coating consistency and the beans are tender but not mushy.
- Rest and Adjust: Remove the pot from the heat and let the chili rest for 10 minutes. This allows the flavours to settle. Taste and adjust salt or cayenne as needed. You should see a glossy sheen on the surface — a sign of a well-emulsified, rich chili.
Tips From My Kitchen
- Use high heat for browning the beef: This creates the Maillard reaction, which develops deep, savoury notes. If the pot is too crowded, the meat will steam instead of brown, so work in batches if necessary. You’re looking for a dark caramel colour on the meat, not grey.
- Toast your spices briefly: Heating the spices in the pot for just 30 seconds releases their essential oils, intensifying their flavour dramatically. Be careful not to burn them — if you see black specks, you’ve gone too far. The moment they smell fragrant, you’re done.
- Don’t skip the vinegar and sugar: The apple cider vinegar adds brightness that cuts through the richness, while the brown sugar balances the acidity of the tomatoes. Together, they create a rounded, complex flavour that flat chili lacks. Taste the chili before adding these, then taste again after — you’ll notice the difference immediately.
- Let the chili rest before serving: This resting period allows the starches from the beans to continue thickening the liquid, and the flavours to meld together. If you serve it straight away, it will taste good; after a 10-minute rest, it tastes like it has been simmering for hours longer.
- Make it ahead for the best flavour: This chili is one of those rare dishes that genuinely improves overnight. The spices and beef have time to marry, and the texture becomes even more luxurious. I often make it a day ahead, cool it quickly, and reheat gently the next day. The difference is striking.
What to Serve With Beef & Bean Chili (Award-Winning)
- Warm cornbread with a drizzle of honey
- Steamed white or brown rice
- A side of Fresh Tomato And Avocado Salad for a cool, fresh contrast
- Toppings: grated cheddar, sour cream, diced red onion, fresh coriander, and sliced jalapeños
- A simple Fresh Greek Salad Recipe on the side for a complete meal
Frequently Asked Questions
Beef & Bean Chili (Award-Winning)
Ingredients
Method
- Brown the Beef: Heat the olive oil in a large, heavy-bottomed pot over high heat until it shimmers. Add the beef mince in a single layer and let it cook undisturbed for 4 minutes — you’ll hear a satisfying sizzle and see a deep, dark crust forming on the bottom. Break the meat apart with a wooden spoon and continue cooking until no pink remains, about 6 minutes total.
- Sweat the Aromatics: Reduce the heat to medium. Add the diced onions and stir constantly for 5 minutes until they turn translucent and glossy, with a sweet, fragrant smell filling your kitchen. Add the garlic and tomato paste, stirring for 1 minute more until the paste darkens to a rusty red colour.
- Toast the Spices: Sprinkle the cumin, smoked paprika, oregano, cayenne, salt, and black pepper over the meat mixture. Stir vigorously for 30 seconds — you’ll notice the spices release a heady, earthy aroma that signals their full flavour is awakening.
- Deglaze and Build the Base: Pour in the tinned tomatoes and beef stock, scraping the bottom of the pot with your spoon to lift all those browned bits. The liquid will bubble up immediately, turning a rich brick-red colour. Bring the mixture to a boil, then reduce the heat to low.
- Simmer Low and Slow: Cover the pot and let the chili simmer gently for 45 minutes. Stir occasionally, and you’ll notice the liquid reducing and thickening, with the colour deepening to a dark mahogany. The aroma will become more concentrated and complex.
- Add the Beans and Sweetness: After 45 minutes, stir in all three types of beans, the brown sugar, and the apple cider vinegar. The vinegar’s sharp scent will mellow as it cooks. Simmer uncovered for another 30 minutes, stirring every 10 minutes, until the chili has a velvety, spoon-coating consistency and the beans are tender but not mushy.
- Rest and Adjust: Remove the pot from the heat and let the chili rest for 10 minutes. This allows the flavours to settle. Taste and adjust salt or cayenne as needed. You should see a glossy sheen on the surface — a sign of a well-emulsified, rich chili.
Notes
I hope this Beef & Bean Chili (Award-Winning) becomes a treasured recipe in your home, just as it has in mine. If you give it a try, I’d love to hear how it turned out for you — drop a comment below and let me know your favourite toppings or any tweaks you made. And if you’re looking for another hearty meal to round out your week, my Baked Ziti With Ground Beef is a wonderful companion to this chili. Happy cooking!