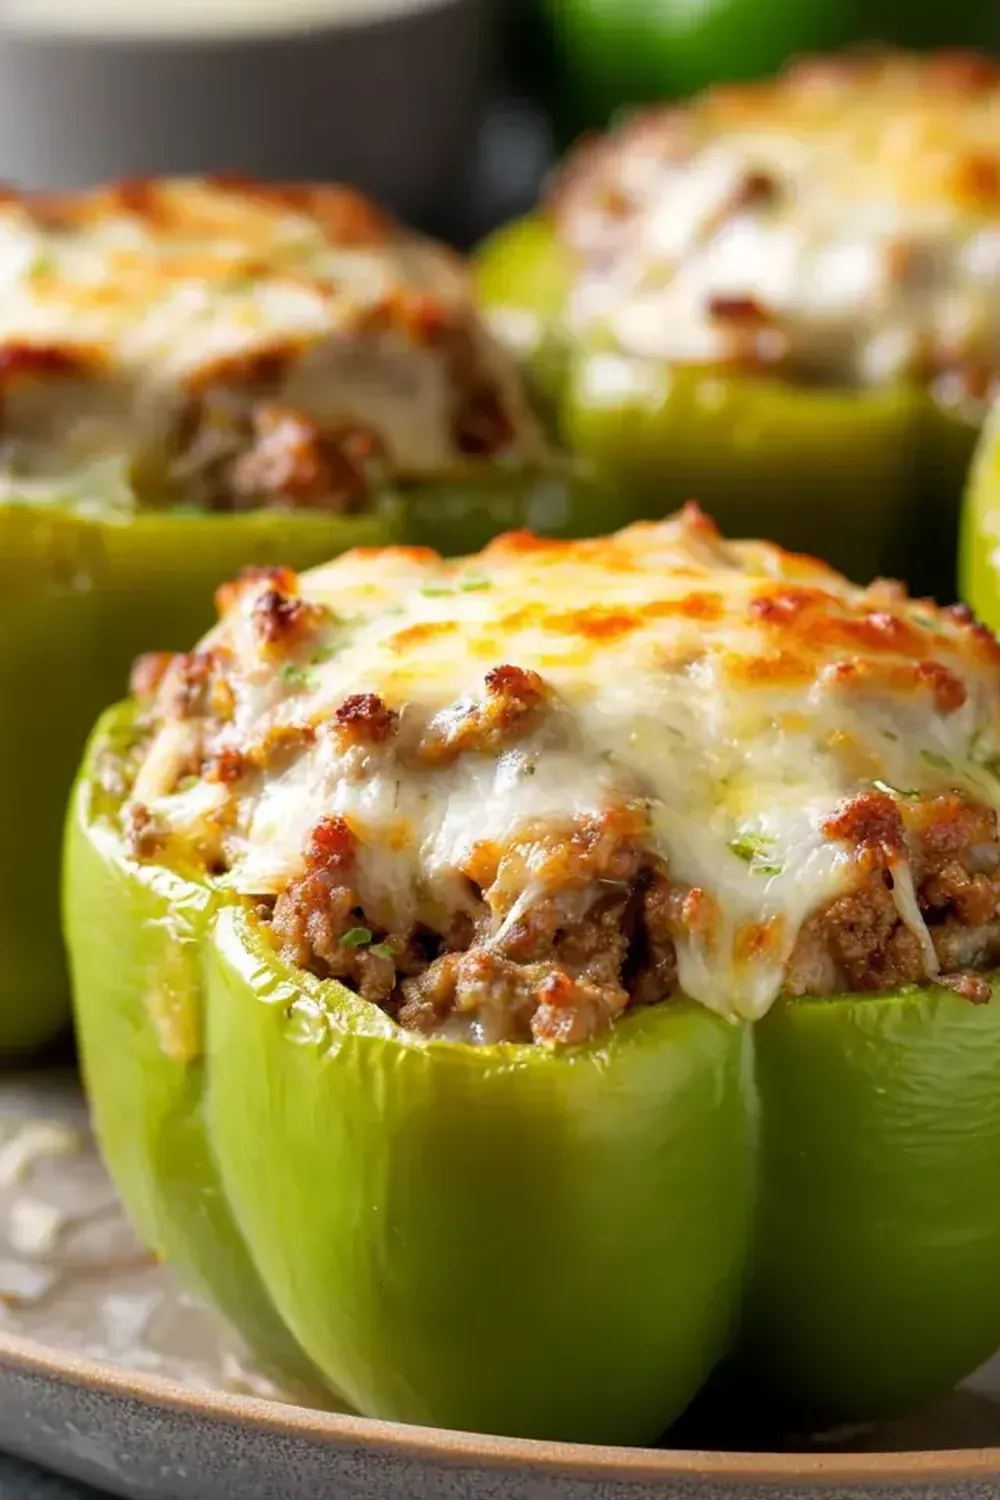
Cheesy Ground Beef Stuffed Bell Peppers
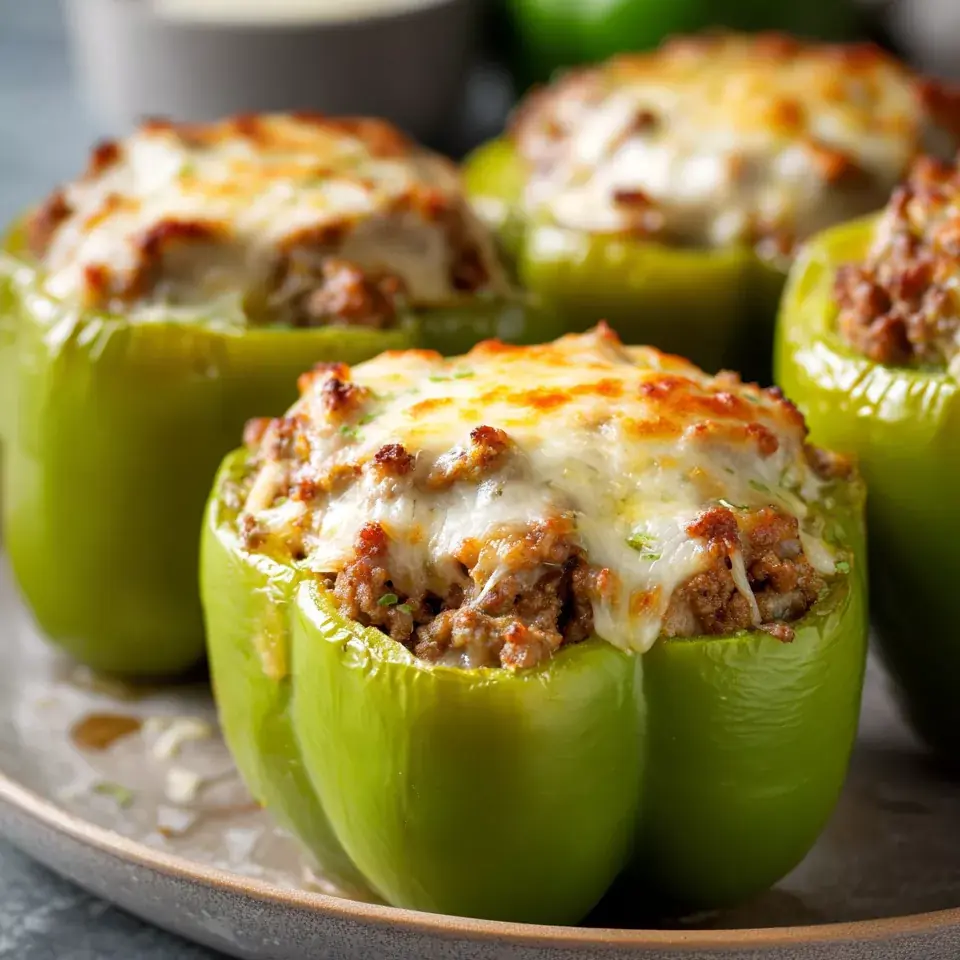
There are few things more satisfying than a perfectly roasted bell pepper, its skin slightly blistered and sweet, cradling a savoury, cheesy filling. This Cheesy Ground Beef Stuffed Bell Peppers recipe is a go-to in my kitchen for a hearty, flavour-packed meal that feels both rustic and special. I stumbled upon this combination by accident, trying to use up some leftover mince and a block of cheddar, and it’s been a hit ever since.
Recipe Overview
- Prep Time: 20 minutes
- Cook Time: 35 minutes
- Total Time: 55 minutes
- Servings: 4 (2 stuffed pepper halves per person)
- Difficulty: Medium
Why You’ll Love This Cheesy Ground Beef Stuffed Bell Peppers
- Rich, savoury filling: The beef mince is cooked with onions, garlic, and aromatic herbs until deeply flavourful, creating a base that’s anything but bland.
- Perfectly tender peppers: By pre-cooking the peppers, we avoid that dreaded raw crunch and achieve a soft, yielding texture that melts in your mouth.
- That irresistible cheese topping: A generous layer of melted cheddar and mozzarella creates a golden, bubbly crust that adds a wonderful salty richness to every bite.
- All-in-one meal: With protein, vegetables, and a satisfying starch from the rice, this dish is a complete dinner that needs little more than a simple side.
- Make-ahead friendly: You can assemble the peppers a day in advance and bake them when you’re ready, making it a fantastic option for busy weeknights.
Ingredients You’ll Need
- 4 large bell peppers (any colour – red, yellow, or orange)
- 1 tablespoon olive oil
- 1 large onion, finely diced
- 3 cloves garlic, minced
- 500g beef mince (15-20% fat for best flavour)
- 1 teaspoon dried oregano
- 1 teaspoon smoked paprika
- 400g can chopped tomatoes
- 200g cooked long-grain rice (about 100g uncooked)
- 150g mature cheddar cheese, grated
- 100g mozzarella cheese, grated
- Salt and freshly ground black pepper, to taste
- Fresh parsley, chopped, for garnish
Tip: For the best texture, use a mix of cheddar for sharpness and mozzarella for that wonderful, stringy melt. If you only have one, a good quality cheddar will work beautifully on its own.
How to Make Cheesy Ground Beef Stuffed Bell Peppers
- Prepare the peppers and oven. Preheat your oven to 200°C (400°F). Slice the tops off the bell peppers about 1cm from the stem, and carefully remove the white membranes and seeds from inside. You’ll hear a slight snap as you cut through the flesh. Finely dice the usable parts of the pepper tops and set aside. Place the hollowed pepper cups in a baking dish that holds them snugly.
- Par-cook the peppers. Pour about 100ml of boiling water into the bottom of the baking dish, being careful not to splash the peppers. Cover the dish tightly with foil and pop it into the oven for 10 minutes. This steam step softens the peppers so they finish cooking evenly with the filling. They will feel slightly pliable and their colour will brighten.
- Sweat the aromatics. While the peppers steam, heat the olive oil in a large frying pan over a medium heat. Add the finely diced onion and the reserved diced pepper tops. Cook for 5-6 minutes, stirring occasionally, until the onion turns translucent and releases a sweet, fragrant aroma. The sound of them sizzling gently is a good sign.
- Brown the beef. Add the beef mince to the pan, breaking it up with a wooden spoon. Let it cook undisturbed for 2-3 minutes until the underside is deeply browned and you can hear a good sear. Then stir, breaking it into smaller pieces. Continue cooking until all the mince is browned and no pink remains, about 5-6 minutes. The smell at this stage is deeply savoury.
- Build the sauce. Stir in the minced garlic, dried oregano, and smoked paprika. Cook for 30 seconds until the garlic becomes fragrant. Pour in the chopped tomatoes and bring the mixture to a gentle simmer. You’ll see it bubble and thicken slightly. Season generously with salt and pepper, then stir in the cooked rice. Let it simmer for 2-3 minutes until the rice has absorbed some of the tomato liquid. The mixture will look rich and glossy.
- Stuff the peppers. Remove the peppers from the oven and carefully drain any excess water from the dish. Using a spoon, divide the beef and rice filling evenly among the 8 pepper halves, pressing it down gently so it’s compact. The filling should be level with the top of the pepper.
- Add the cheese and bake. In a small bowl, mix the grated cheddar and mozzarella. Sprinkle the cheese mixture generously over the top of each stuffed pepper, letting some fall into the dish for crispy edges. Return the dish to the oven, uncovered, and bake for 20-25 minutes. The cheese should be melted, bubbling, and turning a deep golden brown at the edges. You’ll hear it sizzle.
- Rest and serve. Remove the dish from the oven and let the stuffed peppers rest for 5 minutes. This allows the filling to set slightly, making them easier to serve. Garnish with fresh parsley and serve hot. My husband, who’s usually picky, asked for seconds the first time I made these!
Tips From My Kitchen
- Choose the right peppers. Look for bell peppers that are squat and wide rather than tall and narrow. They sit more stably in the dish and have a larger cavity for the filling. A pepper that can stand upright on its own is ideal. If they wobble, trim a tiny sliver off the bottom – but not too much, or the filling will leak out.
- Don’t skip the rice. The cooked rice is essential for absorbing excess moisture from the tomatoes and beef, preventing a watery filling. It also adds a lovely, tender bite. Use leftover rice from a previous meal to save time, or cook it fresh and let it cool slightly before adding.
- Season the beef generously. The filling can taste a little flat if under-seasoned. Be bold with the salt and pepper, and don’t forget the smoked paprika – it adds a subtle warmth that complements the beef beautifully. Taste the filling before stuffing the peppers and adjust the seasoning if needed.
- Pre-cook the peppers for best texture. This is the step that transforms good stuffed peppers into great ones. The 10-minute steam ensures the pepper walls are tender and sweet, not crunchy or tough. If you skip this, you’ll end up with a raw-tasting pepper that hasn’t had time to soften in the oven.
- Let the peppers rest after baking. I know it’s tempting to dig in immediately, but the resting period is crucial. It allows the cheese to set slightly and the filling to cool down enough so you don’t burn your mouth. It also makes the peppers easier to cut and serve without the filling spilling out everywhere.
Common Mistakes to Avoid
- Overcrowding the pan when browning the beef: If you add too much mince to the pan at once, it will steam instead of sear. This prevents the deep, savoury flavour we’re after. Brown the beef in two batches if your pan is small, ensuring each piece of meat has contact with the hot surface. You’ll know it’s ready when you hear a loud sizzle and see a rich, brown crust form.
- Wrong temperature for baking: Baking at too low a temperature will result in soggy peppers and a filling that hasn’t properly caramelised. A hot oven of 200°C (400°F) is essential for roasting the peppers and melting the cheese to a bubbly, golden finish. If your oven runs cool, increase the temperature by 10°C.
- Skipping the rest time: Cutting into a stuffed pepper straight from the oven is a recipe for a messy plate. The filling is piping hot and very loose, and the cheese will be a molten lava-like pool. The 5-minute rest allows the rice and cheese to firm up slightly, making the whole dish much easier to handle and more pleasant to eat.
Delicious Variations to Try
- Spicy Version: Add 1 finely chopped red chilli or 1 teaspoon of chilli flakes to the pan when you cook the onions. You can also stir a splash of hot sauce or a teaspoon of harissa paste into the tomato sauce for a deeper, smoky heat.
- Vegetarian/Vegan Option: Replace the beef mince with 400g of cooked lentils or a plant-based mince alternative. Use a vegan cheddar-style block and a creamy cashew cheese sauce instead of dairy cheese. The rest of the recipe remains the same, producing a wonderfully hearty and satisfying meal.
- Different Protein: Swap the beef for ground turkey, chicken, or lamb. Turkey and chicken will be leaner, so consider adding an extra tablespoon of olive oil to the pan to keep the filling moist. Lamb pairs beautifully with the oregano and a pinch of ground cinnamon for a more aromatic flavour profile.
What to Serve With Cheesy Ground Beef Stuffed Bell Peppers
A simple side is all you need to round out this meal. The creamy, cheesy filling pairs wonderfully with something crisp and fresh.
- A crisp green salad with a simple lemon vinaigrette.
- Some Crispy Sweet Potato Fries Recipe for a touch of sweetness and crunch.
- A dollop of cooling Greek yogurt or sour cream on the side.
- Warm crusty bread to mop up any leftover sauce from the baking dish.
Frequently Asked Questions
Cheesy Ground Beef Stuffed Bell Peppers
Ingredients
Method
- Prepare the peppers and oven. Preheat your oven to 200°C (400°F). Slice the tops off the bell peppers about 1cm from the stem, and carefully remove the white membranes and seeds from inside. You’ll hear a slight snap as you cut through the flesh. Finely dice the usable parts of the pepper tops and set aside. Place the hollowed pepper cups in a baking dish that holds them snugly.
- Par-cook the peppers. Pour about 100ml of boiling water into the bottom of the baking dish, being careful not to splash the peppers. Cover the dish tightly with foil and pop it into the oven for 10 minutes. This steam step softens the peppers so they finish cooking evenly with the filling. They will feel slightly pliable and their colour will brighten.
- Sweat the aromatics. While the peppers steam, heat the olive oil in a large frying pan over a medium heat. Add the finely diced onion and the reserved diced pepper tops. Cook for 5-6 minutes, stirring occasionally, until the onion turns translucent and releases a sweet, fragrant aroma. The sound of them sizzling gently is a good sign.
- Brown the beef. Add the beef mince to the pan, breaking it up with a wooden spoon. Let it cook undisturbed for 2-3 minutes until the underside is deeply browned and you can hear a good sear. Then stir, breaking it into smaller pieces. Continue cooking until all the mince is browned and no pink remains, about 5-6 minutes. The smell at this stage is deeply savoury.
- Build the sauce. Stir in the minced garlic, dried oregano, and smoked paprika. Cook for 30 seconds until the garlic becomes fragrant. Pour in the chopped tomatoes and bring the mixture to a gentle simmer. You’ll see it bubble and thicken slightly. Season generously with salt and pepper, then stir in the cooked rice. Let it simmer for 2-3 minutes until the rice has absorbed some of the tomato liquid. The mixture will look rich and glossy.
- Stuff the peppers. Remove the peppers from the oven and carefully drain any excess water from the dish. Using a spoon, divide the beef and rice filling evenly among the 8 pepper halves, pressing it down gently so it’s compact. The filling should be level with the top of the pepper.
- Add the cheese and bake. In a small bowl, mix the grated cheddar and mozzarella. Sprinkle the cheese mixture generously over the top of each stuffed pepper, letting some fall into the dish for crispy edges. Return the dish to the oven, uncovered, and bake for 20-25 minutes. The cheese should be melted, bubbling, and turning a deep golden brown at the edges. You’ll hear it sizzle.
- Rest and serve. Remove the dish from the oven and let the stuffed peppers rest for 5 minutes. This allows the filling to set slightly, making them easier to serve. Garnish with fresh parsley and serve hot. My husband, who’s usually picky, asked for seconds the first time I made these!
Notes
I hope this recipe becomes a staple in your home as it has in mine. These Cheesy Ground Beef Stuffed Bell Peppers are a wonderful way to bring a hearty, comforting meal to the table with very little fuss. If you love a good, cheesy bake, you might also enjoy my Cheesy Beef Enchiladas Dinner for another flavour-packed weeknight winner. I’d love to hear how yours turn out – share your experience in the comments below!