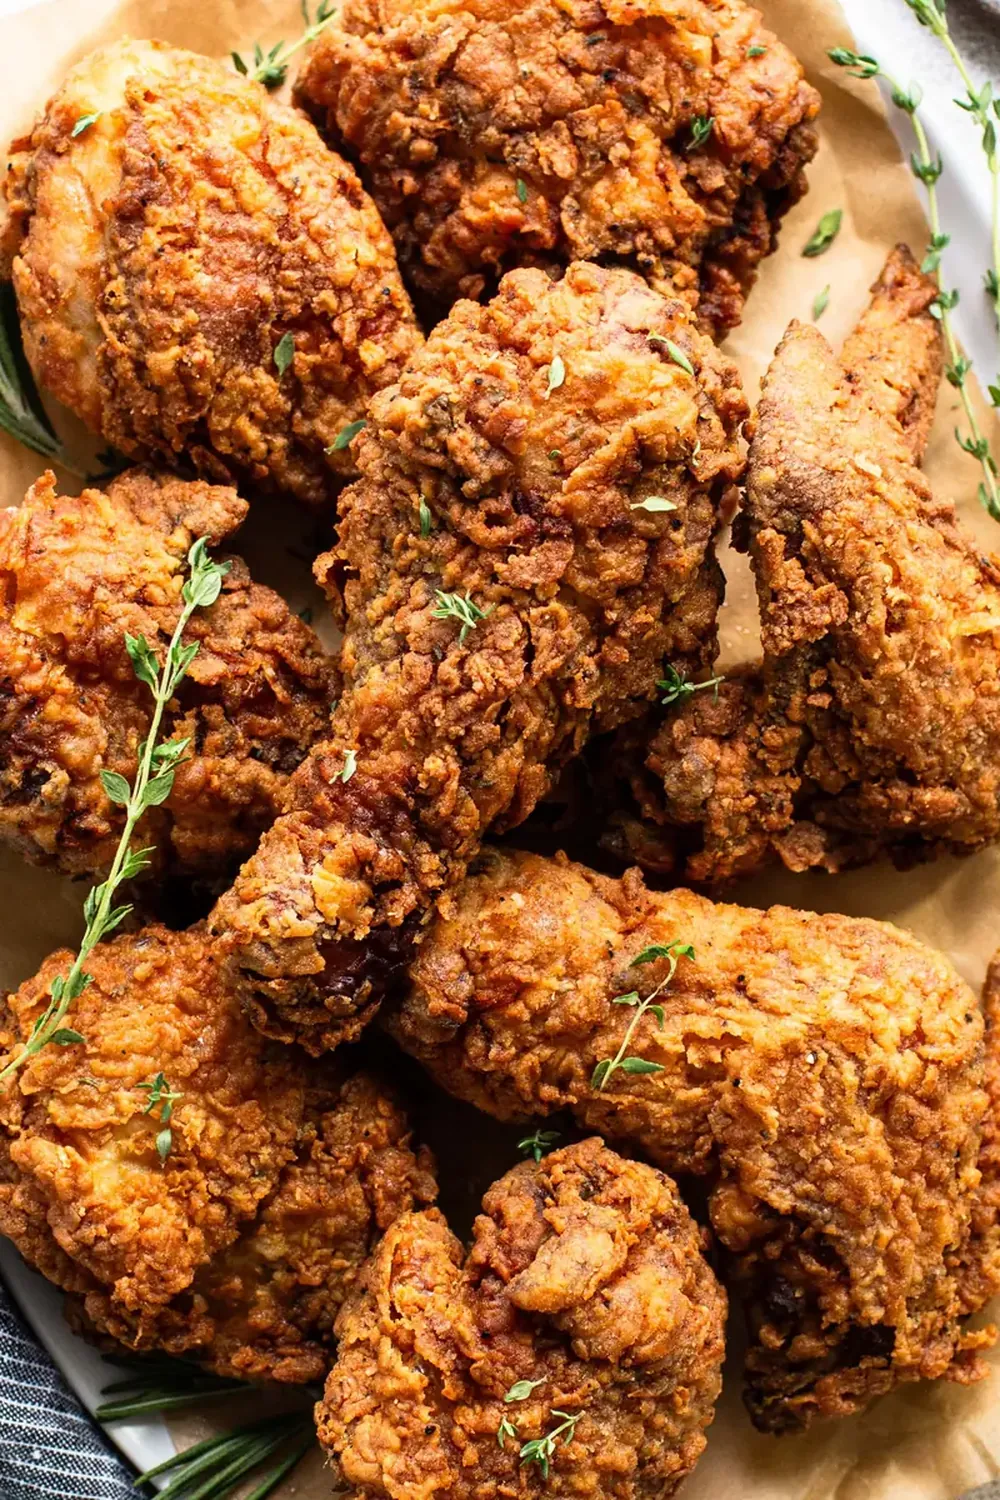
Crispy Fried Chicken (Southern Buttermilk)
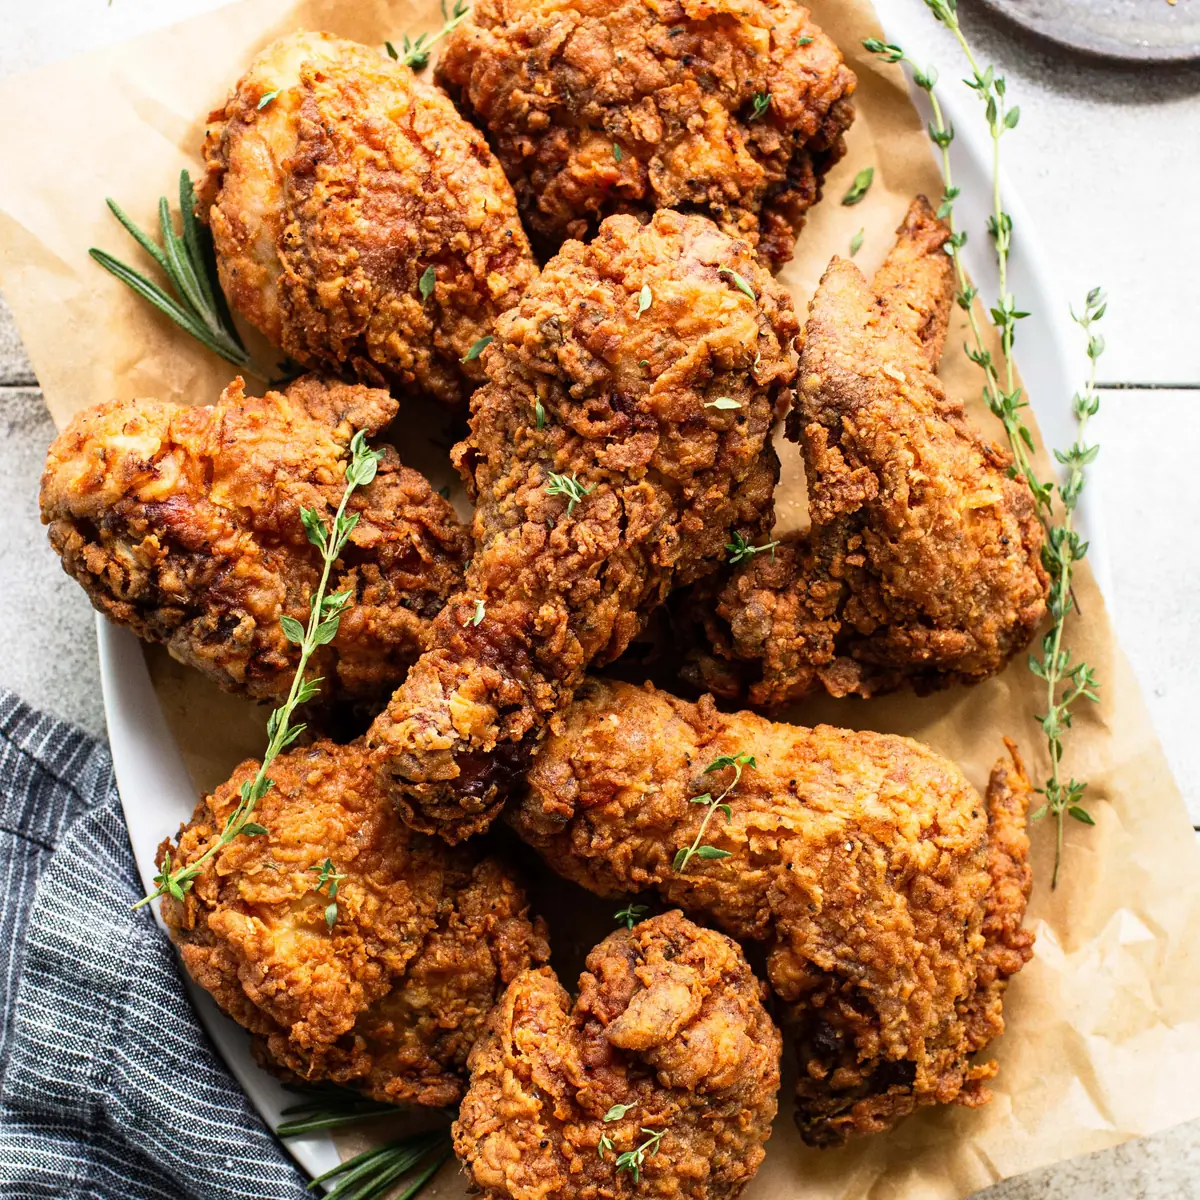
There’s nothing quite like the irresistible crunch and juicy tenderness of homemade crispy fried chicken. This Southern Buttermilk version is truly a labour of love that yields the most incredibly flavourful results, and I promise you, it’s worth every moment in the kitchen.
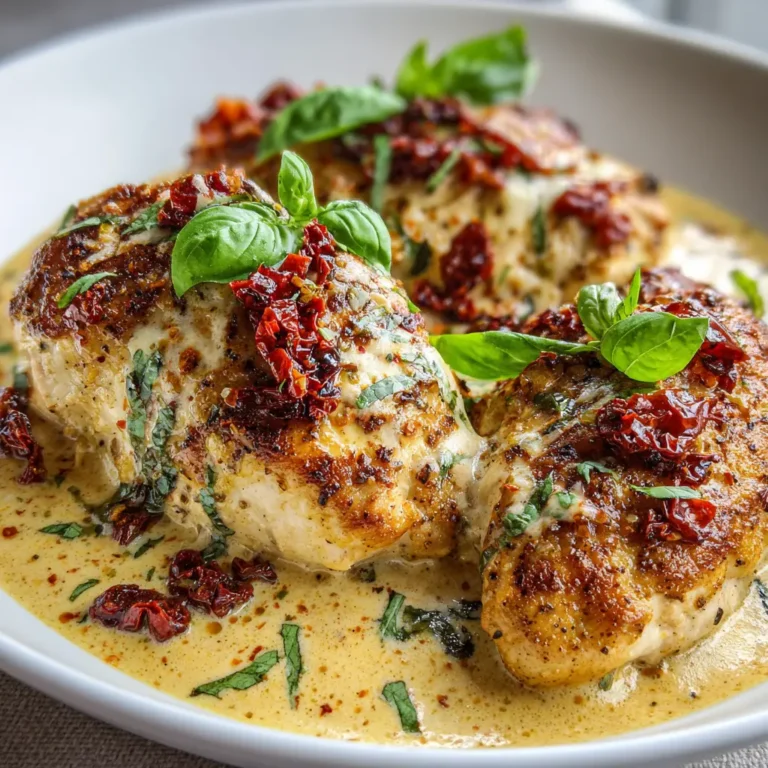
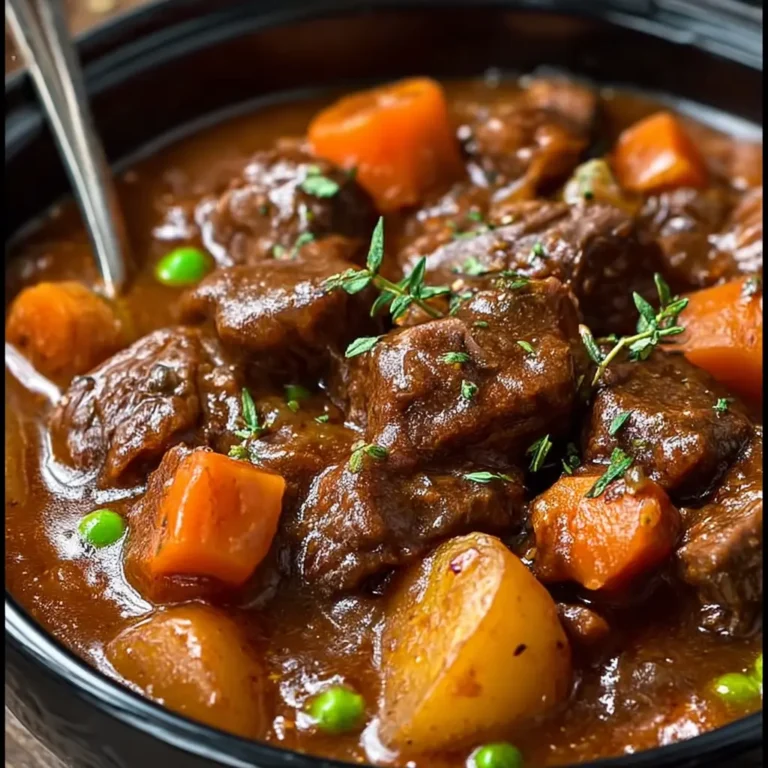
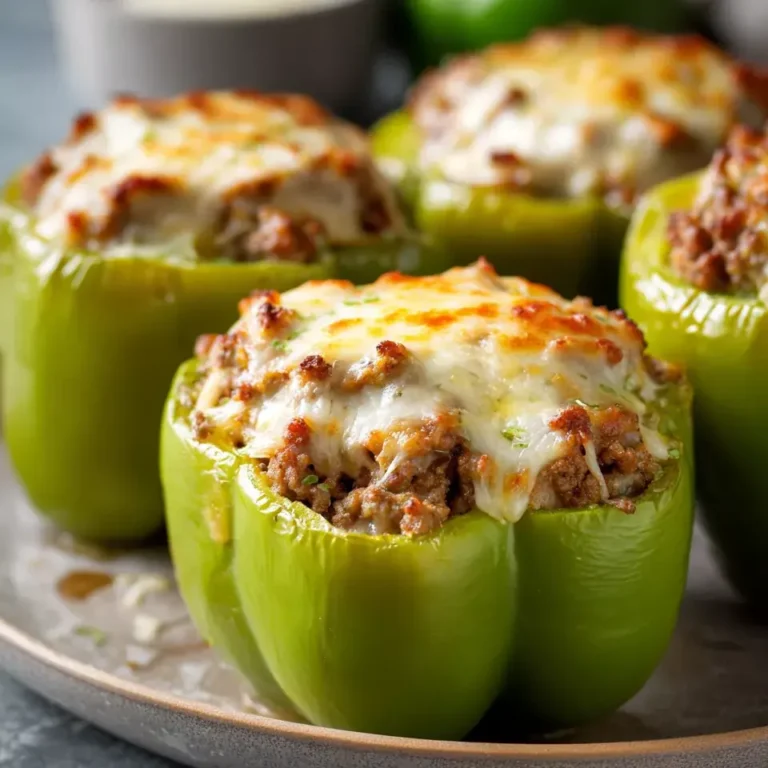
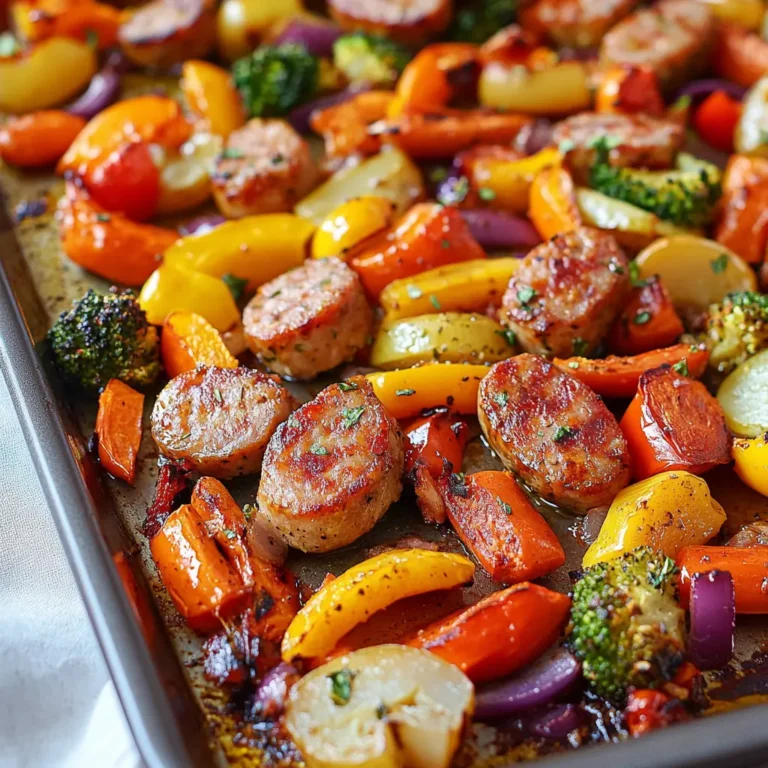
I remember the first time I truly nailed this recipe, much like the comfort of a Classic Hearty Beef Stew With Melt-In-Your-Mouth Chunks, the bold kick of Sticky Honey Sriracha Chicken Wings, the satisfying sizzle of a Garlic Butter Steak & Potato Skillet, or the warmth of a Crockpot Chicken & Wild Rice Soup, the cheesy fun of Pizza Chicken (Cheesy Weeknight Dinner) , or the savory delight of Tuscan Chicken Meatballs With Gnocchikirarecipes.com/philly-cheesesteak-stuffed-peppers/”>Philly Cheesesteak Stuffed Peppers.kirarecipes.com/pizza-chicken-cheesy-weeknight-dinner/”>Pizza Chicken (Cheesy Weeknight Dinner).kirarecipes.com/crockpot-chicken-wild-rice-soup/”>Crockpot Chicken & Wild Rice Soup.kirarecipes.com/classic-hearty-beef-stew-with-melt-in-your-mouth-chunks/”>Classic Hearty Beef Stew With Melt-In-Your-Mouth Chunks .kirarecipes.com/sticky-honey-sriracha-chicken-wings/”>Sticky Honey Sriracha Chicken Wings .kirarecipes.com/classic-hearty-beef-stew-with-melt-in-your-mouth-chunks/”>Classic Hearty Beef Stew With Melt-In-Your-Mouth Chunks .kirarecipes.com/garlic-butter-steak-potato-skillet/”>Garlic Butter Steak & Potato Skillet .kirarecipes.com/classic-hearty-beef-stew-with-melt-in-your-mouth-chunks/”>Classic Hearty Beef Stew With Melt-In-Your-Mouth Chunks .kirarecipes.com/sticky-honey-sriracha-chicken-wings/”>Sticky Honey Sriracha Chicken Wings.kirarecipes.com/classic-hearty-beef-stew-with-melt-in-your-mouth-chunks/”>Classic Hearty Beef Stew With Melt-In-Your-Mouth Chunks. We’d been trying various versions for years, but something was always missing – either the coating wasn’t quite crisp enough, or the chicken lacked that deep, marinated flavour. Then I discovered the magic of a long buttermilk soak and a perfectly spiced dredge. My husband, who’s usually quite discerning about fried chicken, asked for seconds, then thirds! It was a moment of triumph, and since then, this particular method has become a cherished staple in our home. I make this at least once a week; it’s become a family favourite.
This isn’t just a recipe; it’s an experience. It’s about bringing that authentic taste of Southern hospitality right to your table, creating memories with every bite. The combination of the tangy buttermilk, the aromatic spices, and that golden, shatteringly crisp crust is simply unbeatable. If you’ve ever dreamt of recreating that classic fried chicken taste, but better, I’m here to guide you every step of the way. Get ready to embark on a culinary journey that will leave you feeling proud and utterly satisfied.
Recipe Overview
- Prep Time: 30 minutes (plus 4-12 hours marinating)
- Cook Time: 25-30 minutes
- Total Time: 1 hour (plus marinating)
- Servings: 4-6
- Difficulty: Medium
Why You’ll Love This Crispy Fried Chicken (Southern Buttermilk)
- Achieves an incredibly crisp, golden-brown crust with every piece, offering that satisfying crunch you crave.
- The buttermilk marinade tenderises the chicken beautifully, ensuring each bite is succulent and bursting with moisture.
- Infused with a robust blend of herbs and spices, delivering a complex, savoury flavour profile that stands out.
- Versatile enough to be enjoyed hot from the pan or cold for a picnic, making it suitable for any occasion.
- Making it at home gives you full control over the ingredients, ensuring a wholesome and delicious meal for your family.
Ingredients You’ll Need
- 1.5 kg mixed chicken pieces (drumsticks, thighs, wings, breasts cut into halves)
- 500 ml buttermilk
- 2 large eggs
- 500 g plain flour
- 40 g cornflour (corn starch)
- 2 tablespoons smoked paprika
- 1 tablespoon garlic powder
- 1 tablespoon onion powder
- 1 tablespoon dried oregano
- 1 teaspoon cayenne pepper (optional, for a kick)
- 2 tablespoons fine sea salt
- 1 tablespoon freshly ground black pepper
- 1 teaspoon dried thyme
- 1 litre vegetable oil or canola oil, for frying
Tip: For the best flavour, ensure your spices are fresh. Stale spices lose their potency and won’t give your chicken the vibrant taste it deserves.
Equipment You’ll Need
- Large frying pan or skillet (preferably cast iron or heavy-bottomed)
- Sharp knife and cutting board
- Large mixing bowls (at least two)
- Whisk
- Tongs
- Wire rack set over a baking tray
- Meat thermometer
- Measuring spoons and cups
How to Make Crispy Fried Chicken (Southern Buttermilk)
- Prepare the Chicken and Buttermilk Marinade: Begin by patting your chicken pieces thoroughly dry with kitchen paper. This helps the marinade adhere better and prevents a soggy coating. In a large bowl, whisk together the buttermilk and eggs until well combined and slightly frothy. Add the chicken pieces to the buttermilk mixture, ensuring every piece is fully submerged and coated. Cover the bowl tightly with cling film and refrigerate for a minimum of 4 hours, or ideally, overnight (up to 12 hours). This long soak is crucial for tenderising the chicken and infusing it with flavour.
- Create the Dry Dredge: While the chicken is marinating, or about 30 minutes before you plan to fry, prepare your seasoned flour. In a separate large, shallow bowl or a clean, sturdy plastic bag, combine the plain flour, cornflour, smoked paprika, garlic powder, onion powder, dried oregano, cayenne pepper (if using), sea salt, black pepper, and dried thyme. Use a whisk to mix these ingredients very well, ensuring the spices are evenly distributed throughout the flour. The mixture should smell fragrant and spicy.
- Set Up Your Dredging Station: Once the chicken has marinated, remove it from the fridge. You’ll need three stations: the bowl of marinated chicken, the bowl of seasoned flour, and a clean plate or wire rack for the dredged chicken. Working with one piece at a time, lift a chicken piece from the buttermilk, allowing any excess to drip off.
- Dredge the Chicken for Maximum Crispness: Place the chicken piece into the seasoned flour. Generously coat it, pressing the flour onto the chicken firmly with your hands. Ensure every nook and cranny is covered. For an extra crispy crust, you can dip the chicken back into the buttermilk mixture briefly (just a quick dip to re-moisten the flour, not a full re-soak) and then back into the flour for a second coating. The flour should look shaggy and clumpy, which is what creates those desirable crispy bits. Place the dredged chicken on a clean plate or wire rack and let it rest for at least 15-20 minutes at room temperature. This resting period allows the flour to absorb moisture from the chicken and adhere firmly, preventing the coating from falling off during frying.
- Heat the Oil: Pour the vegetable or canola oil into your large, heavy-bottomed frying pan or skillet. You’ll need enough oil to come about 4-5 cm up the sides of the pan. Heat the oil over medium-high heat until it reaches 170°C (340°F). A good way to test without a thermometer is to drop a tiny pinch of flour into the oil; if it sizzles vigorously and turns golden within a few seconds, the oil is ready. The oil should shimmer and give off a subtle cooking aroma.
- Fry the Chicken: Carefully place 3-4 pieces of chicken into the hot oil, ensuring you don’t overcrowd the pan. Overcrowding will drop the oil temperature and lead to greasy, less crispy chicken. Fry the chicken for about 6-8 minutes on each side, turning occasionally with tongs, until deep golden brown and the crust is visibly crisp. The chicken should be making a constant, gentle sizzling sound as it fries. Use a meat thermometer to check the internal temperature, which should reach 74°C (165°F) for safe consumption. If the outside is browning too quickly, reduce the heat slightly.
- Drain and Rest: Once cooked, carefully remove the chicken from the oil using tongs and place it on a wire rack set over a baking tray. This allows excess oil to drain off and helps maintain the chicken’s crispiness. You’ll hear the delightful crackle as it cools slightly. Repeat with the remaining chicken pieces, ensuring the oil returns to temperature between batches. Don’t be tempted to skip the wire rack; placing it directly on paper towels can make the bottom soggy.
- Serve: Let the chicken rest for a few minutes before serving. This allows the juices to redistribute, ensuring every bite is moist and tender. Serve hot and enjoy that incredible crispy texture and juicy interior.
Tips From My Kitchen
- Don’t Skip the Buttermilk Marinade (and make it long!): The buttermilk is not just for flavour; it’s a natural tenderiser. The mild acidity in the buttermilk breaks down the protein fibres in the chicken, resulting in incredibly tender, juicy meat. A minimum of 4 hours is good, but 8-12 hours makes a noticeable difference, creating a truly succulent interior that contrasts beautifully with the crispy exterior.
- Pat the Chicken Dry Before Marinating: While it might seem counterintuitive to dry chicken before soaking it in liquid, this initial step is important. Excess surface moisture on raw chicken can dilute the buttermilk marinade, and also creates a barrier that prevents the marinade from fully penetrating the meat. A dry surface allows the buttermilk to adhere and absorb more effectively.
- Double Dredge for Extra Crispness: For those ultimate craggy, super-crispy bits, don’t be afraid to double dredge. After the first coating of flour, dip the chicken back into the leftover buttermilk mixture (just a quick dip to re-moisten the flour, not fully strip it) and then back into the flour for a second, thicker coating. This creates more surface area for crisping and locks in moisture.
- Rest the Dredged Chicken: This is a crucial, often overlooked step. After coating the chicken in flour, let it sit on a wire rack at room temperature for 15-20 minutes. This allows the flour to hydrate and adhere firmly to the chicken. If you fry immediately, the coating is more likely to fall off in the hot oil, resulting in bare spots and a less satisfying crust.
- Maintain Consistent Oil Temperature: Use a kitchen thermometer to monitor your oil temperature. Aim for 170°C (340°F). If the oil is too hot, the outside will burn before the inside cooks through. If it’s too cool, the chicken will absorb too much oil and become greasy and soggy. Adjust the heat between batches as needed to keep it consistent. This is probably the most important tip for truly crispy, non-greasy fried chicken.
- Don’t Overcrowd the Pan: Frying too many pieces of chicken at once will drastically drop the oil temperature, leading to undercooked, greasy chicken. Work in batches, allowing enough space around each piece for even cooking and browning. This ensures each piece gets that coveted golden, crisp crust.
Delicious Variations to Try
- Spicy Version: For those who love a bit more heat, increase the amount of cayenne pepper to 2-3 teaspoons in the dry dredge. You can also add a pinch of dried chilli flakes or a dash of hot sauce to the buttermilk marinade for an extra layer of fire.
- Vegetarian/Vegan Option: This recipe can be adapted for plant-based diets! Use large pieces of firm tofu or tempeh, pressed and drained thoroughly, or even thick slices of oyster mushrooms. Marinate them in a plant-based buttermilk alternative (such as almond milk with a splash of apple cider vinegar) and then dredge in the seasoned flour. Fry as directed until golden and crisp.
- Different Protein: While chicken is classic, this method works beautifully with other proteins. Try it with turkey pieces (ensure they are cut into similar sizes for even cooking) or even large prawns (adjust cooking time significantly, as prawns cook very quickly).
What to Serve With Crispy Fried Chicken (Southern Buttermilk)
- Creamy mashed potatoes and rich gravy
- Freshly made coleslaw
- Sweetcorn on the cob
- Fluffy biscuits or cornbread
- A crisp Fresh Greek Salad Recipe
- Tangy potato salad or a Big Batch Pasta Salad For Crowds
Frequently Asked Questions
Crispy Fried Chicken (Southern Buttermilk)
Ingredients
Method
- Prepare the Chicken and Buttermilk Marinade: Begin by patting your chicken pieces thoroughly dry with kitchen paper. This helps the marinade adhere better and prevents a soggy coating. In a large bowl, whisk together the buttermilk and eggs until well combined and slightly frothy. Add the chicken pieces to the buttermilk mixture, ensuring every piece is fully submerged and coated. Cover the bowl tightly with cling film and refrigerate for a minimum of 4 hours, or ideally, overnight (up to 12 hours). This long soak is crucial for tenderising the chicken and infusing it with flavour.
- Create the Dry Dredge: While the chicken is marinating, or about 30 minutes before you plan to fry, prepare your seasoned flour. In a separate large, shallow bowl or a clean, sturdy plastic bag, combine the plain flour, cornflour, smoked paprika, garlic powder, onion powder, dried oregano, cayenne pepper (if using), sea salt, black pepper, and dried thyme. Use a whisk to mix these ingredients very well, ensuring the spices are evenly distributed throughout the flour. The mixture should smell fragrant and spicy.
- Set Up Your Dredging Station: Once the chicken has marinated, remove it from the fridge. You’ll need three stations: the bowl of marinated chicken, the bowl of seasoned flour, and a clean plate or wire rack for the dredged chicken. Working with one piece at a time, lift a chicken piece from the buttermilk, allowing any excess to drip off.
- Dredge the Chicken for Maximum Crispness: Place the chicken piece into the seasoned flour. Generously coat it, pressing the flour onto the chicken firmly with your hands. Ensure every nook and cranny is covered. For an extra crispy crust, you can dip the chicken back into the buttermilk mixture briefly (just a quick dip to re-moisten the flour, not a full re-soak) and then back into the flour for a second coating. The flour should look shaggy and clumpy, which is what creates those desirable crispy bits. Place the dredged chicken on a clean plate or wire rack and let it rest for at least 15-20 minutes at room temperature. This resting period allows the flour to absorb moisture from the chicken and adhere firmly, preventing the coating from falling off during frying.
- Heat the Oil: Pour the vegetable or canola oil into your large, heavy-bottomed frying pan or skillet. You’ll need enough oil to come about 4-5 cm up the sides of the pan. Heat the oil over medium-high heat until it reaches 170°C (340°F). A good way to test without a thermometer is to drop a tiny pinch of flour into the oil; if it sizzles vigorously and turns golden within a few seconds, the oil is ready. The oil should shimmer and give off a subtle cooking aroma.
- Fry the Chicken: Carefully place 3-4 pieces of chicken into the hot oil, ensuring you don’t overcrowd the pan. Overcrowding will drop the oil temperature and lead to greasy, less crispy chicken. Fry the chicken for about 6-8 minutes on each side, turning occasionally with tongs, until deep golden brown and the crust is visibly crisp. The chicken should be making a constant, gentle sizzling sound as it fries. Use a meat thermometer to check the internal temperature, which should reach 74°C (165°F) for safe consumption. If the outside is browning too quickly, reduce the heat slightly.
- Drain and Rest: Once cooked, carefully remove the chicken from the oil using tongs and place it on a wire rack set over a baking tray. This allows excess oil to drain off and helps maintain the chicken’s crispiness. You’ll hear the delightful crackle as it cools slightly. Repeat with the remaining chicken pieces, ensuring the oil returns to temperature between batches. Don’t be tempted to skip the wire rack; placing it directly on paper towels can make the bottom soggy.
- Serve: Let the chicken rest for a few minutes before serving. This allows the juices to redistribute, ensuring every bite is moist and tender. Serve hot and enjoy that incredible crispy texture and juicy interior.
Notes
There you have it – my tried-and-true recipe for Crispy Fried Chicken (Southern Buttermilk). This dish is more than just a meal; it’s a culinary hug, a celebration of flavour and texture that truly satisfies. I genuinely hope you find as much joy in making and sharing this recipe as I do. Please, let me know how it turns out for you in the comments below, or if you have any questions or tips of your own to share. Happy frying!