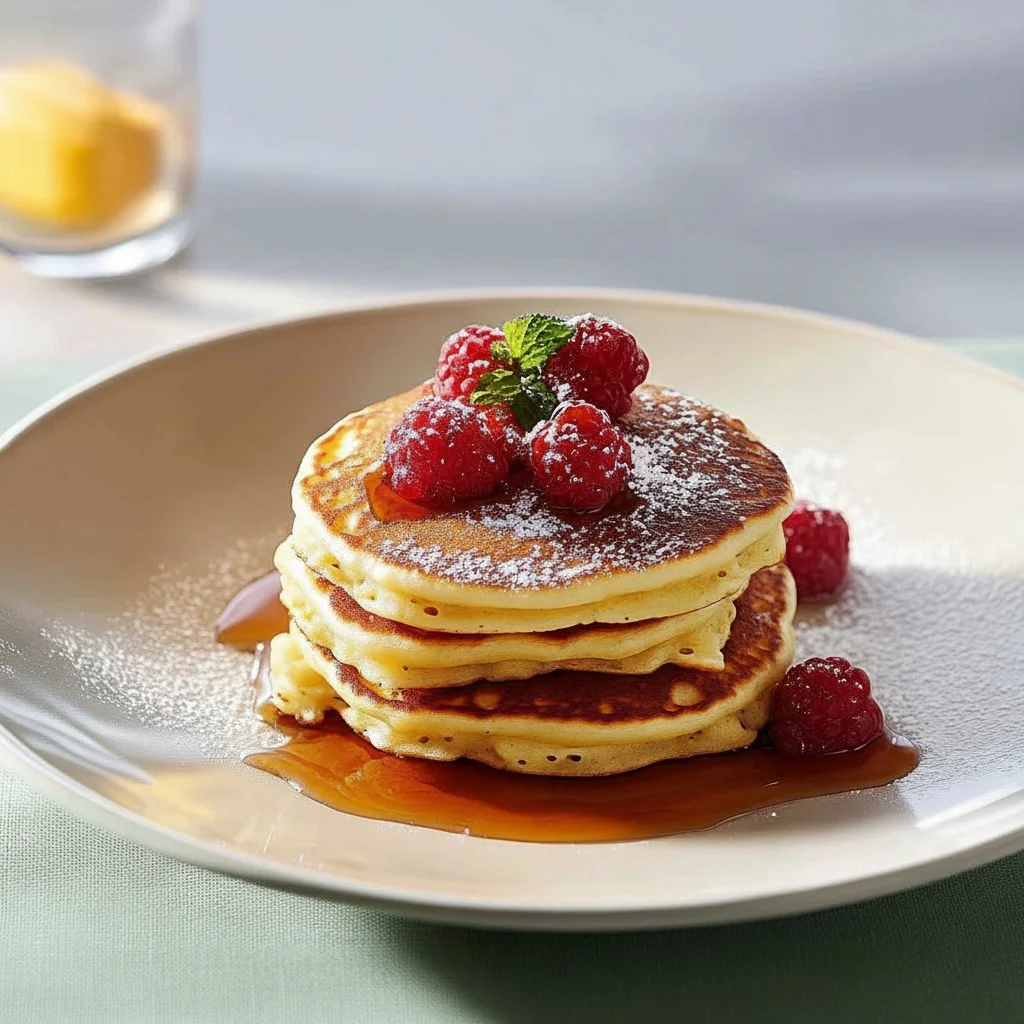
Fluffy Pancakes Recipe Breakfast
There’s something wonderfully nostalgic about the smell of pancakes cooking on a Saturday morning. It’s a scent that promises a slow start, a full pot of coffee, and a moment of pure comfort before the day truly begins. For years, I chased the dream of creating genuinely light, fluffy pancakes – the kind you see in American diners, stacked high and ready to absorb a generous drizzle of maple syrup. I used to struggle with getting that perfect, pillowy texture until I discovered the simple technique of separating the eggs, and it completely transformed my breakfast game.
This isn’t just another pancakes recipe; it’s the result of countless trials and tweaks in my own kitchen. What we’re making today are pancakes with a subtle, tangy depth from buttermilk, a rich buttery flavour that permeates every bite, and a texture so airy they almost melt in your mouth. The edges get just the right amount of crispness from the butter in the pan, providing a lovely contrast to the soft centre.
This breakfast recipe works beautifully for a lazy weekend brunch, a special birthday breakfast, or even a fun ‘breakfast-for-dinner’ night when you’re craving something comforting and satisfying. Everyone seems to love this particular recipe, from my kids to their friends who stay for sleepovers. It’s a simple joy, and one I’m delighted to share with you.
Recipe Overview
This recipe will guide you through creating classic, fluffy American-style pancakes from scratch. The flavour is rich and balanced, with a slight tang from the buttermilk and a lovely warmth from vanilla. I’ve found that letting the batter rest for just five minutes is crucial; it allows the flour to hydrate and results in a much more tender pancake.
- Prep Time: 10 minutes
- Cook Time: 15 minutes
- Total Time: 25 minutes
- Servings: 4 people (makes 8-10 pancakes)
- Difficulty: Easy
Why You’ll Love This Pancakes Recipe
- Genuinely Fluffy Texture: The secret is folding in whipped egg whites, which creates air pockets for an incredibly light and airy structure that’s never dense or rubbery.
- Rich Buttermilk Flavour: The buttermilk provides a subtle, pleasant tang that cuts through the richness and sweetness of any toppings, creating a beautifully balanced taste.
- Comes Together in Under 30 Minutes: From gathering your ingredients to stacking the final pancake, this whole process is straightforward and won’t keep you in the kitchen for hours.
- Works Beautifully for a Weekend Treat: It’s the ideal recipe for a slow Sunday morning, a celebratory brunch, or when you have guests and want to serve something special without a lot of fuss. It makes the morning feel like an event.
- Family Tested and Approved: My children ask for these “special fluffy pancakes” constantly. It’s one of those recipes that always gets compliments and disappears from plates in minutes.
Ingredients You’ll Need
We’re using standard pantry ingredients here, but the quality makes a difference. Using good vanilla extract, like Nielsen-Massey, gives a much deeper flavour than essence. Also, ensure your baking powder is fresh, as this is key for getting a good rise.
- 200g plain flour
- 2 tsp baking powder
- ½ tsp bicarbonate of soda
- 1 tbsp caster sugar
- ½ tsp fine sea salt
- 250ml buttermilk, at room temperature
- 1 large free-range egg, separated
- 30g unsalted butter, melted and slightly cooled, plus extra for the pan
- 1 tsp vanilla extract
Kira’s Tip: If you don’t keep buttermilk on hand, you can make a brilliant substitute. Simply add 1 tbsp of lemon juice or white vinegar to 250ml of whole milk. Give it a stir and let it stand for 5-10 minutes until it slightly thickens and curdles. It works just as well!
How to Make This Pancakes Recipe
The process is quite methodical, but each step plays a part in achieving that perfect fluffy texture. Don’t be tempted to skip resting the batter or folding in the egg whites gently – these are the steps that make all the difference.
- Combine Dry Ingredients: In a large mixing bowl, whisk together the plain flour, baking powder, bicarbonate of soda, caster sugar, and salt. Mixing them now ensures everything is evenly distributed.
- Mix the Wet Ingredients: In a separate medium bowl or jug, whisk the egg yolk with the buttermilk, melted butter, and vanilla extract until just combined.
- Create the Batter: Pour the wet ingredients into the bowl with the dry ingredients. Whisk them together until they are *just* combined. It’s very important not to overmix; a few lumps in the batter are perfectly fine and actually desirable.
- Rest the Batter: Let the batter sit at room temperature for 5-10 minutes. This allows the gluten to relax and the flour to absorb the liquid, which leads to more tender pancakes.
- Whip the Egg White: While the batter rests, place the egg white in a clean, dry bowl. Using an electric hand mixer or a stand mixer, whisk the egg white until it forms soft peaks. You should be able to lift the whisk and see a peak that softly curls over on itself.
- Fold in the Egg White: Take a large metal spoon or spatula and gently fold the whipped egg white into the batter in two additions. I find a figure-of-eight motion works best to incorporate it without knocking out all the air you just created. The batter should look light and moussey.
- Heat Your Pan: Place a large non-stick frying pan or griddle over a medium-low heat. Add a small knob of butter and let it melt and foam.
- Cook the Pancakes: Ladle about 2-3 tablespoons of batter per pancake into the hot pan, leaving space between them. Cook for 2-3 minutes, or until you see bubbles appearing on the surface and the edges look set.
- Flip and Finish: Carefully flip the pancakes with a thin spatula and cook for another 1-2 minutes on the other side, until they are golden brown and cooked through.
- Keep Warm and Repeat: Transfer the cooked pancakes to a baking tray in a low oven (around 100°C) to keep warm while you cook the remaining batter, adding a little more butter to the pan for each batch.
Tips From My Kitchen
- Master Temperature Control: The biggest challenge with pancakes is getting the heat right. Medium-low is the sweet spot. Too high, and they’ll burn before the middle is cooked. Too low, and they won’t get that lovely golden colour. Your first pancake is always a test run to adjust the heat.
- The Secret to Fluffiness: I learned that vigorously whisking the egg white separately and then gently folding it in is the single most important step for fluffy pancakes. It incorporates air that the baking powder can’t achieve alone, creating a superior lift. More information on the science of batter can be found in this fantastic Food Lab guide.
- Make-Ahead Batter: You can mix the dry ingredients and store them in an airtight container for months. You can also make the complete batter (minus the whipped egg white) the night before. Just cover and refrigerate. In the morning, whip and fold in the egg white just before cooking.
- Storing and Reheating: Leftover pancakes can be stored in an airtight container in the fridge for up to 3 days. They also freeze beautifully – just stack them with a piece of baking parchment in between each one. You can reheat them straight from frozen in a toaster or a warm oven.
Equipment You’ll Need
You don’t need much for this recipe, but having the right tools makes it a smoother process.
- Electric hand mixer or stand mixer (for the egg white)
- Large non-stick frying pan or griddle
- Two mixing bowls and a whisk
- Spatula for flipping
- Baking tray and parchment paper (for keeping pancakes warm)
Common Mistakes to Avoid
- Overmixing the Batter: This is the most common pitfall. Mixing until the batter is perfectly smooth develops too much gluten, resulting in tough, chewy pancakes instead of light, fluffy ones. Stop mixing as soon as the flour is incorporated – lumps are your friend!
- Getting the Pan Too Hot: A smoking hot pan will scorch the outside of your pancakes while leaving the centre raw and doughy. Let the pan heat up gently over a medium-low flame. A drop of water should sizzle, not instantly evaporate.
- Skipping the Resting Time: It might seem like an unnecessary step, but resting the batter for at least 5 minutes makes a noticeable difference. It gives the leavening agents time to start working and allows the flour to fully hydrate, producing a more tender pancake.
Delicious Variations to Try
Once you’ve mastered the basic recipe, it’s fun to start experimenting. This batter is a wonderful base for additions.
- Blueberry Pancakes: Gently fold in 150g of fresh or frozen blueberries into the batter right at the end. If using frozen, don’t thaw them first to prevent the batter from turning purple.
- Chocolate Chip Pancakes: Add 100g of your favourite chocolate chips to the batter. I stumbled upon this combination by accident when trying to use up leftover baking supplies, and it’s been a hit ever since.
- Cinnamon and Nutmeg: For a warmer, spiced version, add ½ teaspoon of ground cinnamon and a pinch of freshly grated nutmeg to the dry ingredients. This is especially lovely in the autumn.
What to Serve With Your Pancakes
These fluffy pancakes are a brilliant canvas for all sorts of toppings and sides. For a truly satisfying breakfast, try one of these pairings.
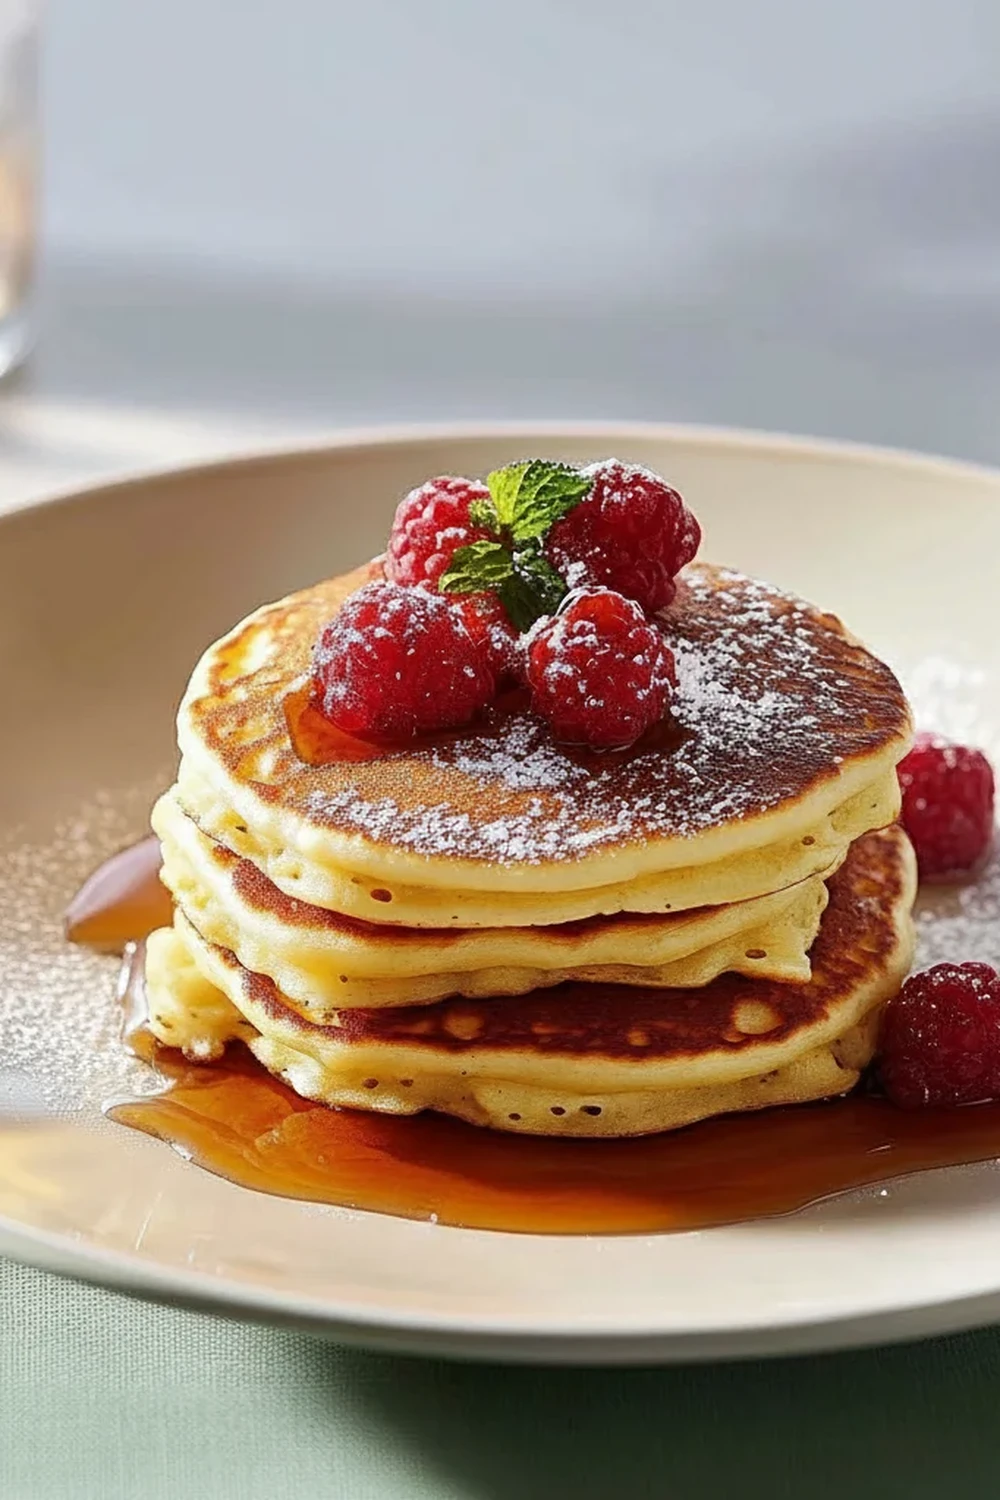
- The Classic Stack: You can’t go wrong with a generous pat of salted butter that melts into pools on top and a healthy glug of real maple syrup.
- Fruit and Yoghurt: For a fresher take, serve with a dollop of thick Greek yoghurt, a handful of fresh berries, and a drizzle of honey. It’s a wonderful contrast to the warm pancakes. If you’re planning a larger brunch, these pair nicely with a savory dish like my Steak Bites With Garlic Butter Recipe.
- Crispy Bacon: For the ultimate sweet-and-savoury experience, serve with a side of streaky bacon, cooked until perfectly crisp.
Frequently Asked Questions
Pancakes Recipe
Ingredients
Method
- Combine Dry Ingredients: In a large mixing bowl, whisk together the plain flour, baking powder, bicarbonate of soda, caster sugar, and salt. Mixing them now ensures everything is evenly distributed.
- Mix the Wet Ingredients: In a separate medium bowl or jug, whisk the egg yolk with the buttermilk, melted butter, and vanilla extract until just combined.
- Create the Batter: Pour the wet ingredients into the bowl with the dry ingredients. Whisk them together until they are *just* combined. It’s very important not to overmix; a few lumps in the batter are perfectly fine and actually desirable.
- Rest the Batter: Let the batter sit at room temperature for 5-10 minutes. This allows the gluten to relax and the flour to absorb the liquid, which leads to more tender pancakes.
- Whip the Egg White: While the batter rests, place the egg white in a clean, dry bowl. Using an electric hand mixer or a stand mixer, whisk the egg white until it forms soft peaks. You should be able to lift the whisk and see a peak that softly curls over on itself.
- Fold in the Egg White: Take a large metal spoon or spatula and gently fold the whipped egg white into the batter in two additions. I find a figure-of-eight motion works best to incorporate it without knocking out all the air you just created. The batter should look light and moussey.
- Heat Your Pan: Place a large non-stick frying pan or griddle over a medium-low heat. Add a small knob of butter and let it melt and foam.
- Cook the Pancakes: Ladle about 2-3 tablespoons of batter per pancake into the hot pan, leaving space between them. Cook for 2-3 minutes, or until you see bubbles appearing on the surface and the edges look set.
- Flip and Finish: Carefully flip the pancakes with a thin spatula and cook for another 1-2 minutes on the other side, until they are golden brown and cooked through.
- Keep Warm and Repeat: Transfer the cooked pancakes to a baking tray in a low oven (around 100°C) to keep warm while you cook the remaining batter, adding a little more butter to the pan for each batch.
Notes
I hope this pancakes recipe becomes a new favourite in your home, bringing a little bit of weekend magic to your breakfast table. There’s nothing quite like sharing a warm stack of fluffy pancakes with people you love. If you try this recipe, please let me know how it turns out in the comments below – I’d love to hear from you!
Happy cooking,
Kira