Chewy Fudge Brownies Dessert
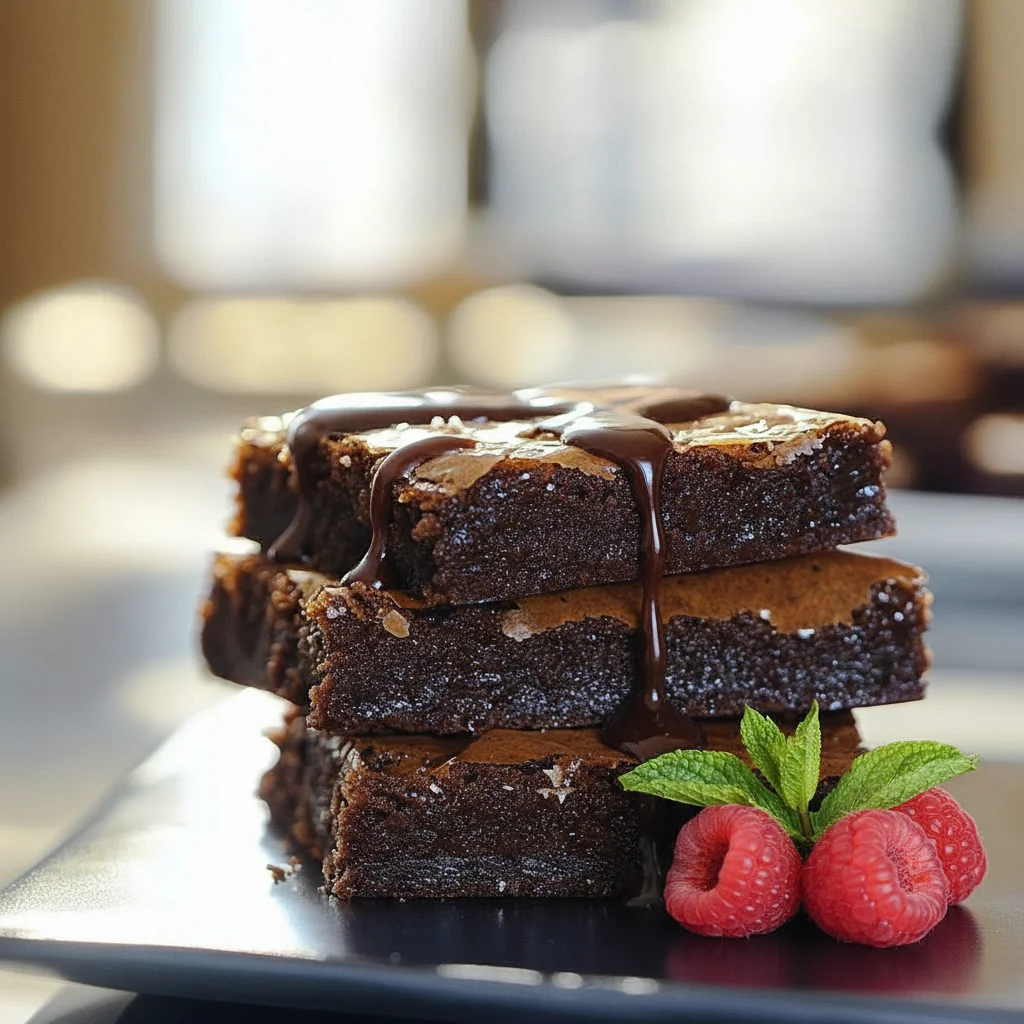
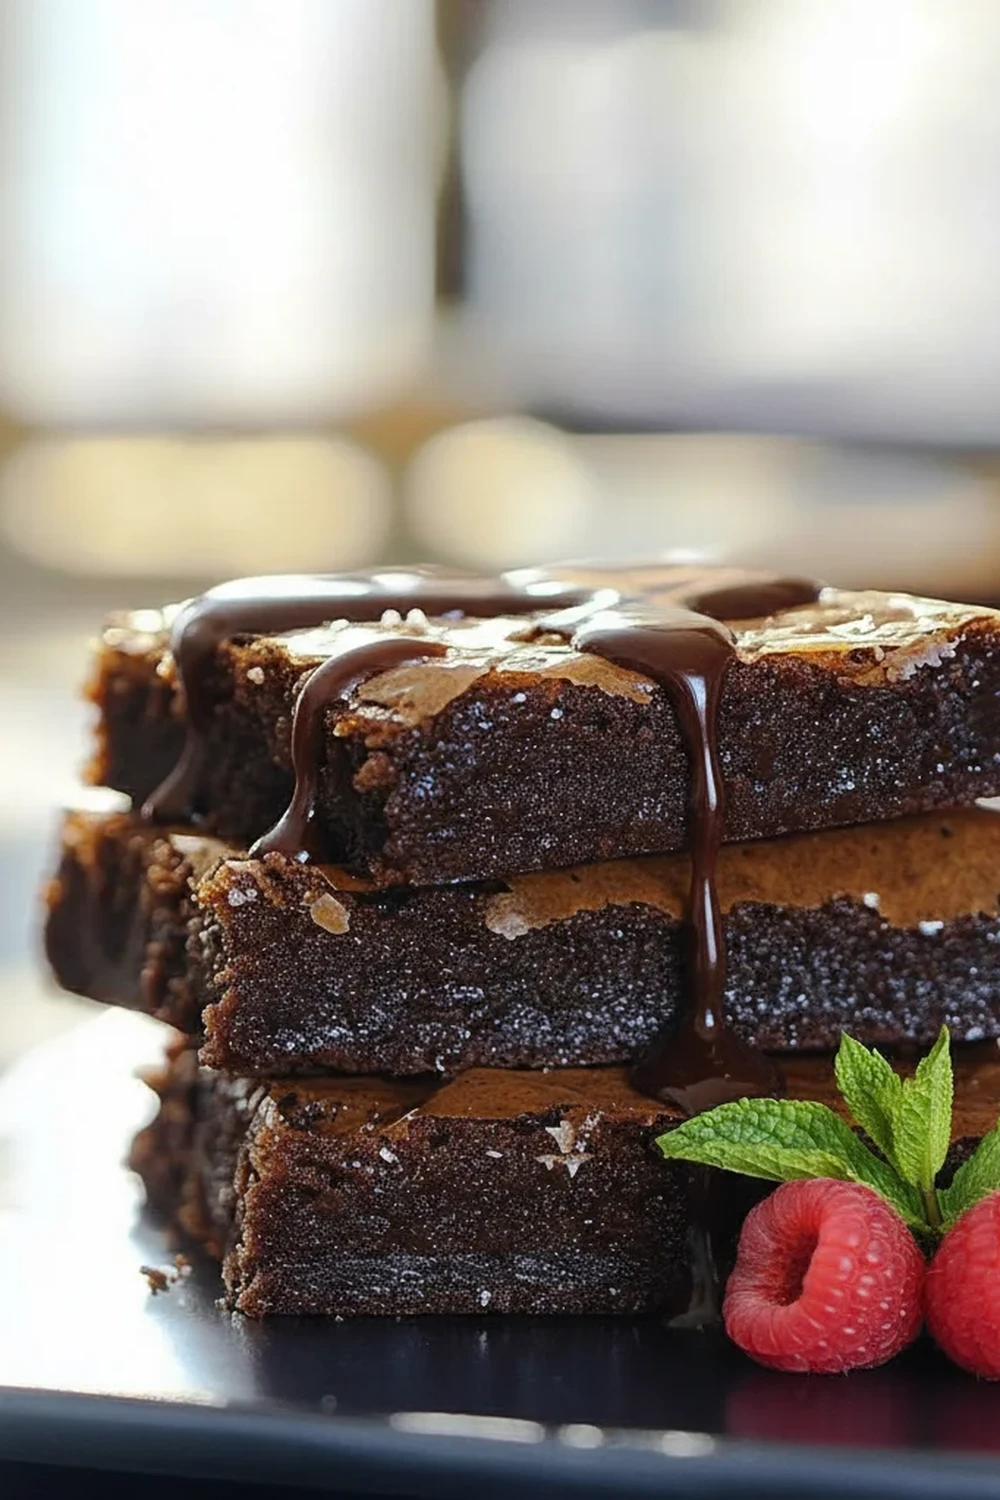
There’s a certain magic in the alchemy of chocolate, butter, and sugar. It’s a combination that promises pure comfort, and nothing delivers on that promise quite like a pan of deeply chocolatey, intensely rich Fudge Brownies. This isn’t your average cakey brownie; this is a dense, chewy, and gloriously fudgy square of chocolate heaven, with that coveted crackly top that shatters ever so slightly with each bite. This is my go-to recipe when I need a guaranteed hit for a weekend treat or a special occasion that demands something truly decadent. It’s the kind of fudge dessert that silences a room, in the best possible way.
What sets this particular brownies recipe apart is the balance. We use a combination of melted dark chocolate and high-quality cocoa powder to create a complex, layered chocolate flavour that’s not just sweet, but deeply satisfying. The texture is key—it’s dense and moist, bordering on truffle-like in the centre, with slightly chewier edges that are simply divine. It’s a straightforward recipe to make, but the results feel incredibly special.
This recipe is for the true chocolate lovers, the ones who appreciate a dessert that doesn’t hold back. It works beautifully for a casual afternoon tea with a hot cuppa, but it’s also special enough to be served warm with a scoop of vanilla ice cream after a lovely dinner, perhaps after my Grilled Salmon with Lemon Butter Sauce. Anyone who appreciates a proper chocolate brownie will adore this version.
Recipe Overview
This recipe produces exceptionally rich and chewy Fudge Brownies with a glossy, paper-thin crust. The flavour is pure, intense chocolate, thanks to both melted chocolate and cocoa powder. They are dense and moist, holding their shape perfectly when cut. From my testing, I’ve found that letting them cool completely in the tin is the secret to the fudgiest texture possible—resisting the urge to cut them warm is tough, but so worth it!
- Prep Time: 15 minutes
- Cook Time: 25 minutes
- Total Time: 40 minutes (plus cooling)
- Servings: 16 brownies
- Difficulty: Easy
Why You’ll Love This Fudge Brownies Recipe
- Intense Chocolate Flavour: We use both dark chocolate (70% cocoa solids) and Dutch-processed cocoa powder. This creates a deep, multi-layered chocolate taste that is rich but not overly sweet. The dark chocolate provides the fudgy base, while the cocoa powder adds a robust, earthy note.
- Ready in Under an Hour: The batter comes together in about 15 minutes, and they bake for just 25. This means you can have a tray of spectacular brownies cooling on your counter in well under an hour.
- A Wonderful Base Recipe: This recipe is a fantastic starting point. You can easily add a cup of toasted walnuts, a swirl of peanut butter, or a handful of raspberries to the batter before baking for a personal touch.
- Ideal for Gifting: These brownies are sturdy enough to be packed into a gift box. They work wonderfully for bake sales, new parent gifts, or just a little something to take to a friend’s house for coffee.
- Family Tested and Approved: This is one of those bakes that disappears almost instantly in my house. My kids absolutely devour this every time I make it, and it always gets rave reviews from friends.
Ingredients You’ll Need
For the best fudge brownies, the quality of your ingredients, especially the chocolate, really matters. I always use a good quality dark chocolate with around 70% cocoa solids, like Green & Black’s or Lindt, as it provides a deep flavour that isn’t masked by too much sugar. The same goes for the cocoa powder—a Dutch-processed one gives a smoother, less bitter result.
- 185g unsalted butter, cubed, plus extra for greasing
- 185g good-quality dark chocolate (70% cocoa solids), broken into pieces
- 85g plain flour
- 40g Dutch-processed cocoa powder
- 1/2 tsp fine sea salt
- 3 large free-range eggs
- 275g caster sugar
- 1 tsp vanilla extract
- 100g dark or milk chocolate chips (optional, for extra gooey pockets)
Kira’s Tip: Don’t be tempted to skip the salt! It might seem like a small amount, but that half-teaspoon of sea salt is crucial. It doesn’t make the brownies salty; instead, it enhances and deepens the chocolate flavour, balancing the sweetness beautifully.
How to Make Fudge Brownies
The process for these chocolate brownies is quite methodical, but each step is designed to build that perfect fudgy texture and crackly top. The key is to melt the butter and chocolate gently and to whip the eggs and sugar until they are light and voluminous—this is what creates that signature glossy crust.
- Prepare Your Tin: Preheat your oven to 180°C (160°C fan/Gas 4). Grease a 20cm square baking tin and line it with a single piece of baking parchment, leaving an overhang on two opposite sides. This will act as a ‘sling’ to lift the brownies out easily later.
- Melt the Chocolate and Butter: Place the cubed butter and broken dark chocolate in a medium, heatproof bowl. Set the bowl over a saucepan of barely simmering water (a bain-marie), making sure the bottom of the bowl doesn’t touch the water. Stir occasionally until everything is completely melted and smooth. Remove from the heat and set aside to cool slightly for about 10 minutes.
- Sift Dry Ingredients: While the chocolate cools, sift the plain flour, cocoa powder, and sea salt into a separate bowl. Sifting is important as it removes lumps and aerates the mixture, leading to a more uniform texture. Give it a quick whisk to combine.
- Whip the Eggs and Sugar: In a large bowl, using an electric hand mixer or a stand mixer with the whisk attachment, beat the eggs and caster sugar together on high speed. Continue whisking for 5-8 minutes, until the mixture is very pale, thick, and has at least doubled in volume. When you lift the whisk, it should leave a ribbon-like trail on the surface for a few seconds. This step is vital for the crackly top.
- Combine the Mixtures: Gently pour the slightly cooled chocolate-butter mixture into the whipped eggs and sugar. Add the vanilla extract. Using a large spatula, carefully fold the mixtures together until just combined. You want to keep as much air in the eggs as possible, so be gentle.
- Fold in the Dry Ingredients: Add the sifted dry ingredients to the wet mixture in two batches. Fold them in gently with the spatula until you no longer see any streaks of flour. What works best for me is to stop folding just before it’s fully combined to avoid over-mixing.
- Add Chocolate Chips (Optional): If you’re using them, gently fold in the chocolate chips now. Be careful not to over-mix the batter at this stage.
- Bake to Perfection: Pour the glossy batter into your prepared tin and smooth the top with your spatula. Bake for 20-25 minutes. The edges should be set and pulling away from the sides slightly, and the top should be crackly. A skewer inserted into the centre should come out with moist, sticky crumbs attached, not wet batter.
- Cool Completely: This is the hardest part! Leave the brownies to cool completely in the tin on a wire rack. This allows them to set properly, developing their dense, fudgy texture. Don’t even think about cutting them while they’re warm. Once cool, use the parchment paper sling to lift the brownie slab out of the tin. Cut into 16 squares with a sharp knife.
Tips From My Kitchen
- Temperature Control is Key: Ensure your eggs are at room temperature before you start. Cold eggs don’t whip up as well and can cause the melted chocolate mixture to seize. Also, let the melted chocolate cool slightly before adding it to the eggs to prevent them from scrambling.
- The Secret to a Crackly Top: I learned that the secret to that beautiful, shiny crust is whipping the eggs and sugar for a full 5-8 minutes. This dissolves the sugar and creates a meringue-like layer on top of the batter as it bakes. Don’t cut this step short!
- Make-Ahead Magic: You can bake these brownies a day or two in advance. In fact, I think their flavour and texture are even better on the second day. Just keep them well-covered at room temperature.
- Storage: Store the cut brownies in an airtight container at room temperature for up to 4 days. They can also be frozen. To freeze, wrap the uncut slab tightly in a double layer of cling film, then a layer of foil. They will keep well in the freezer for up to 3 months. Thaw at room temperature before cutting.
Equipment You’ll Need
- Electric hand mixer or stand mixer
- 20cm (8-inch) square baking tin
- Baking parchment
- Heatproof bowl and a small saucepan (for a bain-marie)
- Spatula and whisk
- Wire cooling rack
Common Mistakes to Avoid
- Over-baking the Brownies: The biggest mistake is treating brownies like a cake. If a skewer comes out clean, you’ve gone too far. You want moist, fudgy crumbs clinging to the skewer. Remember they continue to cook from residual heat as they cool in the tin.
- Using Cold Ingredients: As mentioned, room temperature eggs are a must. Using them straight from the fridge will prevent you from getting the volume needed for that crackly top.
- Cutting Them Too Soon: I know it’s tempting, but cutting warm brownies results in a gooey mess. For clean, neat squares and the best fudgy texture, you must let them cool completely in the tin. This allows the centre to set properly. Patience is a virtue here!
Delicious Variations to Try
Once you’ve mastered the classic fudge brownies recipe, it’s fun to experiment. The batter is very forgiving and works well with different additions. Here are a few of my favourites:
- Nutty Fudge Brownies: Add 100g of roughly chopped toasted walnuts, pecans, or hazelnuts to the batter along with the chocolate chips. The toasting brings out their flavour and adds a wonderful crunch.
- Espresso-Infused Brownies: For a deeper, more complex flavour, dissolve 2 teaspoons of instant espresso powder in the hot melted butter and chocolate mixture at the beginning. Coffee is a brilliant enhancer of chocolate.
- Salted Caramel Swirl: After pouring the batter into the tin, dollop about 4 tablespoons of thick salted caramel sauce over the top. Use a skewer to gently swirl it through the batter before baking for pockets of gooey caramel. If you’re looking for another sweet treat, my Cream Filled Donuts Treat is another winner.
What to Serve With Fudge Brownies
While these chocolate brownies are magnificent on their own, a simple pairing can elevate them into a truly show-stopping fudge dessert.
- Classic Vanilla Ice Cream: A scoop of good-quality vanilla bean ice cream melting over a slightly warmed brownie is a timeless combination. The contrast of warm, rich chocolate and cool, creamy vanilla is unbeatable.
- Fresh Berries: A small bowl of fresh raspberries or sliced strawberries on the side provides a lovely, sharp contrast that cuts through the richness of the brownie.
- A Good Cup of Coffee: A freshly brewed flat white, Americano, or a strong filter coffee is the ideal companion, as its slight bitterness beautifully complements the deep chocolate notes.
Frequently Asked Questions
Fudge Brownies
Ingredients
Method
- Prepare Your Tin: Preheat your oven to 180°C (160°C fan/Gas 4). Grease a 20cm square baking tin and line it with a single piece of baking parchment, leaving an overhang on two opposite sides. This will act as a 'sling' to lift the brownies out easily later.
- Melt the Chocolate and Butter: Place the cubed butter and broken dark chocolate in a medium, heatproof bowl. Set the bowl over a saucepan of barely simmering water (a bain-marie), making sure the bottom of the bowl doesn't touch the water. Stir occasionally until everything is completely melted and smooth. Remove from the heat and set aside to cool slightly for about 10 minutes.
- Sift Dry Ingredients: While the chocolate cools, sift the plain flour, cocoa powder, and sea salt into a separate bowl. Sifting is important as it removes lumps and aerates the mixture, leading to a more uniform texture. Give it a quick whisk to combine.
- Whip the Eggs and Sugar: In a large bowl, using an electric hand mixer or a stand mixer with the whisk attachment, beat the eggs and caster sugar together on high speed. Continue whisking for 5-8 minutes, until the mixture is very pale, thick, and has at least doubled in volume. When you lift the whisk, it should leave a ribbon-like trail on the surface for a few seconds. This step is vital for the crackly top.
- Combine the Mixtures: Gently pour the slightly cooled chocolate-butter mixture into the whipped eggs and sugar. Add the vanilla extract. Using a large spatula, carefully fold the mixtures together until just combined. You want to keep as much air in the eggs as possible, so be gentle.
- Fold in the Dry Ingredients: Add the sifted dry ingredients to the wet mixture in two batches. Fold them in gently with the spatula until you no longer see any streaks of flour. What works best for me is to stop folding just before it's fully combined to avoid over-mixing.
- Add Chocolate Chips (Optional): If you're using them, gently fold in the chocolate chips now. Be careful not to over-mix the batter at this stage.
- Bake to Perfection: Pour the glossy batter into your prepared tin and smooth the top with your spatula. Bake for 20-25 minutes. The edges should be set and pulling away from the sides slightly, and the top should be crackly. A skewer inserted into the centre should come out with moist, sticky crumbs attached, not wet batter.
- Cool Completely: This is the hardest part! Leave the brownies to cool completely in the tin on a wire rack. This allows them to set properly, developing their dense, fudgy texture. Don't even think about cutting them while they're warm. Once cool, use the parchment paper sling to lift the brownie slab out of the tin. Cut into 16 squares with a sharp knife.
Notes
I really hope you give this fudge brownies recipe a try. It’s a true staple in my kitchen, and seeing the joy it brings never gets old. There is something deeply satisfying about mastering a classic bake and sharing it with people you love. If you do make them, please drop a comment below and let me know how they turned out for you! Happy baking!
– Kira