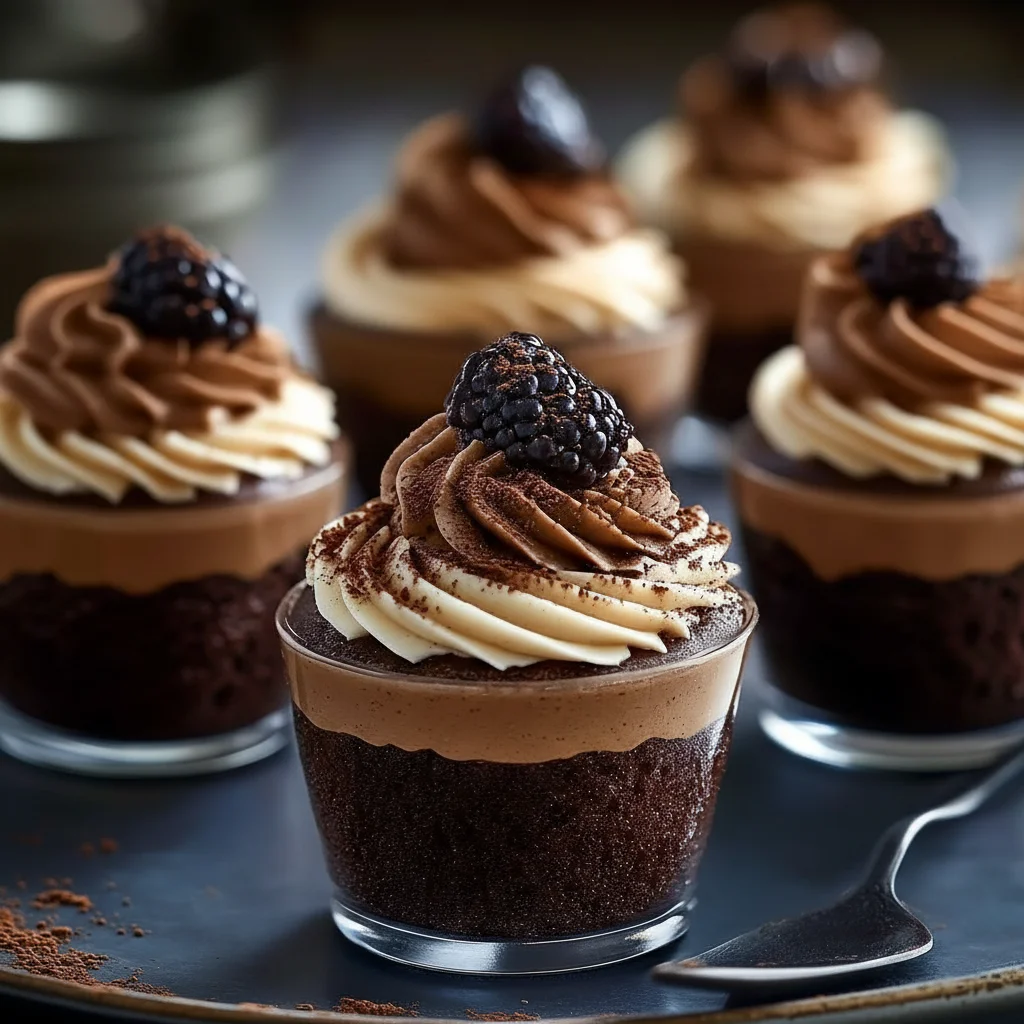
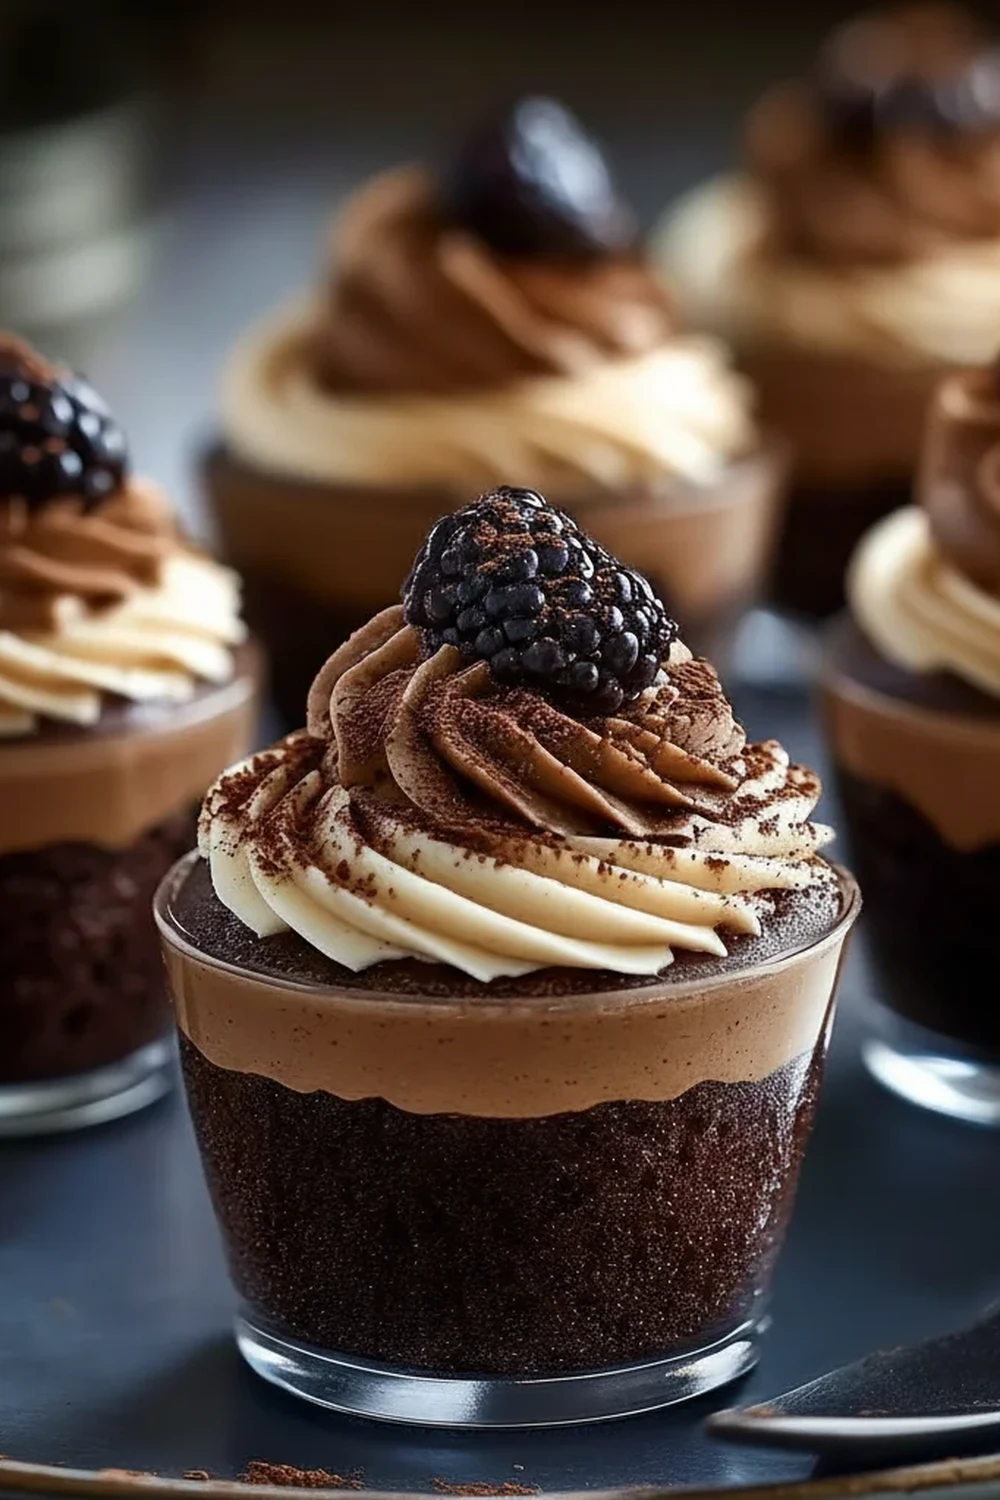
Chocolate Mousse Cups Dessert
There is something utterly magical about a truly great chocolate mousse. It’s that moment when your spoon sinks through a cloud-like texture, meeting no resistance, and you lift it to your mouth for a taste of pure, unadulterated chocolate bliss. It’s not just a dessert; it’s an experience. For me, these Chocolate Mousse Cups are the culmination of years of testing and tweaking. I’ve been making this for over 6 years, and it never disappoints, striking the perfect balance between intense, dark chocolate richness and an astonishingly light, airy texture that simply melts on the tongue.
This isn’t a heavy, dense pot de crème. This is a classic, French-style mousse, made with real melted chocolate, eggs, and cream, folded together with care to create that signature ethereal quality. It’s the kind of dessert that feels both incredibly luxurious and wonderfully comforting at the same time. This chocolate mousse recipe is ideal for when you want to present something elegant at the end of a meal with friends, but it’s also the perfect special treat for a quiet night in. It’s the little black dress of desserts – timeless, elegant, and always appreciated.
We’ll walk through every step together, from melting the chocolate to the crucial folding technique that gives the mousse its volume. Forget the packet mixes; once you see how achievable this is from scratch, you’ll never look back. The final result is a set of beautiful individual dessert cups, ready to be garnished and adored.
Recipe Overview
This recipe creates six individual Chocolate Mousse Cups with a deep, complex flavour from high-quality dark chocolate and a texture that is unbelievably light and silky. The process involves separating eggs and gently folding whipped components, which is the key to its airy structure. I’ve found that letting it chill for at least four hours is non-negotiable for the mousse to set properly and the flavours to meld beautifully.
- Prep Time: 25 minutes
- Chill Time: 4 hours
- Total Time: 4 hours 25 minutes
- Servings: 6 people
- Difficulty: Medium
Why You’ll Love This Chocolate Mousse Cups Recipe
- Intensely Rich Flavour: We use 70% cocoa dark chocolate, which delivers a profound chocolatey taste that’s rich and satisfying without being overly sugary. A tiny pinch of sea salt sharpens and elevates the cocoa notes.
- Comes Together in 25 Minutes: The active preparation time is remarkably short. Once you have your ingredients measured, the melting, whisking, and folding process flows smoothly before the fridge does the rest of the work.
- A Versatile Recipe: This mousse is a wonderful canvas. Add a teaspoon of instant espresso powder to the melting chocolate to intensify the flavour, or fold in a tablespoon of Grand Marnier or a good dark rum for a grown-up twist.
- Works Brilliantly for Dinner Parties: Because it needs to be made ahead, it’s a fantastic dessert for entertaining. It frees you up completely when your guests are over, and serving them in individual glasses or ramekins looks so elegant. It’s a great follow-up to a main like my Grilled Salmon With Lemon Butter Sauce Recipe.
- Family Tested and Adored: This recipe always gets compliments whenever I make it. My children love to help by adding the chocolate shavings on top, and it has become our family’s special request for birthdays and celebrations.
Ingredients You’ll Need
For a mousse this pure, the quality of your ingredients, especially the chocolate, is paramount. I always opt for a good quality dark chocolate with at least 70% cocoa solids, like Green & Black’s or Callebaut. It makes a world of difference to the final flavour, giving it depth and character.
- 200g good-quality dark chocolate (70% cocoa solids), finely chopped
- 4 large free-range eggs, at room temperature
- 100g caster sugar, divided
- 300ml double cream, cold
- 1 tsp vanilla extract
- A pinch of fine sea salt
- For Garnish (optional):
- Chocolate shavings or curls
- Fresh raspberries or strawberries
- A light dusting of cocoa powder
Kira’s Tip: Make sure your eggs are at room temperature. Cold eggs don’t whip up nearly as well, and you won’t get the volume you need for that light-as-air texture. I take mine out of the fridge an hour before I start.
How to Make Chocolate Mousse Cups
The process is all about temperature control and gentle folding. We’re creating three separate components – the chocolate base, the whipped egg whites, and the whipped cream – and then carefully bringing them together to preserve as much air as possible.
- Melt the Chocolate: Place the finely chopped dark chocolate in a heatproof bowl set over a saucepan of gently simmering water (a bain-marie). Make sure the bottom of the bowl doesn’t touch the water. Stir occasionally until the chocolate is completely melted and smooth. Remove from the heat and set aside to cool for about 10 minutes, until it’s lukewarm.
- Prepare the Eggs: Carefully separate the eggs, placing the yolks in one large mixing bowl and the whites in another spotlessly clean, grease-free mixing bowl. This is a crucial step; any trace of yolk in the whites will prevent them from whipping properly.
- Make the Chocolate Base: Add 50g of the caster sugar and the vanilla extract to the egg yolks. Using an electric hand whisk, beat for 2-3 minutes until the mixture is pale, thick, and has doubled in volume. This process of whipping yolks with sugar is what gives the mousse its rich, custardy foundation.
- Combine Chocolate and Yolks: Gently pour the slightly cooled melted chocolate into the egg yolk mixture. Use a spatula to fold it in until just combined. The mixture will be thick and glossy. Don’t overmix.
- Whip the Egg Whites: Add the pinch of salt to the egg whites. Using clean beaters, whisk the egg whites on a medium-high speed until they form soft peaks. Gradually add the remaining 50g of caster sugar, a tablespoon at a time, continuing to whisk until the whites are stiff and glossy. You should be able to turn the bowl upside down without them sliding out. You can learn more about the science of egg whites on food history sites like Wikipedia.
- Whip the Cream: In a separate bowl, whip the cold double cream until it holds soft peaks. Be careful not to overwhip, or it will become grainy. You want it to be thick but still have a soft, billowy texture.
- Fold it All Together (The Key Step): Take about a third of the whipped egg whites and fold them into the chocolate mixture to lighten it up. Then, gently fold in the remaining egg whites in two more additions. I find that using a large metal spoon and a figure-of-eight motion works best to keep the air in.
- Finish with Cream: Now, gently fold the softly whipped cream into the chocolate mixture in two stages. Continue with the same gentle folding motion until there are no more white streaks. The final mousse should be airy, even in colour, and uniform.
- Chill to Perfection: Carefully spoon or pipe the mousse into six small glasses, ramekins, or dessert cups. Cover each one with cling film and place them in the refrigerator to chill and set for at least 4 hours, or preferably overnight.
- Garnish and Serve: Just before serving, remove the Chocolate Mousse Cups from the fridge. Garnish with fresh raspberries, a few delicate chocolate shavings, or a dusting of cocoa powder.
Tips From My Kitchen
- Temperature is Everything: Your melted chocolate must be lukewarm, not hot. If it’s too warm when you add it to the egg yolks, you risk cooking them. If it’s too cold, it can seize up when it meets the cooler ingredients, resulting in a grainy mousse.
- The Folding Technique: I learned that the secret to a light mousse is patience during the folding stage. Use a large, flexible spatula and a gentle hand. Cut down through the middle of the mixture, scrape along the bottom of the bowl, and lift it up and over. Give the bowl a quarter turn and repeat. This incorporates everything without knocking out the precious air you’ve whipped in.
- Make-Ahead Magic: This is a wonderful dessert to make a day ahead. The flavours deepen and the texture becomes even more perfect overnight. Just keep them covered in the fridge until you’re ready to serve.
- Storing Leftovers: Any leftover mousse cups can be stored, covered, in the fridge for up to 3 days. The texture remains excellent for the first couple of days. I don’t recommend freezing this mousse as it can become watery upon thawing.
Equipment You’ll Need
- Heatproof bowls (for melting chocolate and mixing)
- Small saucepan (for the bain-marie)
- Electric hand whisk or stand mixer
- Flexible spatula or large metal spoon
- 6 small dessert glasses or ramekins
What to Serve With Chocolate Mousse Cups
While these Chocolate Mousse Cups are stunning on their own, a few simple accompaniments can elevate them even further. The goal is to add a complementary flavour or a contrasting texture.
- Fresh Berries: The slight tartness of fresh raspberries, strawberries, or even cherries provides a beautiful contrast to the deep richness of the chocolate mousse.
- Shortbread Biscuits: A crisp, buttery shortbread biscuit or a thin almond tuile served alongside offers a delightful crunch against the smoothness of the mousse.
- A Dollop of Cream: A small spoonful of crème fraîche or very lightly sweetened whipped cream can add another layer of creamy texture and a touch of tang.
- Coffee or Dessert Wine: A freshly brewed espresso or a small glass of a sweet dessert wine like a Port or a Banyuls makes for a sophisticated pairing to end a meal.
Frequently Asked Questions
Chocolate Mousse Cups
Ingredients
Method
- Melt the Chocolate: Place the finely chopped dark chocolate in a heatproof bowl set over a saucepan of gently simmering water (a bain-marie). Make sure the bottom of the bowl doesn't touch the water. Stir occasionally until the chocolate is completely melted and smooth. Remove from the heat and set aside to cool for about 10 minutes, until it's lukewarm.
- Prepare the Eggs: Carefully separate the eggs, placing the yolks in one large mixing bowl and the whites in another spotlessly clean, grease-free mixing bowl. This is a crucial step; any trace of yolk in the whites will prevent them from whipping properly.
- Make the Chocolate Base: Add 50g of the caster sugar and the vanilla extract to the egg yolks. Using an electric hand whisk, beat for 2-3 minutes until the mixture is pale, thick, and has doubled in volume. This process of whipping yolks with sugar is what gives the mousse its rich, custardy foundation.
- Combine Chocolate and Yolks: Gently pour the slightly cooled melted chocolate into the egg yolk mixture. Use a spatula to fold it in until just combined. The mixture will be thick and glossy. Don't overmix.
- Whip the Egg Whites: Add the pinch of salt to the egg whites. Using clean beaters, whisk the egg whites on a medium-high speed until they form soft peaks. Gradually add the remaining 50g of caster sugar, a tablespoon at a time, continuing to whisk until the whites are stiff and glossy. You should be able to turn the bowl upside down without them sliding out. You can learn more about the science of egg whites on food history sites like Wikipedia.
- Whip the Cream: In a separate bowl, whip the cold double cream until it holds soft peaks. Be careful not to overwhip, or it will become grainy. You want it to be thick but still have a soft, billowy texture.
- Fold it All Together (The Key Step): Take about a third of the whipped egg whites and fold them into the chocolate mixture to lighten it up. Then, gently fold in the remaining egg whites in two more additions. I find that using a large metal spoon and a figure-of-eight motion works best to keep the air in.
- Finish with Cream: Now, gently fold the softly whipped cream into the chocolate mixture in two stages. Continue with the same gentle folding motion until there are no more white streaks. The final mousse should be airy, even in colour, and uniform.
- Chill to Perfection: Carefully spoon or pipe the mousse into six small glasses, ramekins, or dessert cups. Cover each one with cling film and place them in the refrigerator to chill and set for at least 4 hours, or preferably overnight.
- Garnish and Serve: Just before serving, remove the Chocolate Mousse Cups from the fridge. Garnish with fresh raspberries, a few delicate chocolate shavings, or a dusting of cocoa powder.
Notes
I truly hope you enjoy making these Chocolate Mousse Cups. There is such satisfaction in creating something so elegant and delicious from a handful of simple, high-quality ingredients. It’s a recipe I come back to again and again, and I hope it becomes a favourite in your home too. If you do try it, I would love to hear how it went! Please leave a comment below and let me know your thoughts.
Happy cooking,
Kira