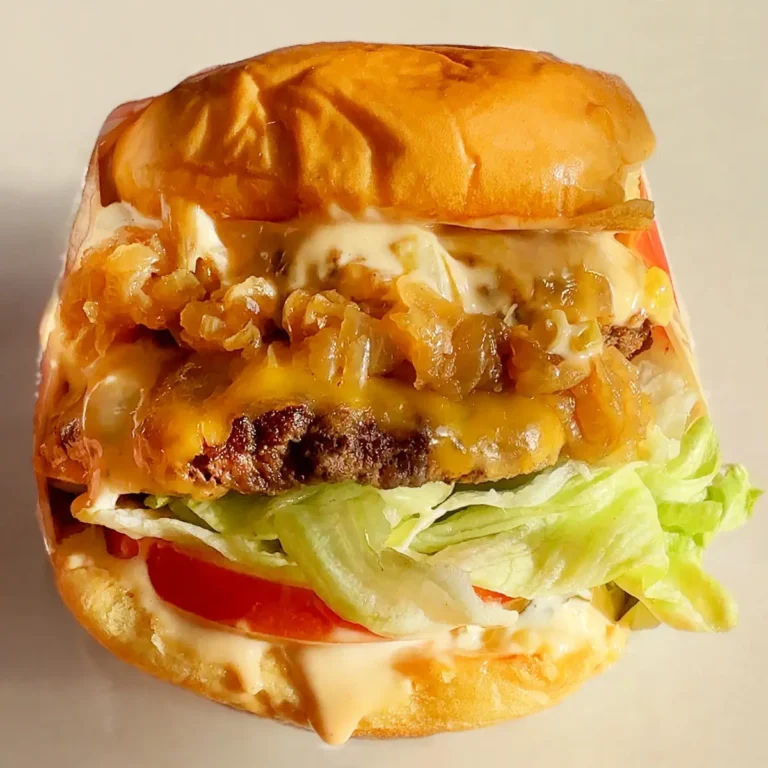
Classic American Cheeseburger
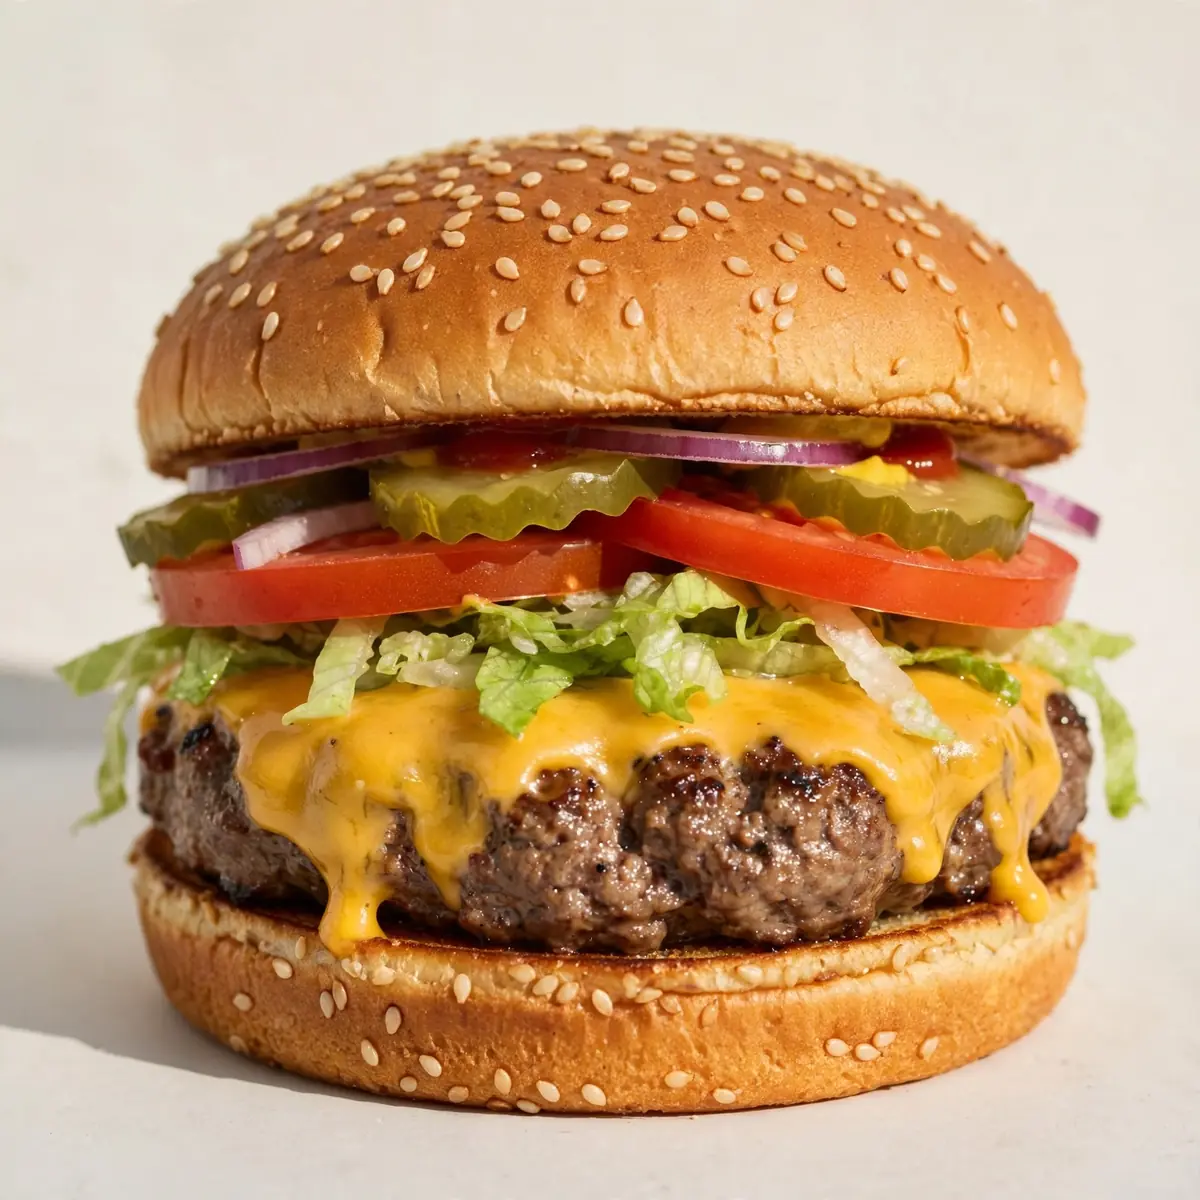
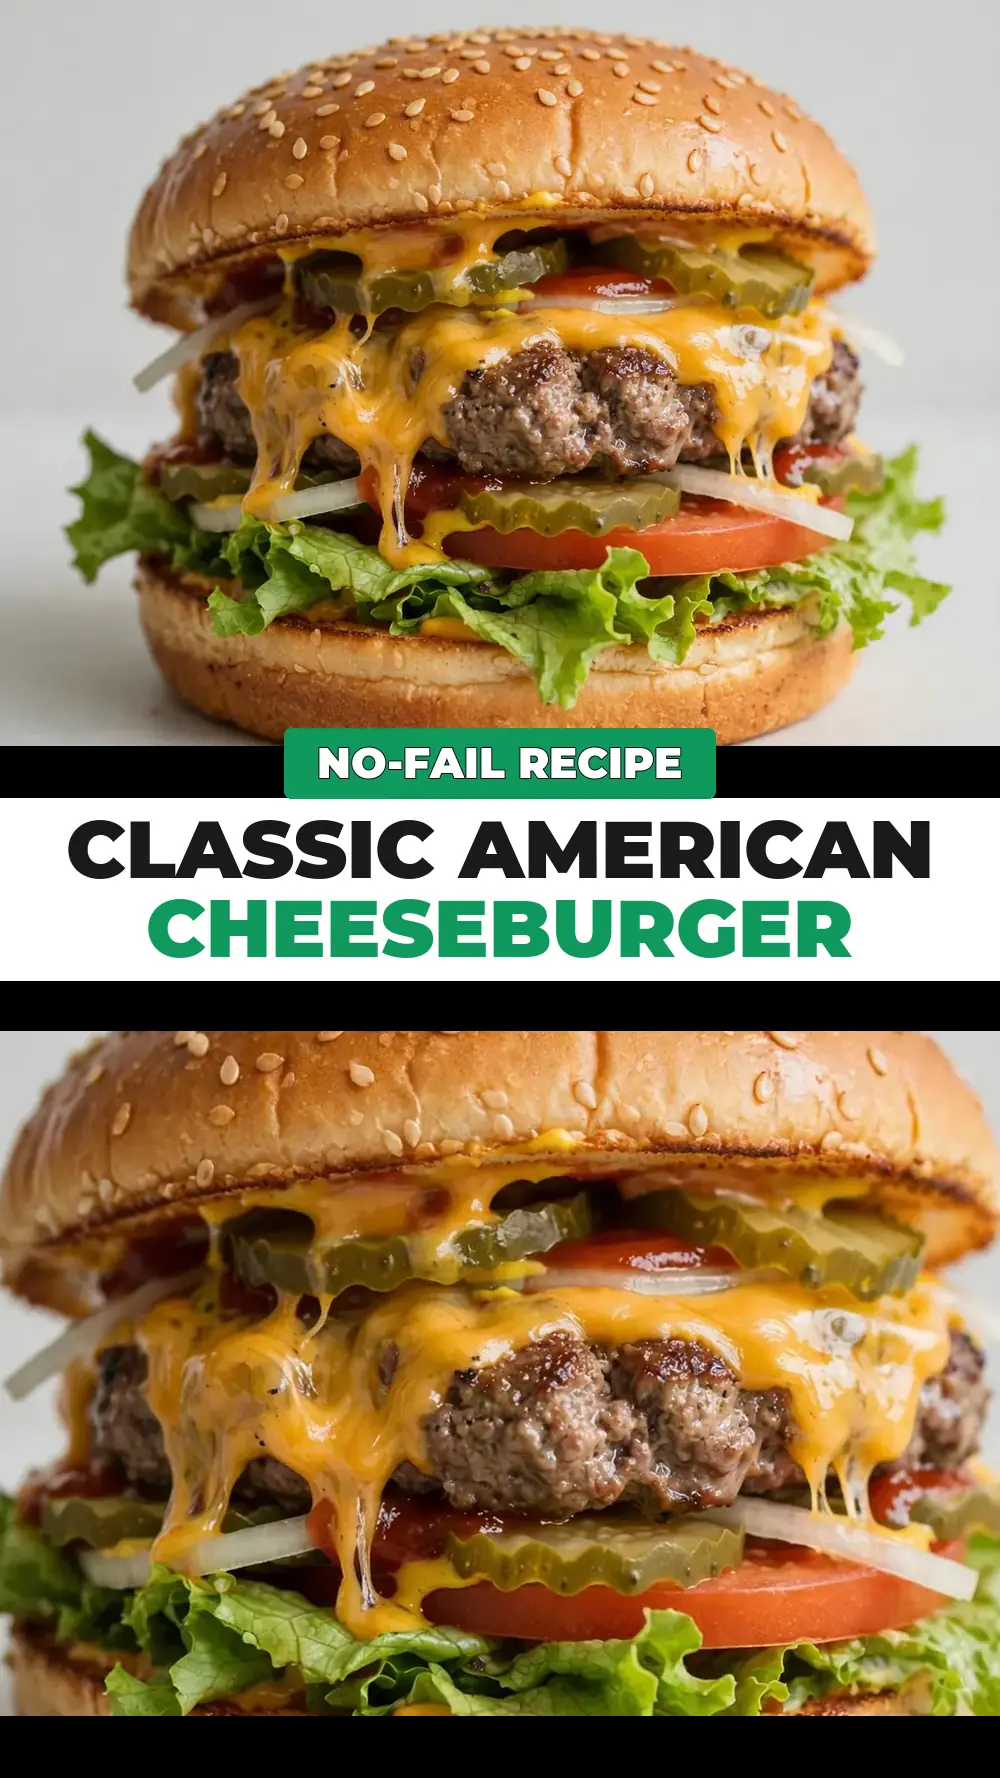
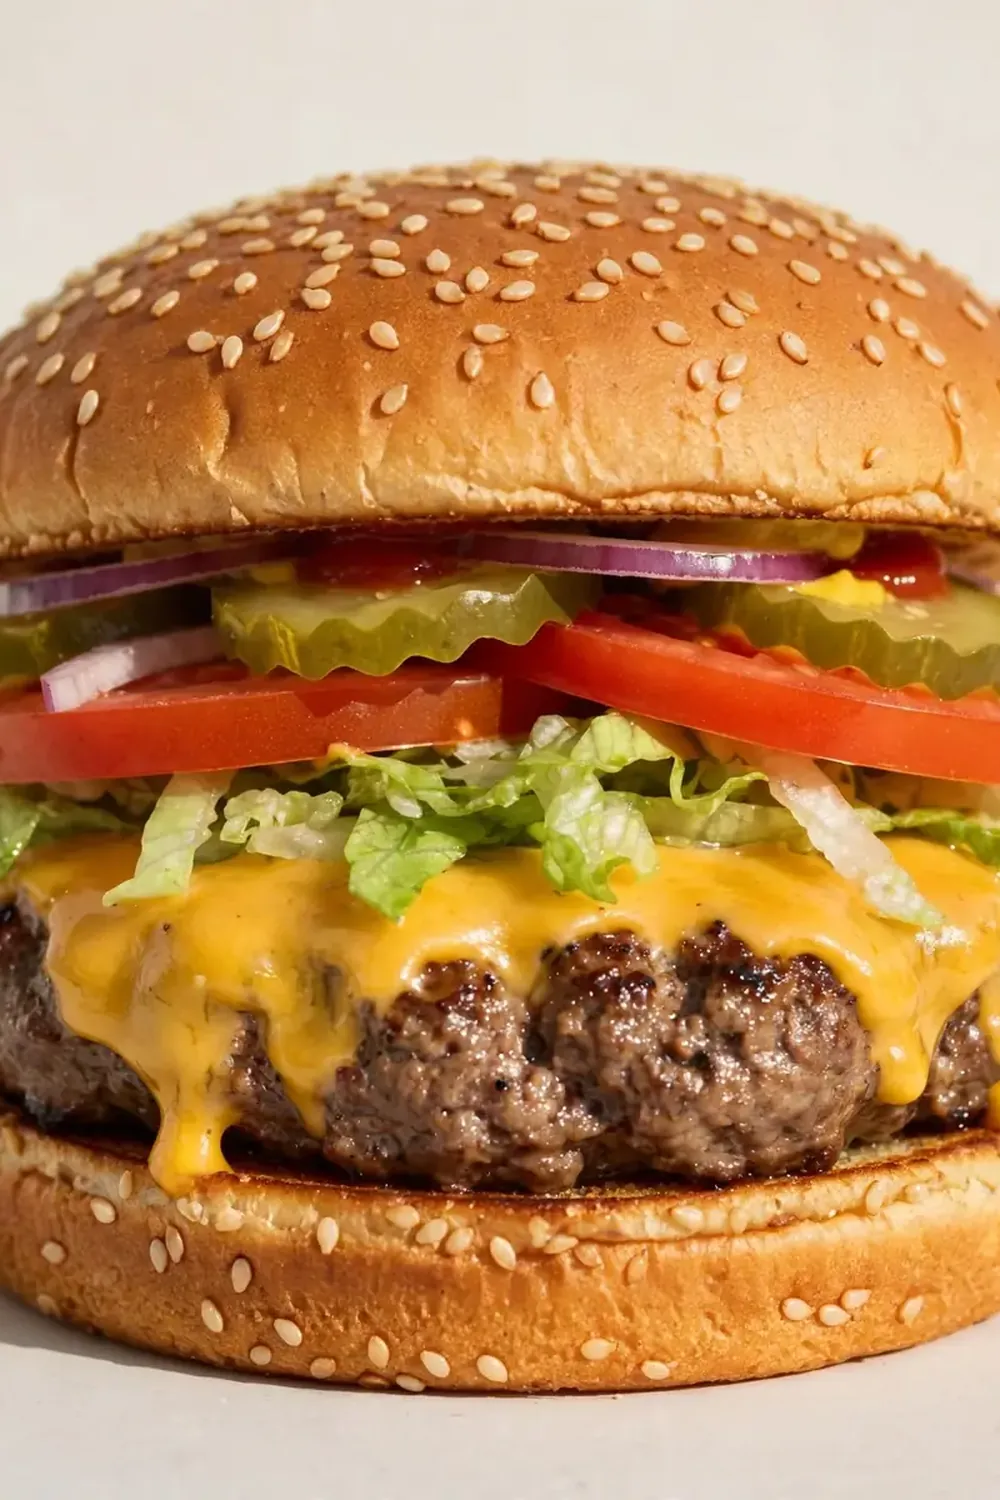
When I first set out to recreate the classic American cheeseburger for my dinner parties, I quickly realised the difference between a good burger and a restaurant-quality one lies entirely in the details—the sear, the bun, and the way it towers on the plate. This isn’t just another recipe; it’s my method for serving an impressive, towering cheeseburger that makes your guests feel like they’ve stepped into a high-end American diner, all from your home kitchen.
Recipe Overview
- Prep time: 20 minutes
- Cook time: 12 minutes
- Total time: 32 minutes
- Servings: 4 generous burgers
- Difficulty: Medium (requires a steady hand for flipping)
Why You’ll Love This Classic American Cheeseburger
- Restaurant-Quality Plating: We focus on the stack—perfectly melted cheese, a glossy bun, and crisp lettuce that sits upright, not soggy.
- The Ultimate Sear: A high-heat, crusty exterior locks in juices without drying out the centre, giving you that coveted ‘pub’ texture.
- Customisable Toppings Bar: It’s designed to be a showstopper where guests can add their own finishing touches, making them feel part of the experience.
- No Dry Burgers Here: A simple, but crucial, indent technique ensures the patty stays plump and juicy throughout cooking.
- Simple, Fresh Ingredients: You don’t need a long list of exotic items; it’s about mastering the basics with quality beef and a few clever tricks.
Ingredients You’ll Need
- 500g (1.1 lbs) good-quality beef mince (20% fat content for juiciness)
- 4 soft brioche burger buns
- 4 slices of American-style cheese (or mature cheddar if you prefer)
- 1 large red onion, thinly sliced
- 4 leaves of iceberg lettuce, washed and dried
- 2 large tomatoes, sliced into rounds
- 4 tablespoons of mayonnaise
- 2 tablespoons of tomato ketchup
- 1 tablespoon of American mustard
- 1 tablespoon of Worcestershire sauce (ensure it’s halal-friendly)
- 1 teaspoon of garlic powder
- 1 teaspoon of onion powder
- Salt and freshly ground black pepper, to taste
- 2 tablespoons of sunflower or vegetable oil (for frying)
- Pickles (gherkins) for serving
Tip: For the best results, take the mince out of the fridge 15 minutes before you start. It should be cool, not fridge-cold, which helps it cook evenly and prevents it from shrinking too much.
How to Make Classic American Cheeseburger
- Prepare the patties: In a large bowl, gently combine the mince with the garlic powder, onion powder, and a generous pinch of salt and pepper. Be careful not to overwork the meat, as this makes it tough. Divide the mixture into 4 equal portions and shape them into patties about 2cm (¾ inch) thick. Using your thumb, press a small indent into the centre of each patty. This prevents them from puffing up into a dome shape as they cook, keeping them flat and even.
- Get the pan screaming hot: Place a large frying pan or heavy-based skillet over a high heat. Add the oil and let it shimmer until it’s almost smoking—you should see a faint wisp of smoke. This high heat is essential for that deep, brown crust. Carefully lay the patties in the pan, leaving space between them. You should hear a loud, satisfying sizzle immediately.
- Cook the first side: Cook for 4 minutes without moving them. You’ll notice the edges start to turn a deep brown, and the raw redness on top will begin to fade. The smell of caramelising beef will fill your kitchen. Do not press down on the patties; you’ll squeeze out all the juice. After 4 minutes, carefully flip them with a spatula. The cooked side should be a rich, mahogany brown with crispy edges.
- Add the cheese and finish: Cook for another 3 minutes for a medium doneness. In the last minute of cooking, place a slice of cheese on each patty. Cover the pan with a lid or a piece of foil to trap the steam. This melts the cheese beautifully, creating a soft, gooey blanket over the meat. The cheese should be fully melted and slightly drooping over the edges.
- Toast the buns: While the patties rest (transfer them to a plate and cover loosely with foil), split your brioche buns. Place them cut-side down in the same pan (there should be a bit of residual fat left). Toast for about 1 minute, until the cut sides are golden brown and smell nutty. This step adds structure and prevents a soggy bun.
- Build the burger for presentation: Spread a generous layer of mayonnaise on the bottom bun. Add a few slices of tomato and a pinch of salt. Place the cheese-topped patty on top. Add the crispy lettuce leaf, a few slices of red onion, and a dollop of ketchup and mustard on the top bun. Close the burger and secure it with a long cocktail stick if needed. The stack should look tall, vibrant, and perfectly balanced.
Tips From My Kitchen
- The 20% Fat Rule: I used to use lean mince, thinking it was healthier, but the burgers were always dry. You need at least 20% fat content. It renders out during cooking, basting the patty from the inside and creating that unctuous, juicy bite. It also helps form that crisp crust. My husband, who’s usually picky, asked for seconds the first time I used this ratio!
- Don’t Overmix the Mince: When you mix salt and seasonings into the meat, you’re essentially beginning the denaturing process of the proteins. Overmixing creates a dense, sausage-like texture. I use a fork to gently fluff the ingredients together, then shape the patties with light hands. The goal is a loose, craggy surface that browns beautifully.
- The Indent is Non-Negotiable: This was a game-changer for me. As the patty cooks, the fibres contract. Without a dimple in the centre, the burger will bulge into a football shape. By pressing a small well in the middle, you counteract this expansion, resulting in a perfectly flat patty that fits neatly inside the bun and cooks evenly from edge to edge.
- Rest Your Patties: Just like a steak, your burger patty needs a brief rest after cooking. I let them sit under a loose foil tent for 2 minutes. This allows the juices, which are bubbling furiously inside, to settle back into the meat fibres. If you cut into it immediately, you’ll have a puddle of juice on your plate instead of a moist burger.
- Layer for Stability: The secret to a tall, restaurant-style burger that doesn’t fall apart is strategic layering. Put the wetter ingredients (like tomato and sauce) on the bottom bun, and the drier, crisp ingredients (like lettuce) on top. This prevents the bottom bun from getting soggy and keeps the lettuce from wilting against the hot patty.
Equipment You’ll Need
- Large frying pan or skillet (cast iron is ideal)
- Sharp knife and cutting board
- Mixing bowls (one large, one small)
- Spatula (preferably a flat, metal one for flipping)
- Lid or sheet of foil (for melting cheese)
- Long cocktail sticks (for securing the tower)
Delicious Variations to Try
- Spicy Version: To add a kick of heat, mix a finely chopped jalapeño (deseeded) into the mince before shaping. You can also swap the standard ketchup for a chipotle ketchup or add a drizzle of sriracha to the top bun.
- Vegetarian/Vegan Option: Use a sturdy, plant-based patty (like a black bean or beetroot burger) and follow the same searing instructions. Replace the cheese with a vegan melting slice and use a plant-based mayonnaise. The layering and toppings remain exactly the same for a stunning result.
- Different Protein: For a lighter take, use a ground chicken or turkey patty. Because these are leaner, add 1 tablespoon of olive oil and 1 tablespoon of breadcrumbs to the mixture to keep them moist. Cook them for a minute less on each side to avoid drying them out.
What to Serve With Classic American Cheeseburger
A towering burger like this deserves sides that complement without stealing the show. I always serve mine with a side of thick-cut, oven-baked potato wedges seasoned with paprika and salt. For a lighter option, a simple mixed green salad with a sharp vinaigrette cuts through the richness beautifully. You could also try a batch of crunchy onion rings or a simple coleslaw for a classic diner feel. For a complete meal, consider starting with a light starter like our Summer Grilled Chicken Salad to balance the heartiness of the main course.
- Thick-cut potato wedges
- Simple green salad with vinaigrette
- Crunchy onion rings
- Classic coleslaw
Frequently Asked Questions
Classic American Cheeseburger
Ingredients
Method
- Prepare the patties: In a large bowl, gently combine the mince with the garlic powder, onion powder, and a generous pinch of salt and pepper. Be careful not to overwork the meat, as this makes it tough. Divide the mixture into 4 equal portions and shape them into patties about 2cm (¾ inch) thick. Using your thumb, press a small indent into the centre of each patty. This prevents them from puffing up into a dome shape as they cook, keeping them flat and even.
- Get the pan screaming hot: Place a large frying pan or heavy-based skillet over a high heat. Add the oil and let it shimmer until it’s almost smoking—you should see a faint wisp of smoke. This high heat is essential for that deep, brown crust. Carefully lay the patties in the pan, leaving space between them. You should hear a loud, satisfying sizzle immediately.
- Cook the first side: Cook for 4 minutes without moving them. You’ll notice the edges start to turn a deep brown, and the raw redness on top will begin to fade. The smell of caramelising beef will fill your kitchen. Do not press down on the patties; you’ll squeeze out all the juice. After 4 minutes, carefully flip them with a spatula. The cooked side should be a rich, mahogany brown with crispy edges.
- Add the cheese and finish: Cook for another 3 minutes for a medium doneness. In the last minute of cooking, place a slice of cheese on each patty. Cover the pan with a lid or a piece of foil to trap the steam. This melts the cheese beautifully, creating a soft, gooey blanket over the meat. The cheese should be fully melted and slightly drooping over the edges.
- Toast the buns: While the patties rest (transfer them to a plate and cover loosely with foil), split your brioche buns. Place them cut-side down in the same pan (there should be a bit of residual fat left). Toast for about 1 minute, until the cut sides are golden brown and smell nutty. This step adds structure and prevents a soggy bun.
- Build the burger for presentation: Spread a generous layer of mayonnaise on the bottom bun. Add a few slices of tomato and a pinch of salt. Place the cheese-topped patty on top. Add the crispy lettuce leaf, a few slices of red onion, and a dollop of ketchup and mustard on the top bun. Close the burger and secure it with a long cocktail stick if needed. The stack should look tall, vibrant, and perfectly balanced.
Notes
I love hearing how this recipe turns out in your kitchen—whether you’ve tried the spicy variation or found a new favourite topping combination. Drop a comment below to share your experience or ask any questions you might have about getting that perfect, restaurant-quality finish at home. Happy cooking!