Garlic Butter Baked Chicken Legs
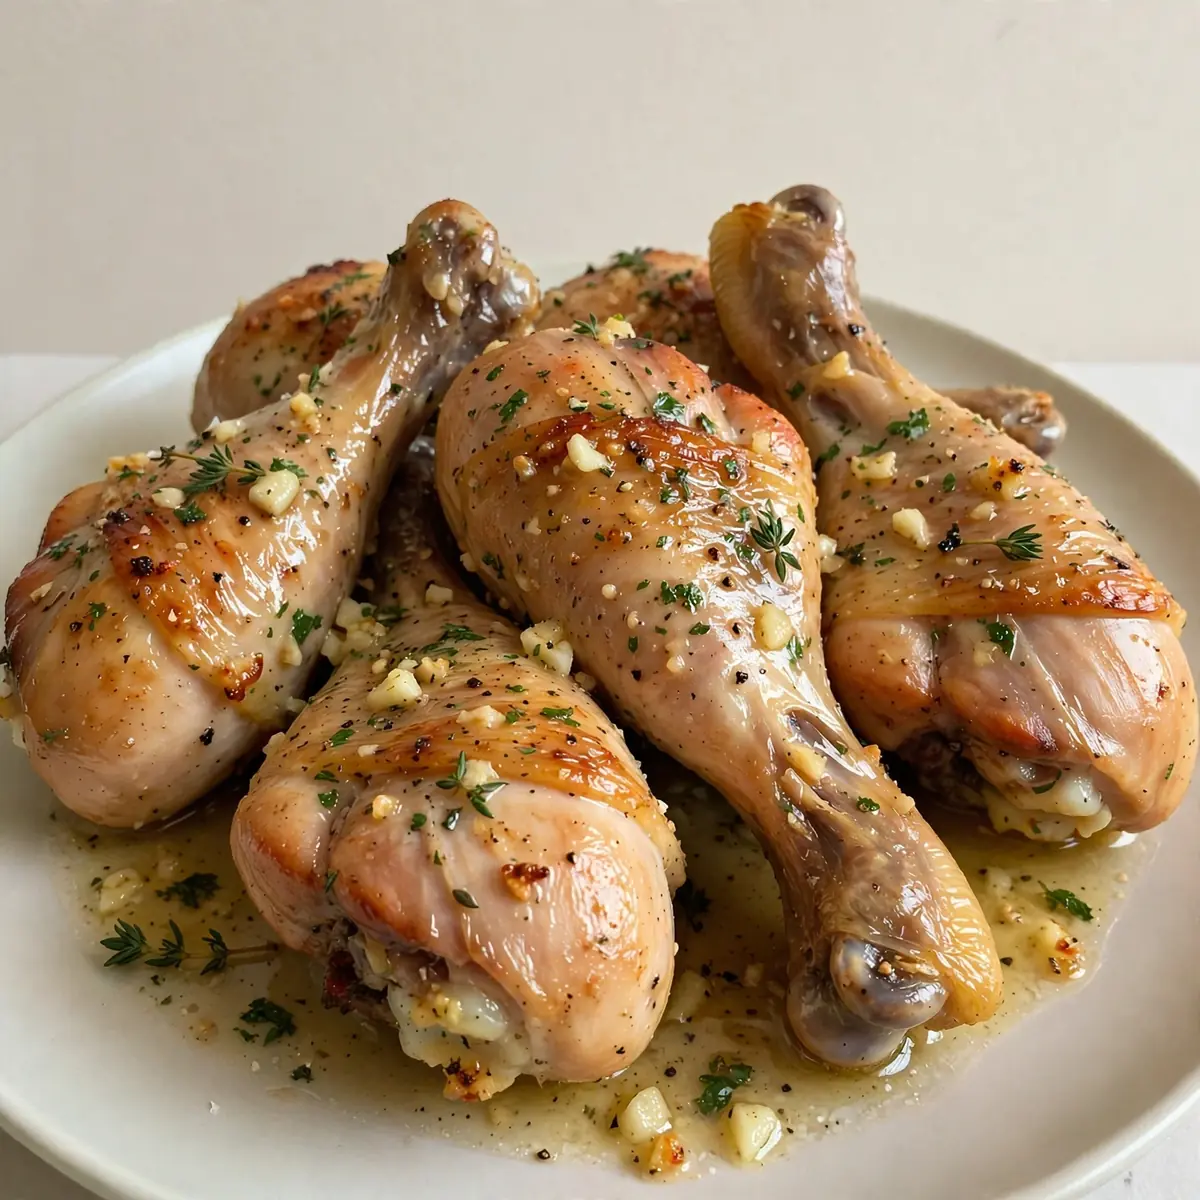
Friends always ask me for this recipe after trying it at dinner parties, and the secret is in the details. This isn’t just another chicken leg recipe; it’s a study in how a few deliberate choices—a perfect sear, a compound butter, and a final glaze—can transform a humble cut of meat into a showstopping main course that looks as good as it tastes.
Recipe Overview
- Prep Time: 20 minutes
- Cook Time: 45 minutes
- Total Time: 1 hour 5 minutes
- Servings: 4
- Difficulty: Easy
Why You’ll Love This Garlic Butter Baked Chicken Legs
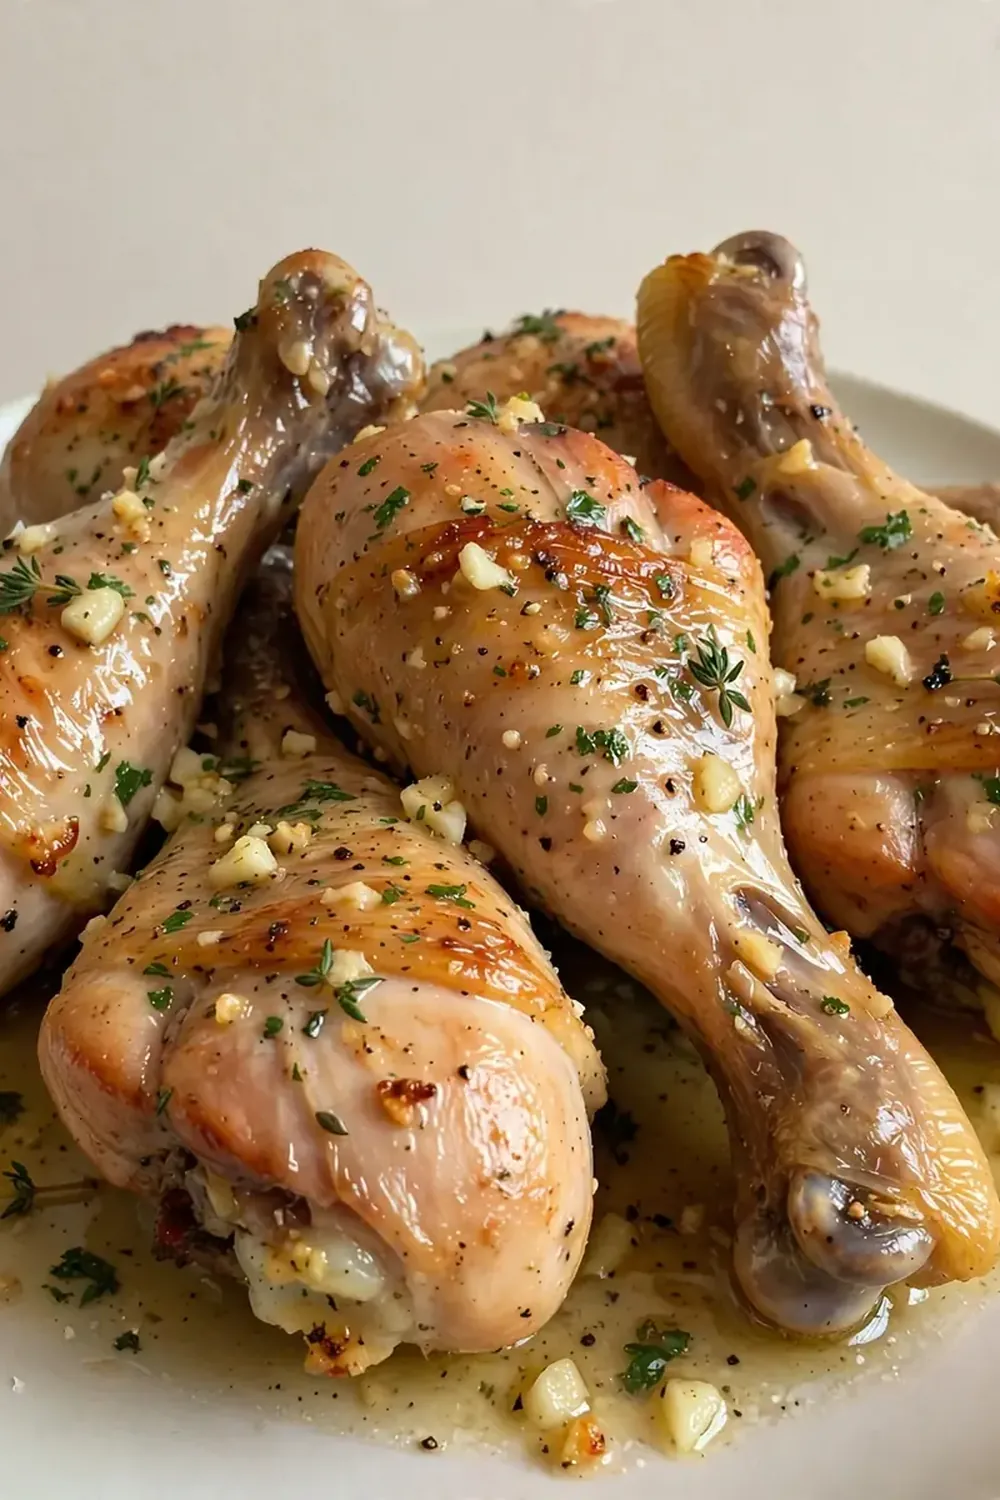
- Restaurant Plating at Home: The glossy, golden-brown exterior and vibrant herb garnish make it look like a dish you’d order in a fine dining establishment.
- Deeply Flavourful Meat: The garlic butter doesn’t just sit on the skin; it infuses the meat as it renders, creating a savoury richness from the bone out.
- Foolproof Cooking Method: The combination of an initial sear and a gentle bake guarantees juicy, tender meat with irresistibly crispy skin every single time.
- Make-Ahead Friendly: You can prep the garlic butter and even sear the chicken legs hours in advance, making your dinner party hosting stress-free.
- Customisable for Your Table: From a spicy kick to a herby twist, this recipe is a canvas for your own culinary signature, easily tailored to any guest’s preference.
Ingredients You’ll Need
- 8 chicken legs (drumsticks and thighs, about 1.2 kg total)
- 100g unsalted butter, softened
- 6 cloves garlic, finely minced
- 2 tablespoons fresh parsley, finely chopped, plus extra for garnish
- 1 tablespoon fresh thyme leaves
- 1 teaspoon smoked paprika
- 1 teaspoon sea salt
- ½ teaspoon freshly ground black pepper
- 1 tablespoon olive oil
- 150ml chicken stock
- 1 tablespoon lemon juice
Tip: Use the best quality, free-range chicken legs you can find. The superior flavour and texture will be immediately apparent in the final dish, and your guests will notice the difference.
How to Make Garlic Butter Baked Chicken Legs
- Prepare the Garlic Butter: In a small bowl, combine the softened butter, minced garlic, parsley, thyme, smoked paprika, salt, and pepper. Mash it together with a fork until everything is evenly distributed. You’ll smell the fragrant garlic and herbs immediately—a promise of the flavour to come.
- Preheat and Prep: Preheat your oven to 200°C (fan 180°C / Gas Mark 6). Pat the chicken legs completely dry with kitchen paper. This step is crucial; dry skin will sear beautifully, while wet skin will steam and turn rubbery. The paper should feel almost dry after you’ve blotted them.
- Create the Butter Pocket: Using your fingers, gently loosen the skin of each chicken leg from the meat, creating a small pocket. Be careful not to tear the skin. Slide about a teaspoon of the garlic butter mixture under the skin of each piece, pressing it down to spread it evenly over the meat. The skin will look slightly puffy and speckled with herbs.
- Sear for Golden Perfection: Heat the olive oil in a large, oven-safe skillet or frying pan over medium-high heat. When the oil shimmers and a drop of water sizzles on contact, place the chicken legs skin-side down. Sear for 3-4 minutes without moving them. You are listening for a steady, satisfying sizzle and looking for a deep, even golden-brown colour. The skin will tighten and turn glossy.
- Build the Pan Sauce: Flip the chicken legs so the seared side is up. Pour the chicken stock into the hot pan. It will bubble up immediately, releasing the browned bits (the fond) from the bottom of the pan with a wooden spoon. This liquid will become a savoury base that keeps the chicken moist during baking.
- Bake to Juicy Tenderness: Transfer the skillet to the preheated oven. Bake for 35-40 minutes. Halfway through, baste the chicken legs with the pan juices. The chicken is ready when the skin is a rich, deep amber, the juices run clear when pierced with a knife, and the internal temperature reaches 74°C. The aroma filling your kitchen will be intoxicatingly savoury.
- Rest and Glaze: Remove the skillet from the oven. Carefully transfer the chicken legs to a warm serving platter. Whisk the lemon juice into the pan juices—the acidity will brighten the whole dish. The sauce should be slightly thickened and glossy. Pour a little over the chicken as a final glaze, then sprinkle with fresh parsley.
Tips From My Kitchen
- Dry the Skin Meticulously: Moisture is the enemy of crispy skin. After patting the chicken dry, you can even leave it uncovered in the fridge for an hour to allow the skin to dry out further. This creates a surface that crisps up beautifully in the pan and stays crunchy in the oven.
- Don’t Skip the Sear: The Maillard reaction that happens during searing is your best friend. It creates hundreds of new flavour compounds that no amount of baking alone can replicate. This initial browning is what gives the final dish its deep, savoury complexity.
- Use an Oven-Safe Thermometer: For perfectly juicy chicken, an instant-read thermometer is non-negotiable. Overcooking is the most common mistake. Pull the chicken from the oven at exactly 74°C; the residual heat will carry it to a safe 77°C as it rests.
- Let the Pan Do the Work: When searing, don’t crowd the pan. If you can’t fit all the legs comfortably, sear them in batches. Overcrowding drops the pan’s temperature, causing the chicken to steam instead of sear. You want that satisfying sizzle, not a hiss of steam.
- Rest for juiciness: Allowing the chicken to rest for 5-10 minutes after baking is vital. This lets the juices, which have been pushed to the centre by the heat, redistribute evenly throughout the meat. If you cut into it immediately, those precious juices will run out onto the plate, leaving you with dry meat.
Equipment You’ll Need
- Large oven-safe skillet or frying pan (cast iron is ideal)
- Small mixing bowl
- Kitchen paper
- Sharp knife and cutting board
- Instant-read meat thermometer
- Wooden spoon or spatula
- Serving platter
Common Mistakes to Avoid
- Overcrowding the pan: When searing, leaving space between each piece of chicken is essential. If the pan is too full, the temperature plummets, and the chicken releases steam instead of forming a crisp, golden crust. Sear in two batches if necessary to maintain that intense heat.
- Wrong temperature: Baking at too low a temperature will dry out the meat before the skin crisps, while too high a temperature will burn the garlic butter before the chicken is cooked through. The 200°C (fan 180°C) mark is the sweet spot for achieving both a crisp exterior and a tender, juicy interior.
- Skipping the rest time: Cutting into the chicken immediately after it comes out of the oven is a common but costly mistake. The resting period allows the muscle fibres to relax and reabsorb the juices, ensuring every bite is succulent and flavourful rather than dry and stringy.
Delicious Variations to Try
- Spicy Version: Add 1 teaspoon of red chilli flakes or a finely chopped red chilli to the garlic butter. For extra heat, drizzle a little harissa paste over the chicken before serving.
- Vegetarian/Vegan Option: Replace the chicken with large portobello mushrooms or thick slices of cauliflower steak. Use a high-quality vegan butter and vegetable stock. The cooking time will be significantly shorter, about 20-25 minutes, so keep a close eye on them.
- Different Protein: This garlic butter is magnificent on chicken thighs or drumsticks, but it also works beautifully on a whole chicken (increase cooking time accordingly) or even on firm white fish like cod or haddock (reduce cooking time to 15-20 minutes).
What to Serve With Garlic Butter Baked Chicken Legs
- Fluffy mashed potatoes to soak up the pan juices. If you’re looking for a perfect start to the day, our Fluffy Pancakes Recipe Breakfast is a wonderful treat, but for this dinner, creamy mash is king.
- Steamed green beans or tenderstem broccoli, simply dressed with a squeeze of lemon.
- A crisp, green salad with a sharp vinaigrette to cut through the richness of the butter.
- For another show-stopping protein, consider our Steak Bites With Garlic Butter Recipe as a starter.
Still hungry for ideas? You might also love Garlic Butter Chicken And Veggies 2, Creamy Indian Butter Chicken Recipe from our sister kitchens.
Frequently Asked Questions
Garlic Butter Baked Chicken Legs
Ingredients
Method
- Prepare the Garlic Butter: In a small bowl, combine the softened butter, minced garlic, parsley, thyme, smoked paprika, salt, and pepper. Mash it together with a fork until everything is evenly distributed. You'll smell the fragrant garlic and herbs immediately—a promise of the flavour to come.
- Preheat and Prep: Preheat your oven to 200°C (fan 180°C / Gas Mark 6). Pat the chicken legs completely dry with kitchen paper. This step is crucial; dry skin will sear beautifully, while wet skin will steam and turn rubbery. The paper should feel almost dry after you've blotted them.
- Create the Butter Pocket: Using your fingers, gently loosen the skin of each chicken leg from the meat, creating a small pocket. Be careful not to tear the skin. Slide about a teaspoon of the garlic butter mixture under the skin of each piece, pressing it down to spread it evenly over the meat. The skin will look slightly puffy and speckled with herbs.
- Sear for Golden Perfection: Heat the olive oil in a large, oven-safe skillet or frying pan over medium-high heat. When the oil shimmers and a drop of water sizzles on contact, place the chicken legs skin-side down. Sear for 3-4 minutes without moving them. You are listening for a steady, satisfying sizzle and looking for a deep, even golden-brown colour. The skin will tighten and turn glossy.
- Build the Pan Sauce: Flip the chicken legs so the seared side is up. Pour the chicken stock into the hot pan. It will bubble up immediately, releasing the browned bits (the fond) from the bottom of the pan with a wooden spoon. This liquid will become a savoury base that keeps the chicken moist during baking.
- Bake to Juicy Tenderness: Transfer the skillet to the preheated oven. Bake for 35-40 minutes. Halfway through, baste the chicken legs with the pan juices. The chicken is ready when the skin is a rich, deep amber, the juices run clear when pierced with a knife, and the internal temperature reaches 74°C. The aroma filling your kitchen will be intoxicatingly savoury.
- Rest and Glaze: Remove the skillet from the oven. Carefully transfer the chicken legs to a warm serving platter. Whisk the lemon juice into the pan juices—the acidity will brighten the whole dish. The sauce should be slightly thickened and glossy. Pour a little over the chicken as a final glaze, then sprinkle with fresh parsley.
Notes
I stumbled upon this combination by accident, and it’s been a hit ever since. The way the butter melts into the meat, the way the skin turns into a golden, glassy shell—it’s the kind of food that makes people close their eyes when they take a bite. Try this recipe for your next gathering, and I promise you’ll be asked for the recipe before the plates are cleared. Leave a comment below and let me know how your guests reacted!