Classic Green Bean Casserole
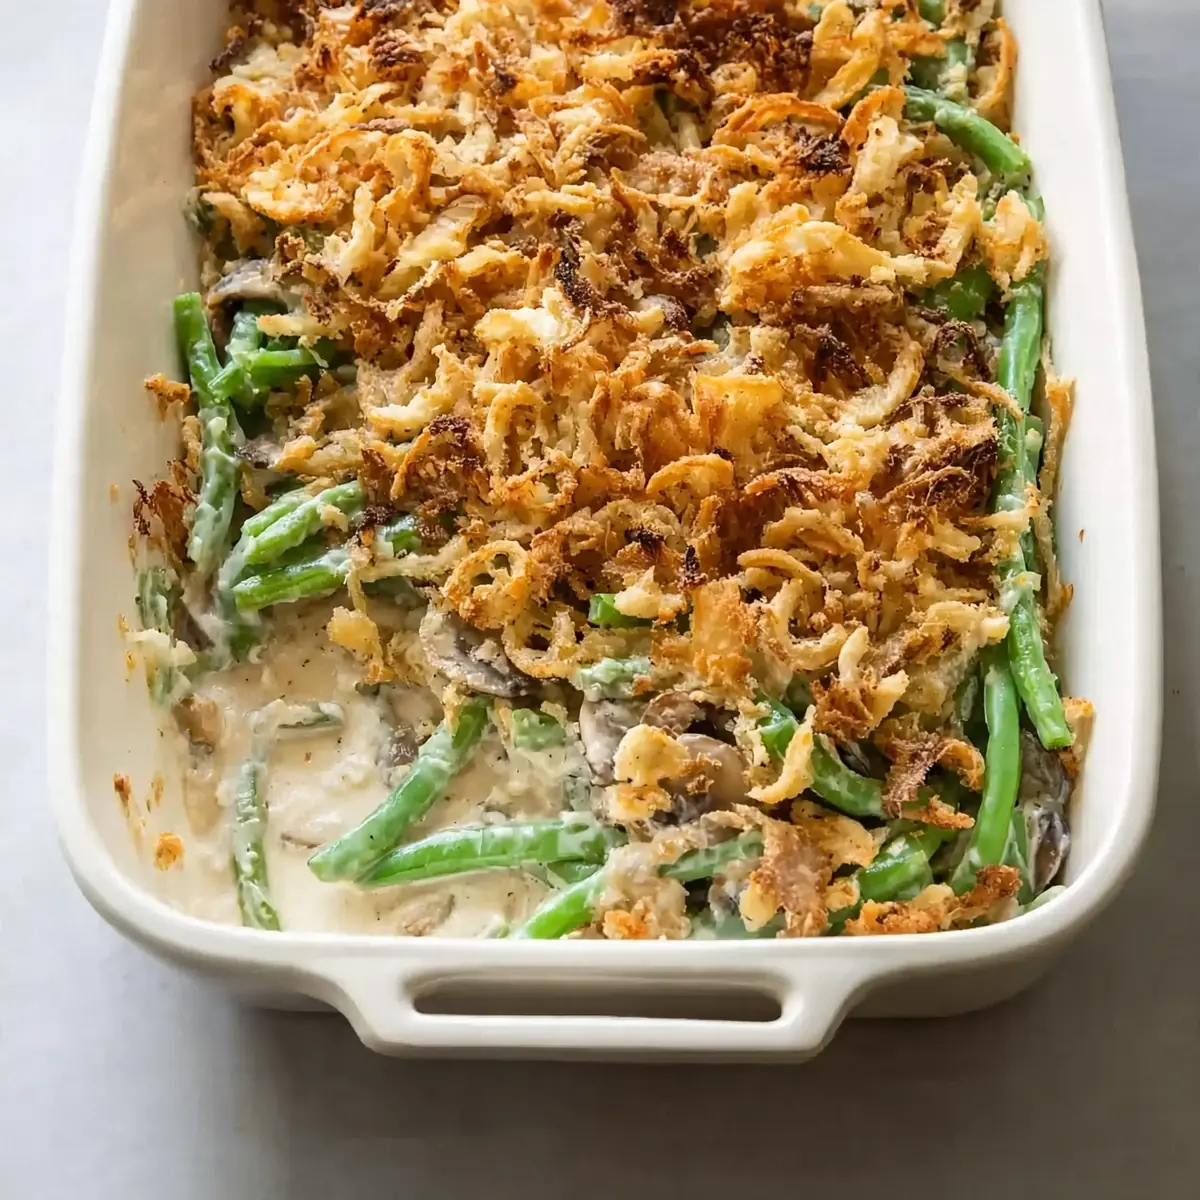
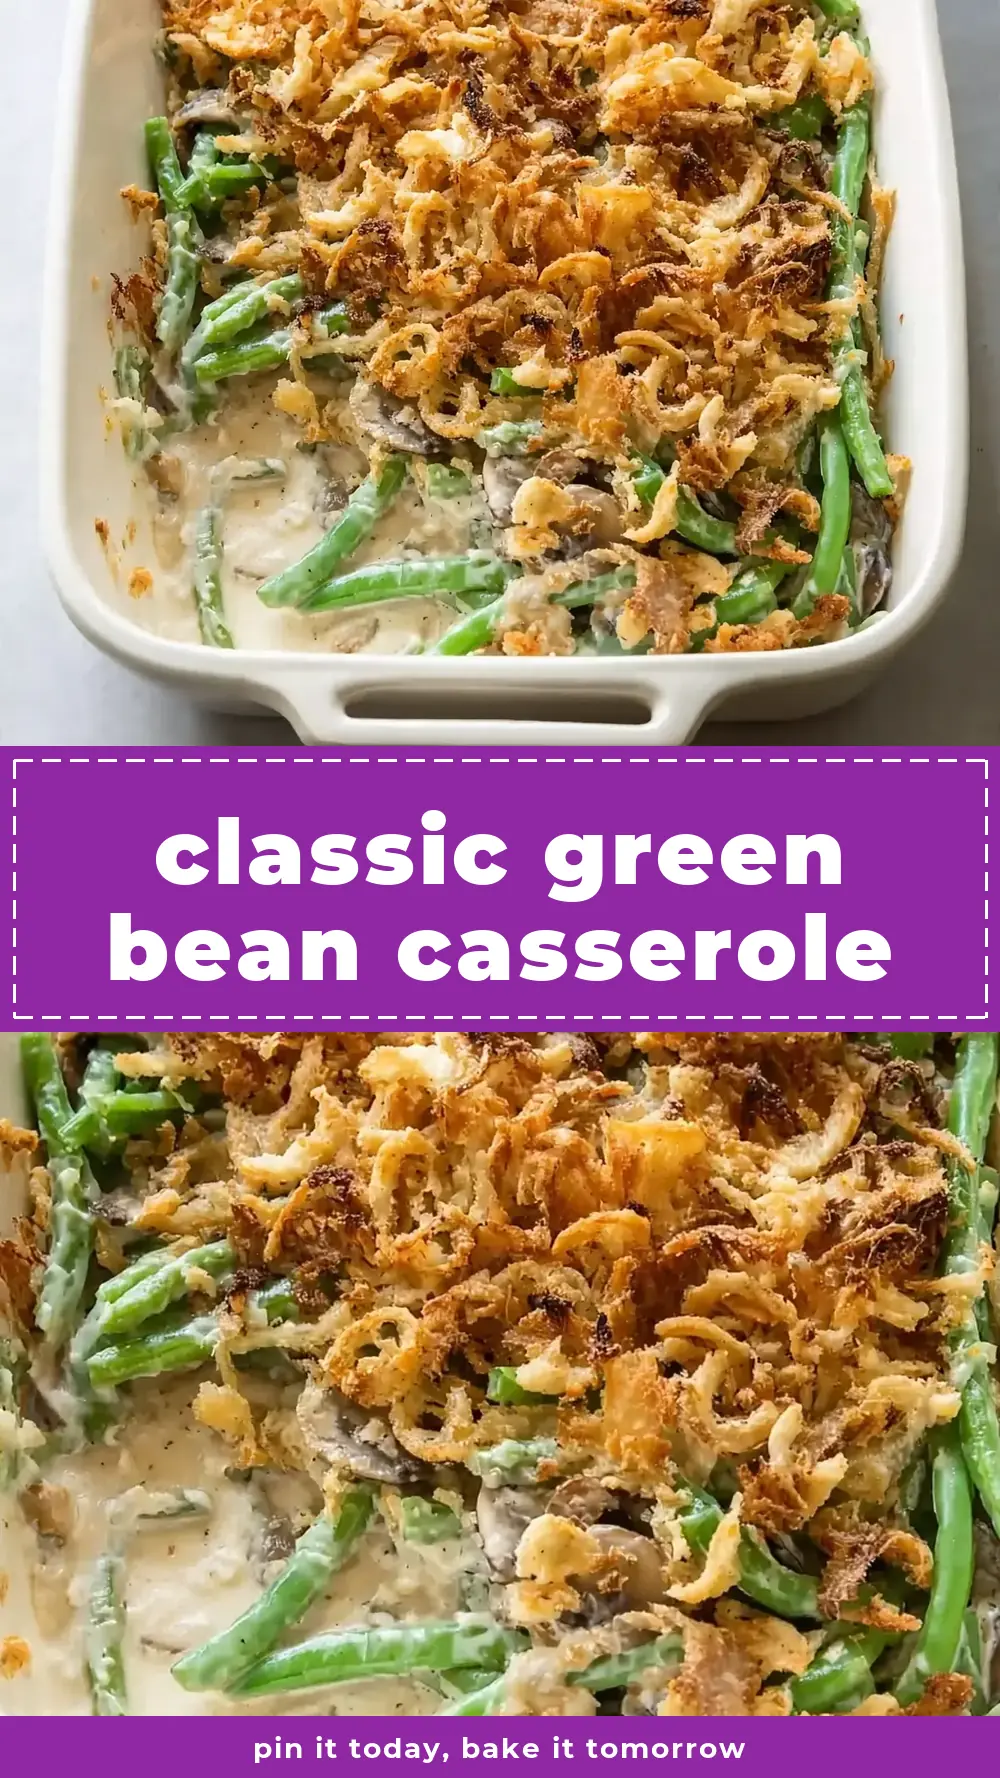
I still remember the first time I served my Classic Green Bean Casserole at a dinner party. It wasn’t the usual scoop from a baking dish; I had spent an afternoon perfecting a restaurant-quality presentation. The silence that fell over the table as everyone took their first bite, followed by my husband, who’s usually picky, asking for seconds, was all the confirmation I needed. This isn’t just a side dish; it’s a statement piece that will have your guests asking for the recipe before they leave.
Recipe Overview
- Prep Time: 25 minutes
- Cook Time: 35 minutes
- Total Time: 1 hour
- Servings: 8
- Difficulty: Medium
Why You’ll Love This Classic Green Bean Casserole
- Restaurant-Quality Plating: This recipe focuses on individual portions and beautiful layering, turning a humble side into the star of your table.
- Fresh, Vibrant Beans: We use fresh green beans, which maintain a brilliant green colour and a satisfying snap, rather than the mushy texture of canned options.
- Deep, Savoury Flavour: A homemade mushroom sauce made with fresh thyme and a touch of garlic elevates the flavour profile far beyond any condensed soup.
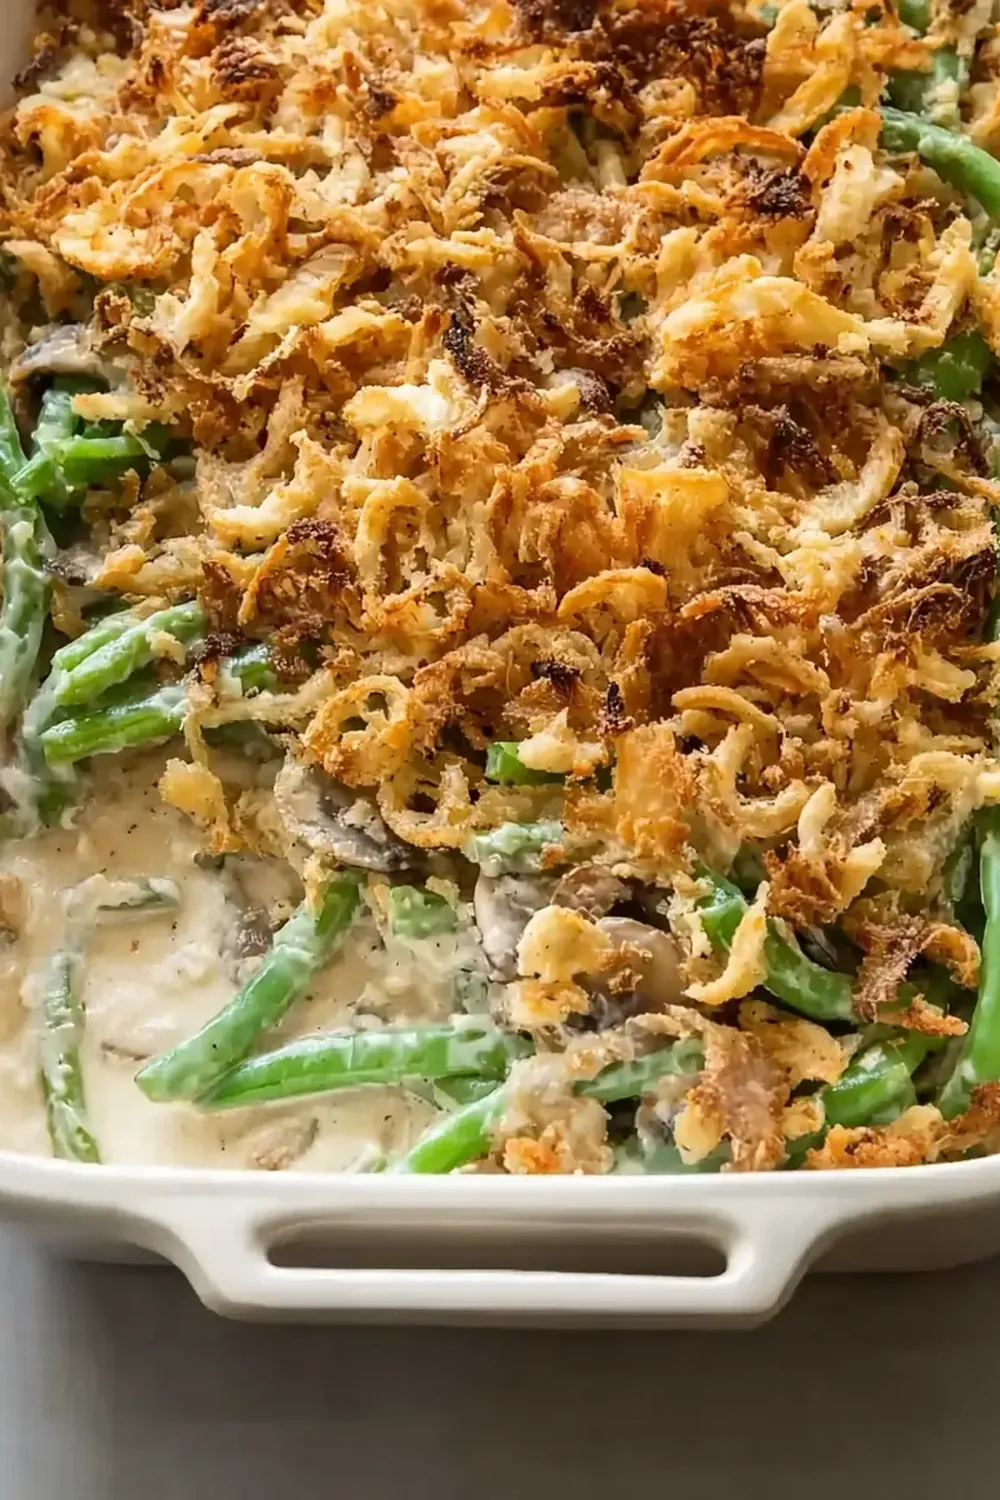
- Perfectly Crisp Topping: The golden, crunchy onion topping is baked separately to ensure it stays perfectly crisp, adding a wonderful textural contrast.
- Impresses Even Picky Eaters: I make this at least once a week – it’s become a family favourite. Even those who claim not to like green beans are converted after one taste.
Ingredients You’ll Need
- 900g fresh green beans, trimmed and halved
- 60g unsalted butter
- 1 large onion, thinly sliced into rings
- 250g chestnut mushrooms, finely chopped
- 3 cloves garlic, minced
- 3 tablespoons plain flour
- 600ml whole milk
- 250ml chicken or vegetable stock
- 1 teaspoon fresh thyme leaves, plus extra for garnish
- 1 teaspoon sea salt, plus extra for blanching water
- ½ teaspoon freshly ground black pepper
- Pinch of freshly grated nutmeg
- 200g crispy fried onions (for topping)
- 50g finely grated Parmesan cheese
Tip: For the best texture, use fresh green beans that are firm and vibrant in colour. Avoid any that are limp or have blemishes. The Parmesan adds a savoury depth that is absolutely gorgeous.
How to Make Classic Green Bean Casserole
- Blanch the Green Beans: Bring a large pot of salted water to a rolling boil. Add the green beans and cook for 3-4 minutes. You will see them turn a bright, vivid emerald green and they will become slightly tender but still have a firm snap when bitten. Immediately drain and plunge them into a bowl of ice water to stop the cooking process. Once cool, drain them thoroughly and pat dry with a clean tea towel. This step locks in the colour and crunch.
- Prepare the Crispy Onions: While the beans cool, preheat your oven to 180°C (fan 160°C). Spread the crispy fried onions on a baking tray lined with baking paper. Bake for 5-7 minutes, until they are deeply golden and smell wonderfully toasty. They should be a shade darker than when they went in. Set aside to cool; they will become even crisper as they do.
- Sauté the Mushrooms: In a large, deep frying pan or saucepan, melt the butter over a medium-high heat. Add the chopped mushrooms and a pinch of salt. Sauté for 6-8 minutes, stirring occasionally. You will hear a gentle sizzle, and the mushrooms will release their liquid, which will then evaporate. The mushrooms will shrink and turn a lovely golden brown, with a rich, earthy aroma.
- Build the Sauce: Add the minced garlic to the pan and cook for 30 seconds until fragrant. Sprinkle over the plain flour and stir continuously for 1 minute. The mixture will look like a thick, golden paste (a roux) and will smell nutty. Slowly pour in the milk and stock, whisking constantly to prevent lumps. Bring the sauce to a gentle simmer. You will see it begin to thicken, coating the back of a spoon. This should take about 3-4 minutes.
- Finish the Sauce: Stir in the fresh thyme leaves, black pepper, and a pinch of freshly grated nutmeg. Taste and adjust the seasoning, remembering the Parmesan will add more saltiness. Let the sauce bubble gently for another 2 minutes. The texture should be glossy, smooth, and thick enough to coat the green beans without being gluggy.
- Combine and Assemble: Add the blanched, dry green beans to the pan of sauce. Fold them in gently with a spatula until every bean is evenly coated in the creamy, savoury sauce. You will see the bright green beans beautifully enrobed in the pale, creamy sauce. Transfer the mixture to a 9×13 inch baking dish or into individual gratin dishes for a more elegant presentation.
- Bake and Top: Bake the casserole (uncovered) in the preheated oven for 15 minutes. The sauce should be bubbling softly around the edges and the top should be just starting to set. Remove from the oven and sprinkle the reserved crispy fried onions and the grated Parmesan cheese evenly over the top. Return to the oven and bake for a final 10-12 minutes. The cheese will melt and the onions will become an irresistible, crunchy golden crust. The entire kitchen will smell of rich, savoury comfort.
- Rest and Serve: Let the casserole rest for 5 minutes before serving. This allows the sauce to set slightly, making it easier to serve neat, elegant portions. Garnish with a few fresh thyme sprigs for a final restaurant-quality touch.
Tips From My Kitchen
- Don’t Skip the Ice Bath for the Beans: The shock of cold water after blanching is non-negotiable. It stops the residual heat from cooking the beans further, preserving that beautiful bright green colour and that essential ‘snap’ in the texture. If you simply drain them, they will continue to cook and become dull and soft.
- Toast the Crispy Onions Separately: This is my secret to a perfect, non-soggy topping. If you bake the onions on top of the casserole for the entire time, they absorb moisture from the sauce and become chewy. Toasting them separately ensures they are shatteringly crisp, adding a wonderful textural contrast to the creamy beans and sauce.
- Use a Microplane for the Nutmeg: A pinch of freshly grated nutmeg is a game-changer. The pre-ground stuff is fine, but grating it fresh from a whole nutmeg releases aromatic oils that give the sauce a warm, complex, and slightly sweet depth that perfectly balances the earthy mushrooms. It’s a tiny effort for a massive payoff.
- Dry Your Beans Thoroughly: After the ice bath, it’s crucial to get the beans as dry as possible. Any excess water will dilute the sauce, making it thin and watery. Use a salad spinner or pat them down with a clean tea towel. This ensures your final casserole has a rich, clinging sauce rather than a pool at the bottom of the dish.
- Make the Sauce Ahead: You can prepare the mushroom sauce a day in advance. Cool it completely, cover, and store it in the fridge. When you’re ready to assemble, you’ll need to reheat it gently, adding a splash of milk if it’s too thick. This makes the final assembly incredibly quick and stress-free, especially when entertaining.
What to Serve With Classic Green Bean Casserole
- Roast Chicken: The creamy, earthy notes of the casserole are a classic pairing with a simple roast chicken. For another fantastic option, try our Meatloaf With Stove Top Stuffing Recipe for a hearty, comforting meal.
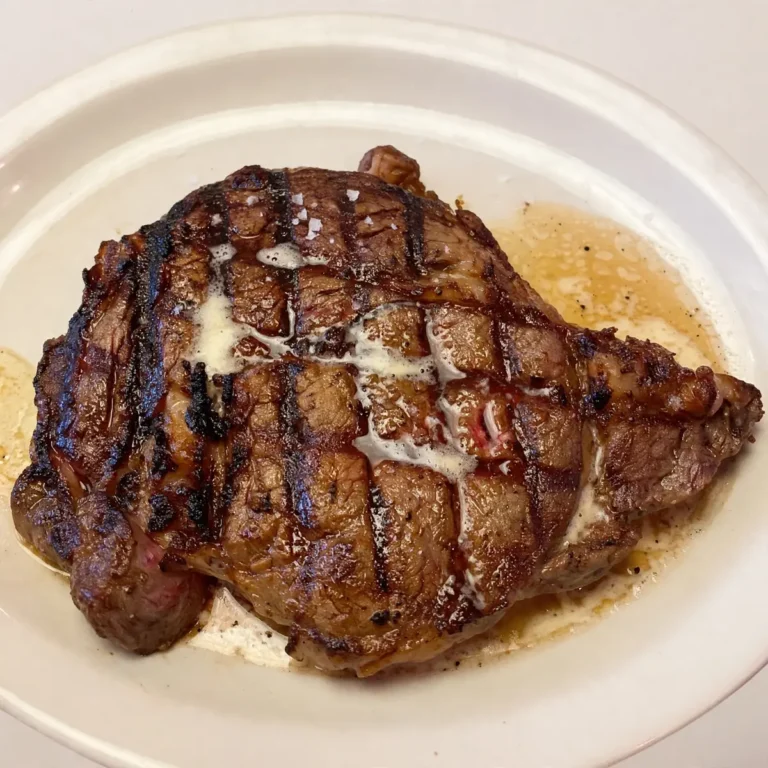
- Grilled Steak: The richness of the sauce and the freshness of the beans provide a beautiful counterpoint to a perfectly cooked steak. A Marinated Grilled Steak Recipe would be an excellent choice to impress your guests.
- Garlic Butter Shrimp: For a lighter but equally decadent main course, serve this casserole alongside some succulent Garlic Butter Shrimp Recipe. The garlic and butter in the shrimp echo the flavours in the casserole beautifully.
- Creamy Mashed Potatoes: You cannot go wrong with a spoonful of creamy mash to soak up every last bit of the delicious mushroom sauce. Our Creamy Mashed Potatoes Side is the perfect companion.
Frequently Asked Questions
Classic Green Bean Casserole
Ingredients
Method
- Blanch the Green Beans: Bring a large pot of salted water to a rolling boil. Add the green beans and cook for 3-4 minutes. You will see them turn a bright, vivid emerald green and they will become slightly tender but still have a firm snap when bitten. Immediately drain and plunge them into a bowl of ice water to stop the cooking process. Once cool, drain them thoroughly and pat dry with a clean tea towel. This step locks in the colour and crunch.
- Prepare the Crispy Onions: While the beans cool, preheat your oven to 180°C (fan 160°C). Spread the crispy fried onions on a baking tray lined with baking paper. Bake for 5-7 minutes, until they are deeply golden and smell wonderfully toasty. They should be a shade darker than when they went in. Set aside to cool; they will become even crisper as they do.
- Sauté the Mushrooms: In a large, deep frying pan or saucepan, melt the butter over a medium-high heat. Add the chopped mushrooms and a pinch of salt. Sauté for 6-8 minutes, stirring occasionally. You will hear a gentle sizzle, and the mushrooms will release their liquid, which will then evaporate. The mushrooms will shrink and turn a lovely golden brown, with a rich, earthy aroma.
- Build the Sauce: Add the minced garlic to the pan and cook for 30 seconds until fragrant. Sprinkle over the plain flour and stir continuously for 1 minute. The mixture will look like a thick, golden paste (a roux) and will smell nutty. Slowly pour in the milk and stock, whisking constantly to prevent lumps. Bring the sauce to a gentle simmer. You will see it begin to thicken, coating the back of a spoon. This should take about 3-4 minutes.
- Finish the Sauce: Stir in the fresh thyme leaves, black pepper, and a pinch of freshly grated nutmeg. Taste and adjust the seasoning, remembering the Parmesan will add more saltiness. Let the sauce bubble gently for another 2 minutes. The texture should be glossy, smooth, and thick enough to coat the green beans without being gluggy.
- Combine and Assemble: Add the blanched, dry green beans to the pan of sauce. Fold them in gently with a spatula until every bean is evenly coated in the creamy, savoury sauce. You will see the bright green beans beautifully enrobed in the pale, creamy sauce. Transfer the mixture to a 9×13 inch baking dish or into individual gratin dishes for a more elegant presentation.
- Bake and Top: Bake the casserole (uncovered) in the preheated oven for 15 minutes. The sauce should be bubbling softly around the edges and the top should be just starting to set. Remove from the oven and sprinkle the reserved crispy fried onions and the grated Parmesan cheese evenly over the top. Return to the oven and bake for a final 10-12 minutes. The cheese will melt and the onions will become an irresistible, crunchy golden crust. The entire kitchen will smell of rich, savoury comfort.
- Rest and Serve: Let the casserole rest for 5 minutes before serving. This allows the sauce to set slightly, making it easier to serve neat, elegant portions. Garnish with a few fresh thyme sprigs for a final restaurant-quality touch.
Notes
I hope this recipe transforms your view of the classic green bean casserole. It’s become a staple in my home, and I genuinely believe the small extra steps make all the difference. I’d love to hear how it goes for you—did the plating impress your guests? Do you have any other special touches you like to add? Please share your experiences and any questions you have in the comments below.