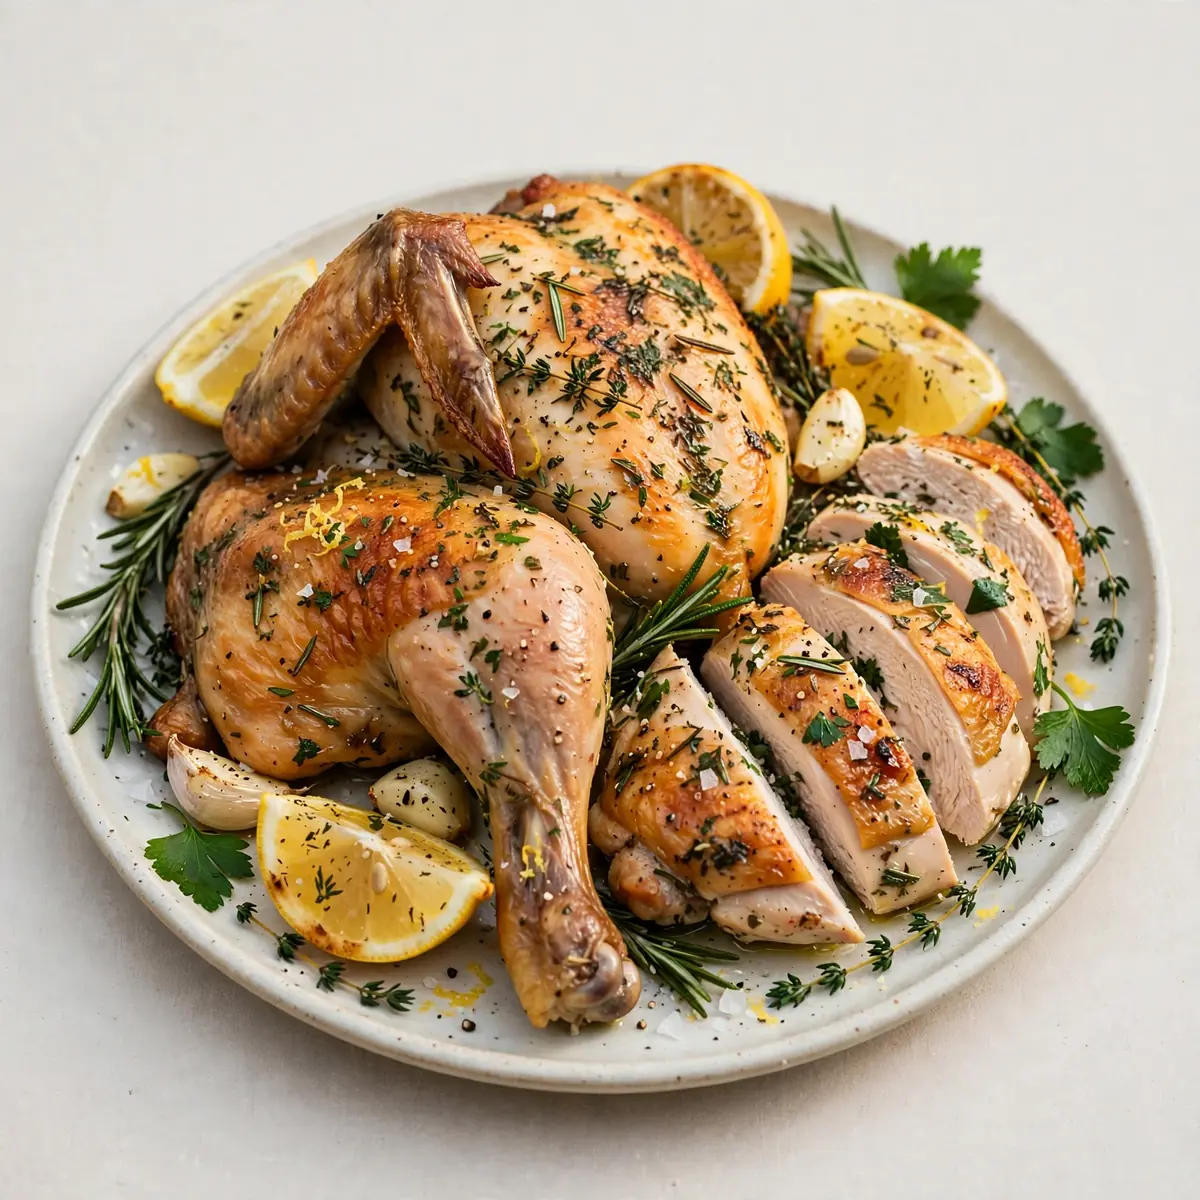
Ingredients
Method
- Prepare the Dry Brine: At least 12 hours before you plan to cook, pat the chicken completely dry with kitchen paper. Mix the sea salt and black pepper together, then rub this mixture all over the chicken, including inside the cavity and under the skin on the breasts and thighs. Place the chicken on a wire rack set over a baking tray and refrigerate, uncovered, overnight. This air-dries the skin, which is the secret to crispness.
- Make the Compound Butter: About an hour before cooking, take the chicken out of the fridge to come to room temperature. In a small bowl, mix the softened butter with the chopped thyme, rosemary, and sage. Zest the lemon directly into the bowl, then stir until everything is evenly combined. You should smell the herbs and citrus immediately.
- Season Under the Skin: Gently slide your fingers between the skin and the breast meat of the chicken, creating a pocket without tearing the skin. Take half the herb butter and push it into this pocket, spreading it evenly over the breast meat. Rub the remaining butter all over the outside of the chicken. The skin should feel slick and fragrant.
- Prepare the Aromatics: Cut the zested lemon in half. Stuff the cavity of the chicken with the lemon halves, the whole garlic cloves, and a few sprigs of the leftover herb stems if you have them. This creates a steam bath from the inside as the chicken roasts.
- Truss and Sear: Preheat your oven to 220°C (200°C fan). Tie the chicken legs together with kitchen string to create a compact shape for even cooking. Heat the olive oil in a large, oven-safe skillet or roasting tin over a medium-high heat. Place the chicken breast-side down and sear for 3-4 minutes, until the skin is a deep golden colour and you can hear it sizzling. Flip it breast-side up.
- Roast the Chicken: Scatter the quartered onion, chopped carrot, and celery around the chicken in the skillet. Pour in the chicken stock, taking care not to wash the fat off the chicken skin. Transfer the skillet to the oven and roast for 15 minutes at 220°C. Then, reduce the oven temperature to 180°C (160°C fan) and continue roasting for a further 60-75 minutes.
- Baste and Check: Halfway through the cooking time, baste the chicken with the buttery pan juices. The kitchen will be filled with the smell of roasting herbs. The chicken is done when the internal temperature at the thickest part of the thigh reaches 74°C, and the juices run clear when you pierce the skin between the leg and the breast. The skin should be a rich, dark amber.
- Rest and Carve: Carefully lift the chicken from the skillet and tilt it over the pan to let the juices from the cavity run out. Transfer the chicken to a carving board and let it rest for at least 15 minutes under a loose tent of foil. This resting period allows the juices to redistribute, ensuring every slice is moist.
- Make the Pan Gravy: While the chicken rests, place the skillet with the vegetables and juices over a medium heat. Mash the vegetables into the liquid with a fork. Whisk in a tablespoon of flour or cornflour slurry if you want a thicker gravy, then simmer for 2-3 minutes until it thickens and smells deeply savoury. Strain the gravy into a warmed jug.
Notes
Dry-brining overnight is essential for the crispiest skin. Let the chicken rest for at least 15 minutes before carving to ensure juicy meat. For a gluten-free gravy, use cornflour slurry instead of flour.