Lemon Herb Roasted Chicken
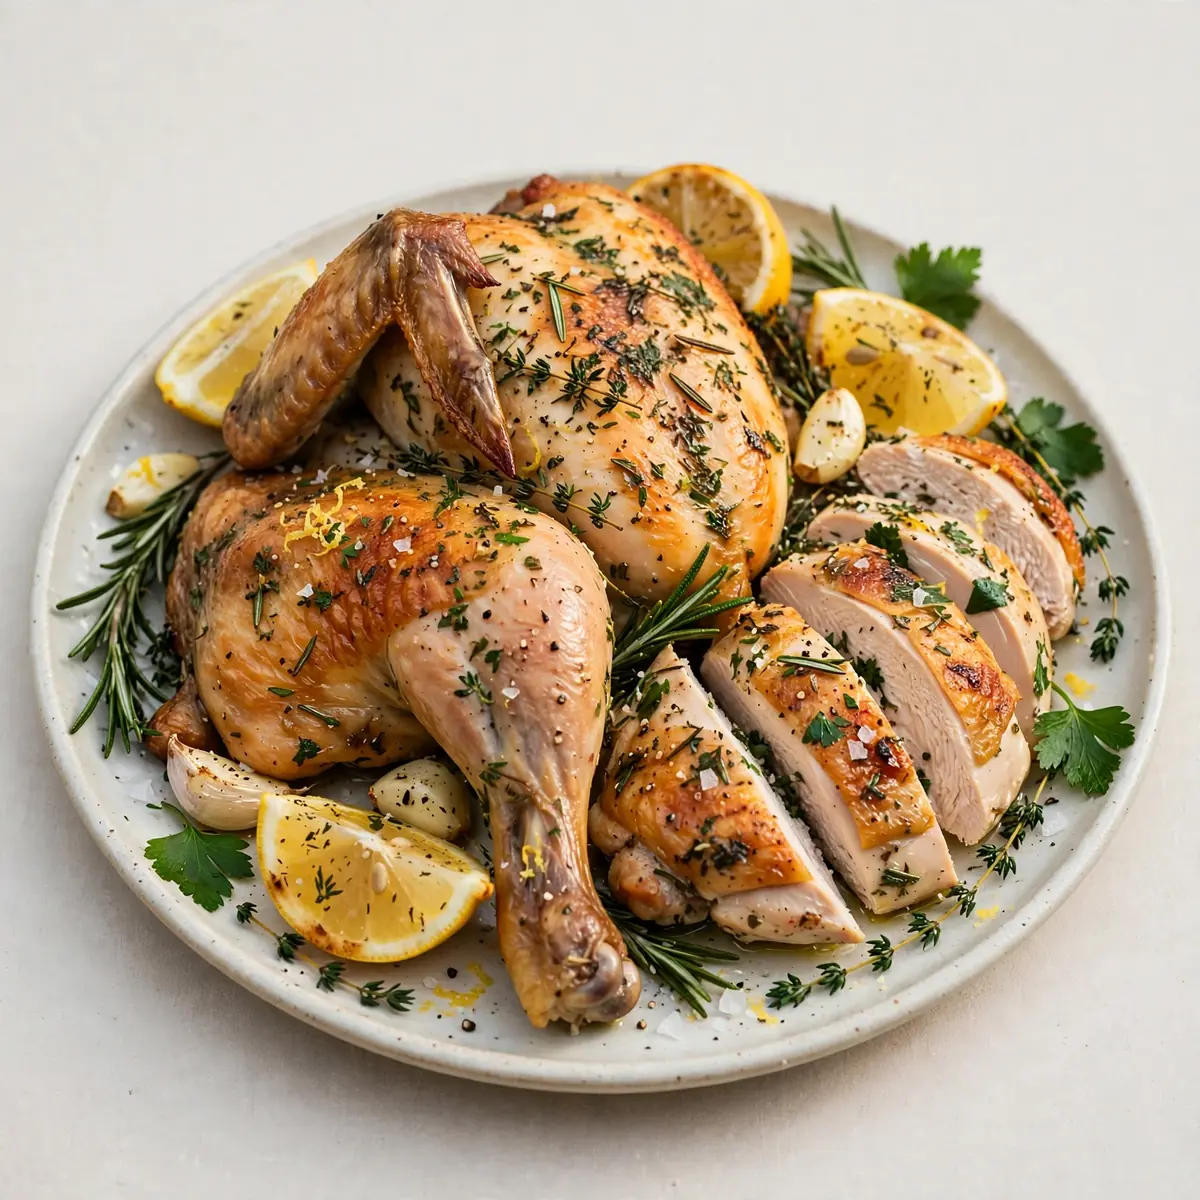
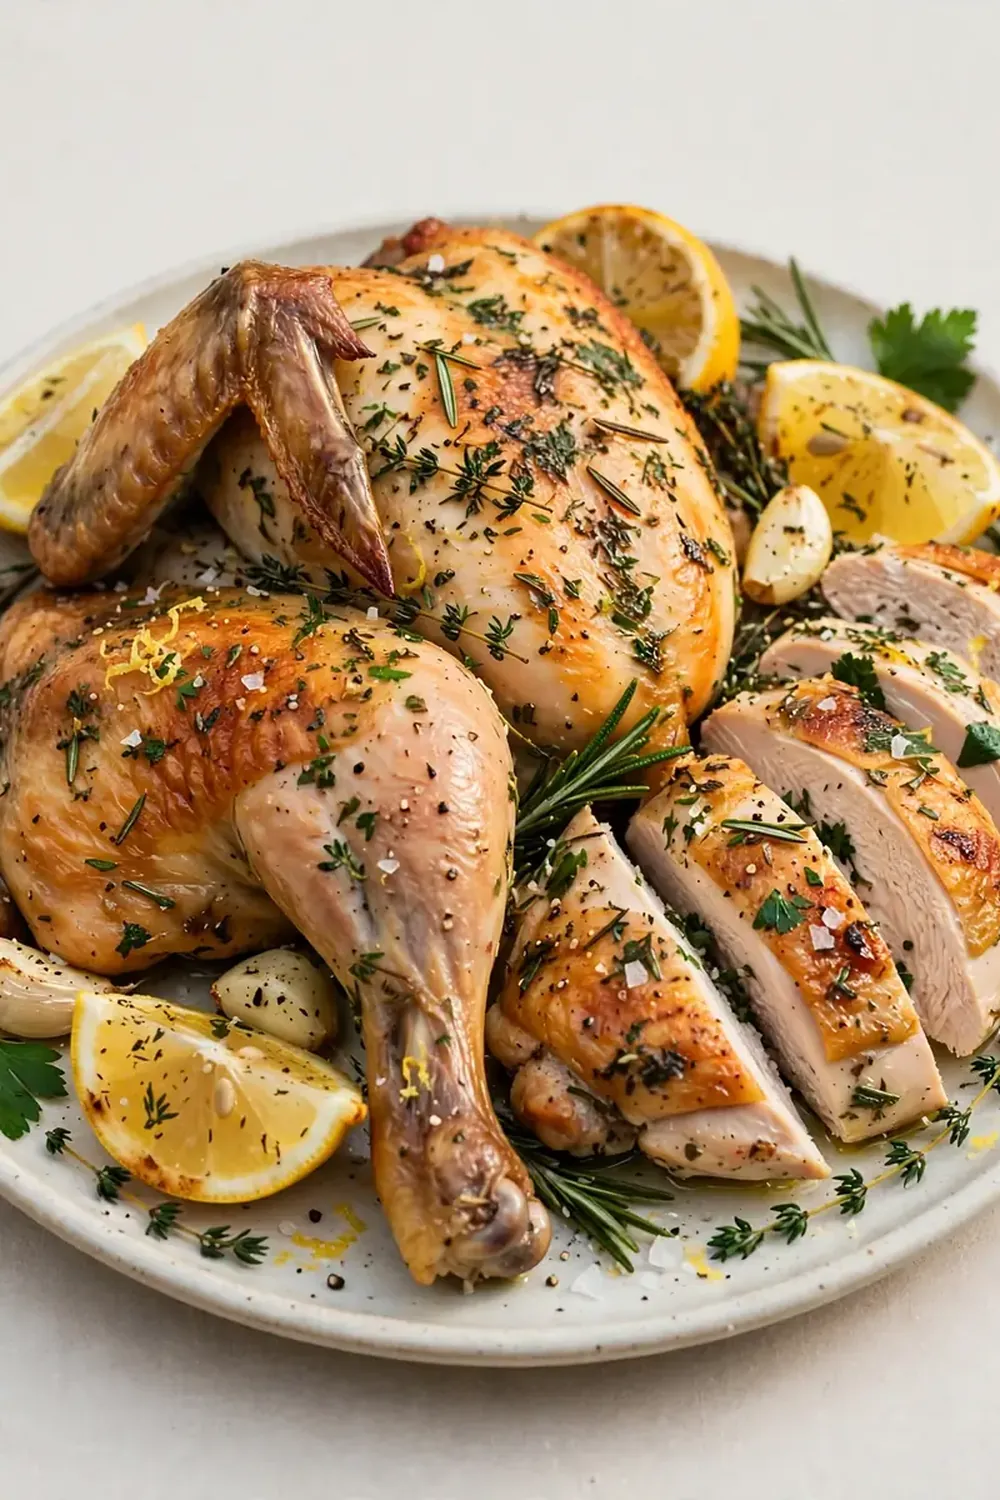
There’s a certain theatre to placing a whole roasted bird on the table, the skin taut and burnished gold, the aroma of lemon and herbs filling the room. This Lemon Herb Roasted Chicken is my go-to when I want to command a bit of that restaurant-level reverence without spending all day in the kitchen. I’ve tweaked the technique over many attempts to ensure you get impossibly juicy meat and a crackling, crisp skin that will have your guests reaching for their phones before they reach for their forks.
Recipe Overview
- Prep Time: 25 minutes
- Cook Time: 1 hour 30 minutes
- Total Time: 1 hour 55 minutes
- Servings: 4 to 6
- Difficulty: Medium
Why You’ll Love This Lemon Herb Roasted Chicken
- Stunning Presentation: A whole roasted chicken, bronzed and glossy, makes a magnificent centrepiece. The simple act of carving it tableside elevates a weeknight dinner into a special occasion.
- Incredibly Juicy Meat: The combination of a dry brine and a compound butter rubbed under the skin guarantees that the breast meat stays succulent and the dark meat is fall-apart tender.
- Restaurant-Quality Skin: No more flabby, pale skin. This method uses a higher initial heat and a butter baste to create a shatteringly crisp, deeply golden crust that tastes as good as it looks.
- Deep, Complex Flavour: The lemon and fresh herbs aren’t just for show; they infuse the meat from the inside out, while the pan juices form the base for a simple, elegant gravy.
- Make-Ahead Magic: The dry brine needs to sit overnight, which means most of the active work is done the day before. You can simply pop it in the oven when your guests arrive, leaving you free to enjoy the evening.
Ingredients You’ll Need
- 1 large whole free-range chicken (approx. 1.8 kg)
- 1½ tablespoons flaky sea salt
- 1 teaspoon black peppercorns, ground
- 1 large lemon
- 4 cloves garlic, peeled
- 100 g unsalted butter, softened
- 3 tablespoons fresh thyme leaves, finely chopped
- 2 tablespoons fresh rosemary, finely chopped
- 1 tablespoon fresh sage, finely chopped
- 2 tablespoons olive oil
- 1 large onion, quartered
- 2 carrots, roughly chopped
- 2 celery sticks, roughly chopped
- 250 ml chicken stock (low-sodium)
Tip: For the best flavour, use a free-range or organic chicken. The fat content and general quality make a noticeable difference to the final texture and taste.
How to Make Lemon Herb Roasted Chicken
- Prepare the Dry Brine: At least 12 hours before you plan to cook, pat the chicken completely dry with kitchen paper. Mix the sea salt and black pepper together, then rub this mixture all over the chicken, including inside the cavity and under the skin on the breasts and thighs. Place the chicken on a wire rack set over a baking tray and refrigerate, uncovered, overnight. This air-dries the skin, which is the secret to crispness.
- Make the Compound Butter: About an hour before cooking, take the chicken out of the fridge to come to room temperature. In a small bowl, mix the softened butter with the chopped thyme, rosemary, and sage. Zest the lemon directly into the bowl, then stir until everything is evenly combined. You should smell the herbs and citrus immediately.
- Season Under the Skin: Gently slide your fingers between the skin and the breast meat of the chicken, creating a pocket without tearing the skin. Take half the herb butter and push it into this pocket, spreading it evenly over the breast meat. Rub the remaining butter all over the outside of the chicken. The skin should feel slick and fragrant.
- Prepare the Aromatics: Cut the zested lemon in half. Stuff the cavity of the chicken with the lemon halves, the whole garlic cloves, and a few sprigs of the leftover herb stems if you have them. This creates a steam bath from the inside as the chicken roasts.
- Truss and Sear: Preheat your oven to 220°C (200°C fan). Tie the chicken legs together with kitchen string to create a compact shape for even cooking. Heat the olive oil in a large, oven-safe skillet or roasting tin over a medium-high heat. Place the chicken breast-side down and sear for 3-4 minutes, until the skin is a deep golden colour and you can hear it sizzling. Flip it breast-side up.
- Roast the Chicken: Scatter the quartered onion, chopped carrot, and celery around the chicken in the skillet. Pour in the chicken stock, taking care not to wash the fat off the chicken skin. Transfer the skillet to the oven and roast for 15 minutes at 220°C. Then, reduce the oven temperature to 180°C (160°C fan) and continue roasting for a further 60-75 minutes.
- Baste and Check: Halfway through the cooking time, baste the chicken with the buttery pan juices. The kitchen will be filled with the smell of roasting herbs. The chicken is done when the internal temperature at the thickest part of the thigh reaches 74°C, and the juices run clear when you pierce the skin between the leg and the breast. The skin should be a rich, dark amber.
- Rest and Carve: Carefully lift the chicken from the skillet and tilt it over the pan to let the juices from the cavity run out. Transfer the chicken to a carving board and let it rest for at least 15 minutes under a loose tent of foil. This resting period allows the juices to redistribute, ensuring every slice is moist.
- Make the Pan Gravy: While the chicken rests, place the skillet with the vegetables and juices over a medium heat. Mash the vegetables into the liquid with a fork. Whisk in a tablespoon of flour or cornflour slurry if you want a thicker gravy, then simmer for 2-3 minutes until it thickens and smells deeply savoury. Strain the gravy into a warmed jug.
Tips From My Kitchen
- Dry Brine Overnight: This isn’t just for flavour—it’s the single most important step for crispy skin. The salt draws out moisture from the skin, which then evaporates in the fridge, leaving the surface very dry. When it hits the hot fat, it browns and crisps instantly rather than steaming.
- Bring the Chicken to Room Temperature: A cold chicken going into a hot oven will cause the oven temperature to drop drastically, leading to uneven cooking. Letting it sit out for an hour before roasting ensures the heat hits the meat immediately, giving you a better crust and a more evenly cooked bird.
- Use a Meat Thermometer: Guessing doneness is the fastest way to dry out a chicken. A digital probe thermometer is a small investment that pays off every time. Pull the chicken at 74°C and let the carry-over cooking bring it up to a safe 75°C as it rests.
- Don’t Skip the Trussing: Tying the legs together and tucking the wing tips under the body creates a neat, aerodynamic shape. This prevents the thin parts from overcooking while the thicker parts come up to temperature, giving you a more consistent result.
- Rest, Rest, Rest: I cannot stress this enough. If you carve a chicken immediately, all the juices will run out onto the board, leaving you with dry meat. A 15-minute rest under foil keeps the chicken warm while the muscle fibres relax, locking in the moisture.
Common Mistakes to Avoid
- Overcrowding the pan: If the vegetables are piled too high around the chicken, they will steam rather than roast, and the chicken skin will stay damp. Use a large enough skillet so there is space around the bird for air to circulate and for the skin to get direct heat.
- Wrong temperature: Starting too low will result in pale, rubbery skin. You need that initial blast of high heat (220°C) to sear the skin, followed by a lower temperature to gently cook the meat through without burning the outside.
- Skipping the rest time: This is the most common mistake I see. Cutting into the chicken too soon is a guaranteed way to lose all that hard-won juiciness. Be patient—the rest is not optional; it’s integral to the recipe.
Delicious Variations to Try
- Spicy Version: Add 1-2 finely chopped red chillies and a teaspoon of smoked paprika to the compound butter. Rub a little harissa paste under the skin before adding the butter for a North African-inspired twist.
- Vegetarian/Vegan Option: Use a large cauliflower or a whole celeriac in place of the chicken. Core it, rub it with the herb butter, and roast it at 180°C for about 1 hour 15 minutes, basting frequently with vegetable stock for a stunning plant-based centrepiece.
- Different Protein: This herb butter works beautifully on a whole fish, such as sea bass or bream, or on a joint of lamb. For fish, reduce the cooking time to 20-25 minutes at 200°C.
What to Serve With Lemon Herb Roasted Chicken
- Roasted new potatoes tossed in the pan juices
- A simple green salad with a sharp lemon vinaigrette
- Buttered green beans or steamed asparagus
- Creamy mashed potato to soak up the gravy
- For a lighter option, try the Cozy Light Lentil Soup as a starter
Still hungry for ideas? You might also love Lemon Herb Chicken Skillet Juicy Zesty Flavor Packed, Greek Chicken Meatballs Lemon Orzo from our sister kitchens.
Frequently Asked Questions
Lemon Herb Roasted Chicken
Ingredients
Method
- Prepare the Dry Brine: At least 12 hours before you plan to cook, pat the chicken completely dry with kitchen paper. Mix the sea salt and black pepper together, then rub this mixture all over the chicken, including inside the cavity and under the skin on the breasts and thighs. Place the chicken on a wire rack set over a baking tray and refrigerate, uncovered, overnight. This air-dries the skin, which is the secret to crispness.
- Make the Compound Butter: About an hour before cooking, take the chicken out of the fridge to come to room temperature. In a small bowl, mix the softened butter with the chopped thyme, rosemary, and sage. Zest the lemon directly into the bowl, then stir until everything is evenly combined. You should smell the herbs and citrus immediately.
- Season Under the Skin: Gently slide your fingers between the skin and the breast meat of the chicken, creating a pocket without tearing the skin. Take half the herb butter and push it into this pocket, spreading it evenly over the breast meat. Rub the remaining butter all over the outside of the chicken. The skin should feel slick and fragrant.
- Prepare the Aromatics: Cut the zested lemon in half. Stuff the cavity of the chicken with the lemon halves, the whole garlic cloves, and a few sprigs of the leftover herb stems if you have them. This creates a steam bath from the inside as the chicken roasts.
- Truss and Sear: Preheat your oven to 220°C (200°C fan). Tie the chicken legs together with kitchen string to create a compact shape for even cooking. Heat the olive oil in a large, oven-safe skillet or roasting tin over a medium-high heat. Place the chicken breast-side down and sear for 3-4 minutes, until the skin is a deep golden colour and you can hear it sizzling. Flip it breast-side up.
- Roast the Chicken: Scatter the quartered onion, chopped carrot, and celery around the chicken in the skillet. Pour in the chicken stock, taking care not to wash the fat off the chicken skin. Transfer the skillet to the oven and roast for 15 minutes at 220°C. Then, reduce the oven temperature to 180°C (160°C fan) and continue roasting for a further 60-75 minutes.
- Baste and Check: Halfway through the cooking time, baste the chicken with the buttery pan juices. The kitchen will be filled with the smell of roasting herbs. The chicken is done when the internal temperature at the thickest part of the thigh reaches 74°C, and the juices run clear when you pierce the skin between the leg and the breast. The skin should be a rich, dark amber.
- Rest and Carve: Carefully lift the chicken from the skillet and tilt it over the pan to let the juices from the cavity run out. Transfer the chicken to a carving board and let it rest for at least 15 minutes under a loose tent of foil. This resting period allows the juices to redistribute, ensuring every slice is moist.
- Make the Pan Gravy: While the chicken rests, place the skillet with the vegetables and juices over a medium heat. Mash the vegetables into the liquid with a fork. Whisk in a tablespoon of flour or cornflour slurry if you want a thicker gravy, then simmer for 2-3 minutes until it thickens and smells deeply savoury. Strain the gravy into a warmed jug.
Notes
Friends always ask me for this recipe after trying it at dinner parties, and after testing this recipe five times, I finally got it just right. I’d love to hear how yours turns out. Did the skin get that perfect crackle? What did you serve alongside it? Drop a comment below and let me know—your feedback helps other home cooks build confidence in the kitchen. And if you’re looking for another impressive main, you might enjoy the Marinated Grilled Steak Recipe or the Garlic Butter Shrimp Recipe for a seafood night.