New York Style Pizza Dough
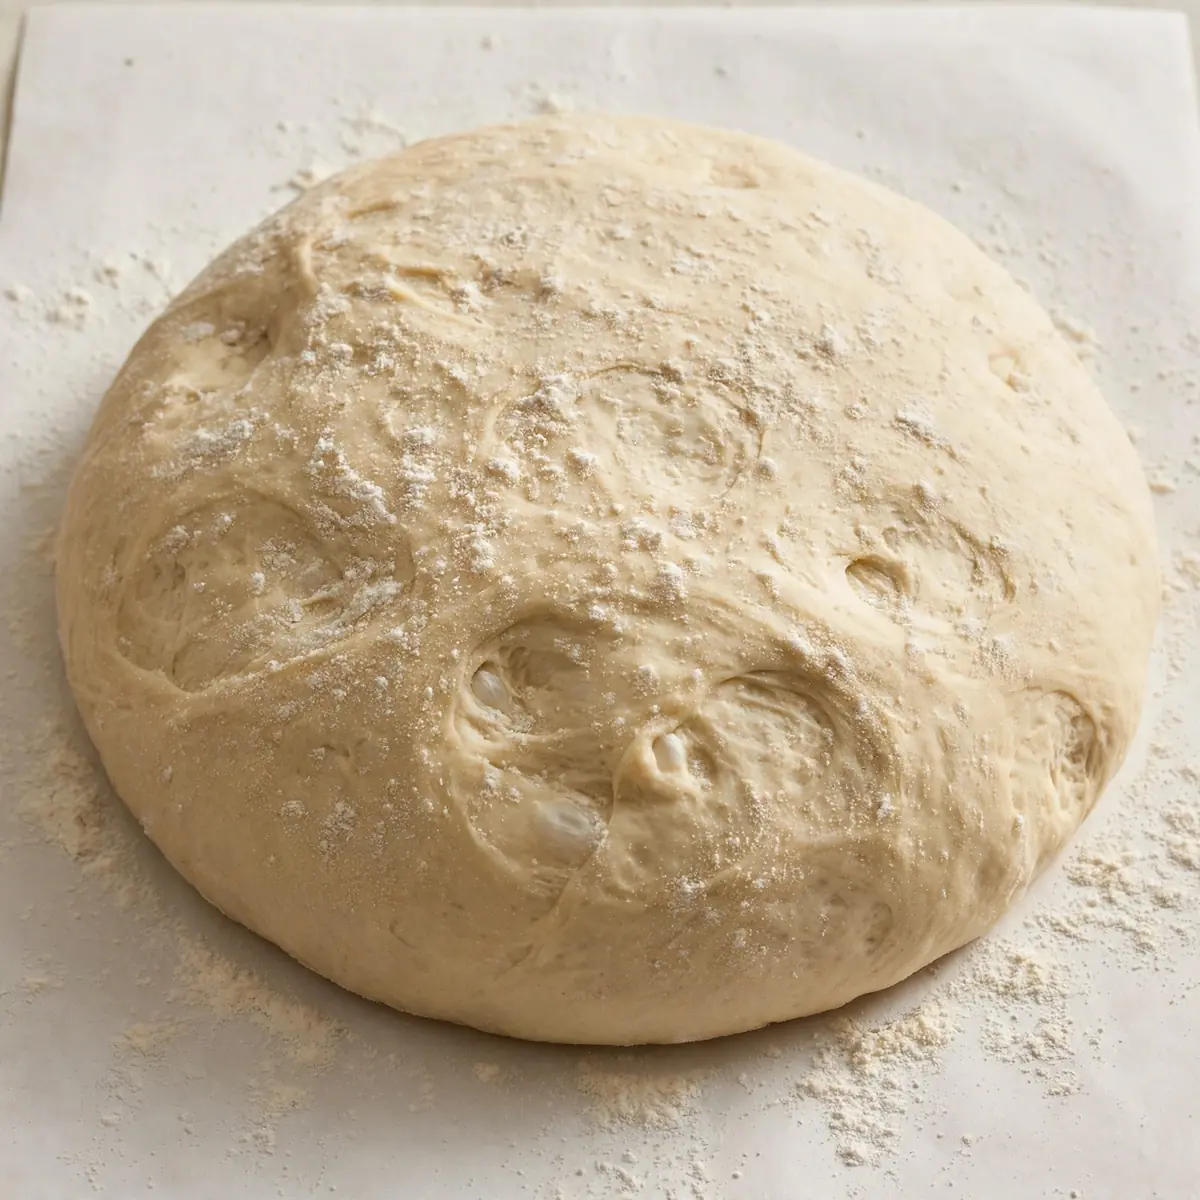
For years, I chased that elusive, crackly-yet-chewy slice of pizza, the one that makes you close your eyes and forget you’re eating off a paper plate. I’ve been making this New York Style Pizza Dough for over 10 years, and it never disappoints, especially when I want to transform a simple dinner into a proper dining experience for guests.
Recipe Overview
- Prep Time: 20 minutes (plus 24–48 hours proving)
- Cook Time: 8–12 minutes per pizza
- Total Time: 24 hours 30 minutes (minimum)
- Servings: Makes 4 x 30cm pizzas
- Difficulty: Medium
Why You’ll Love This New York Style Pizza Dough
- Restaurant-Quality Crust at Home: The long, slow prove develops a complex flavour and that signature thin, crisp bottom with a puffy, leopard-spotted cornicione (crust) that looks spectacular on the table.
- Impressive Plating Potential: This dough holds its shape beautifully, allowing you to build a picture-perfect pie that doesn’t sag. It’s the foundation for a dish that begs to be photographed before it’s devoured.
- Forgiving and Flexible: Unlike delicate Neapolitan dough, this recipe is robust enough for a home oven, yet it still delivers that professional chew. It handles being stretched thin without tearing.
- Make-Ahead Magic for Hosting: The dough improves after a full day in the fridge, meaning you can prepare it on Friday for a Saturday night gathering, freeing you up to focus on toppings and your guests.
- Customisable Canvas: It’s the perfect blank slate for high-end toppings. From a simple Margherita with buffalo mozzarella to a gourset combination of roasted vegetables and truffle oil, this dough supports it all without becoming soggy.
Ingredients You’ll Need
- 500g strong white bread flour (plus extra for dusting)
- 325ml lukewarm water
- 10g fine sea salt
- 5g fast-action dried yeast (or 15g fresh yeast)
- 15ml extra virgin olive oil (plus extra for greasing)
- 10g caster sugar
- Fine semolina or cornmeal, for dusting the peel
Tip: For the most authentic New York texture, use bread flour with a protein content of at least 12%. The higher gluten gives that essential chew and strength to stretch the dough paper-thin without it snapping back.
How to Make New York Style Pizza Dough
- Activate the yeast: In a small bowl, combine the lukewarm water, caster sugar, and dried yeast. Give it a gentle stir and leave it for 5–10 minutes. You’ll see the mixture become foamy and fragrant, with a smell like fresh bread, and tiny bubbles breaking the surface. This tells you the yeast is alive and hungry.
- Mix the dough: In a large mixing bowl, combine the flour and salt. Make a well in the centre and pour in the yeasty water and the olive oil. Using your hands (the best tool for the job), bring the mixture together into a rough, shaggy ball. It will feel sticky and look quite lumpy at this stage — that’s perfectly normal.
- Knead with purpose: Turn the dough out onto a lightly floured surface. Knead for a full 8–10 minutes. Use the heel of your hand to push the dough away, then fold it back over itself. The texture will transform from sticky and rough to smooth, silky, and elastic. You’ll know it’s ready when you press a finger into the dough and it springs back, and the surface feels as smooth as a baby’s skin.
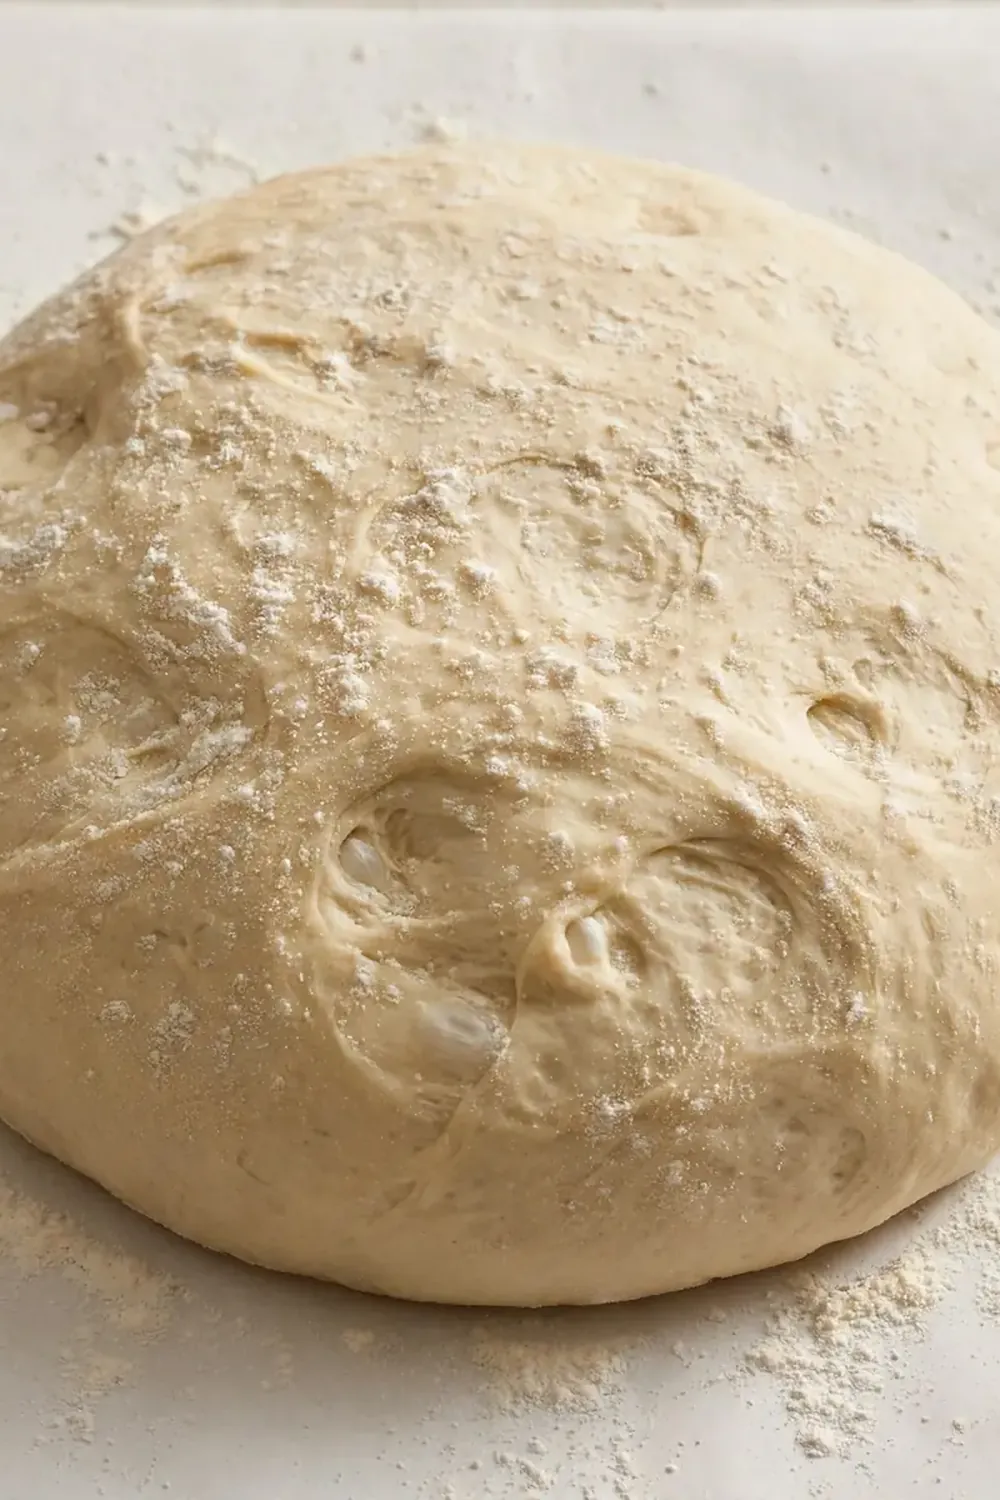
- First prove (bulk fermentation): Drizzle a clean bowl with a little olive oil, place the dough ball inside, and turn it to coat. Cover tightly with cling film and leave at room temperature for 2 hours, or until it has doubled in size. The dough will feel airy and puffy, and the bowl will feel lighter when you lift it.
- Divide and shape into balls: Gently tip the risen dough onto a floured surface. Divide it into 4 equal pieces (roughly 210g each). Cup your hand over each piece and roll it in a circular motion on the work surface to form a tight, smooth ball. You should see the surface tension stretch taut, like a drum skin. Place these balls on a floured tray, cover with oiled cling film, and refrigerate for at least 24 hours, or up to 48 hours. The dough will slowly rise and develop a wonderful, yeasty aroma.
- Bring to room temperature: About 2 hours before you plan to bake, remove the dough balls from the fridge. Leave them covered on the counter. They will soften and relax, becoming pliable and losing their chill. A properly rested ball will feel soft and supple, not tight and resistant.
- Stretch, don’t roll: Place a dough ball on a floured surface, pressing it flat with your fingertips, leaving a slightly thicker rim. Then, using your knuckles and the backs of your hands, gently stretch the dough from the centre outwards, rotating it. Let gravity help you. You want a thin, even base with a distinct, puffy border. The dough should be so thin you can almost see through the centre, but it shouldn’t tear. It should look like a rustic, irregular circle.
- Bake to perfection: Slide the stretched dough onto a semolina-dusted pizza peel. Add your toppings. Bake in a preheated oven at the highest possible temperature (250°C/500°F or as high as your oven will go) on a preheated pizza stone or heavy baking tray. Bake for 8–12 minutes, until the crust is deeply golden and the cheese is bubbling with brown spots. The bottom should be crisp and sound hollow when tapped, and the kitchen will smell of a proper pizzeria.
Tips From My Kitchen
- Use cold water for the dough in summer: If your kitchen is particularly warm, use cold water straight from the tap. This prevents the dough from over-proving too quickly during kneading, which can lead to a flat, dense crust. The goal is a slow, controlled rise for the best flavour and texture.
- Don’t skimp on the kneading time: Kneading isn’t just about mixing; it’s about developing the gluten network. Under-kneaded dough will tear easily when you try to stretch it, and it will bake up dense and bready rather than light and chewy. That silky, springy feel is your non-negotiable cue.
- Master the cold prove: The 24-hour rest in the fridge is the single most important step for authentic New York flavour. This cold fermentation allows enzymes to break down complex starches into simple sugars, which caramelise beautifully in the oven, creating that complex, slightly tangy, nutty taste that you simply cannot achieve with a quick room-temperature prove.
- Semolina is your secret weapon for crispness: When dusting your peel or work surface, use fine semolina or cornmeal, not flour. These coarse grains act like tiny ball bearings, allowing the raw pizza to slide off the peel effortlessly. They also toast on the bottom of the crust during baking, giving it that signature crackly, textured crunch.
- Preheat your stone for at least 45 minutes: A pizza stone needs a long, thorough preheat to absorb and store enough thermal energy to blast the dough with heat. A cold stone will result in a pale, soggy bottom. Place the stone on the middle rack of your oven and let it heat for a full 45–60 minutes at the highest temperature. The stone should feel scorching hot to the touch (use an oven glove!).
- Go light on the sauce for a crisp centre: A common mistake is over-saucing. A thin, even layer of sauce is all you need. Too much moisture will steam the dough in the middle, preventing it from crisping up. Think of it as a subtle flavour accent, not a soup base. Aim for a few tablespoons at most.
Equipment You’ll Need
- Large mixing bowl
- Digital kitchen scales
- Pizza stone or heavy, upturned baking tray
- Pizza peel or a thin, rimless baking sheet
- Cling film or a damp tea towel
- Sharp knife or dough scraper
Delicious Variations to Try
- Spicy Version: Add 1 teaspoon of dried chilli flakes and ½ teaspoon of smoked paprika to the flour before mixing. For a fiery finish, drizzle the baked pizza with a chilli-infused honey or a simple mix of olive oil and fresh chopped red chillies.
- Vegetarian/Vegan Option: The dough is already vegan! For a plant-based topping, use a rich tomato sauce, sliced mushrooms, roasted red peppers, artichoke hearts, and a generous layer of a good melting vegan mozzarella. A drizzle of balsamic glaze after baking adds a restaurant-quality finish.
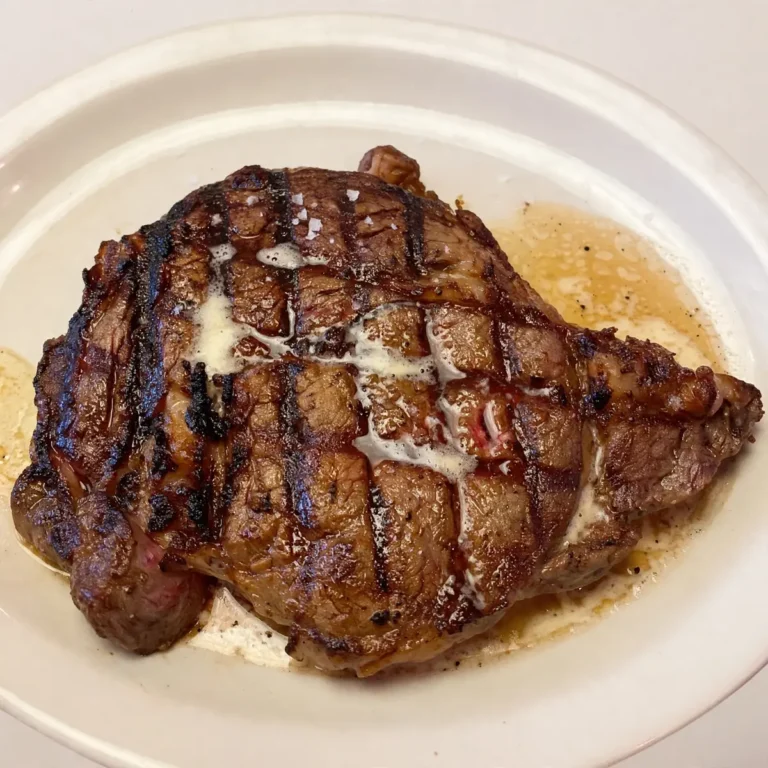
- Different Protein: Instead of the usual, try shredded, slow-cooked beef from my Marinated Grilled Steak Recipe for a rich, hearty topping. Or, for a lighter option, use leftover chicken from Creamy Lemon Herb Chicken Thighs, shredded and scattered over the pizza before baking with a little red onion and mozzarella.
What to Serve With New York Style Pizza Dough
A homemade pizza this good deserves a supporting cast that doesn’t steal the show. A simple, crisp green salad with a sharp vinaigrette cuts through the richness of the cheese perfectly. For a fuller spread, I often start the meal with a platter of olives, marinated artichokes, and good bread. If you’re after something to cool the palate, a glass of my Refreshing Fresh Lemonade Recipe is a brilliant non-alcoholic pairing that cleanses the palate between each incredible bite.
- Simple rocket and parmesan salad with a lemon dressing
- Marinated olives and sun-dried tomatoes
- A side of roasted garlic cloves for squeezing onto the crust
- Refreshing Fresh Lemonade
Still hungry for ideas? You might also love Homemade Pizza Dough Recipe Crust from our sister kitchens.
Frequently Asked Questions
New York Style Pizza Dough
Ingredients
Method
- Activate the yeast: In a small bowl, combine the lukewarm water, caster sugar, and dried yeast. Give it a gentle stir and leave it for 5–10 minutes. You'll see the mixture become foamy and fragrant, with a smell like fresh bread, and tiny bubbles breaking the surface. This tells you the yeast is alive and hungry.
- Mix the dough: In a large mixing bowl, combine the flour and salt. Make a well in the centre and pour in the yeasty water and the olive oil. Using your hands (the best tool for the job), bring the mixture together into a rough, shaggy ball. It will feel sticky and look quite lumpy at this stage — that's perfectly normal.
- Knead with purpose: Turn the dough out onto a lightly floured surface. Knead for a full 8–10 minutes. Use the heel of your hand to push the dough away, then fold it back over itself. The texture will transform from sticky and rough to smooth, silky, and elastic. You'll know it's ready when you press a finger into the dough and it springs back, and the surface feels as smooth as a baby's skin.
- First prove (bulk fermentation): Drizzle a clean bowl with a little olive oil, place the dough ball inside, and turn it to coat. Cover tightly with cling film and leave at room temperature for 2 hours, or until it has doubled in size. The dough will feel airy and puffy, and the bowl will feel lighter when you lift it.
- Divide and shape into balls: Gently tip the risen dough onto a floured surface. Divide it into 4 equal pieces (roughly 210g each). Cup your hand over each piece and roll it in a circular motion on the work surface to form a tight, smooth ball. You should see the surface tension stretch taut, like a drum skin. Place these balls on a floured tray, cover with oiled cling film, and refrigerate for at least 24 hours, or up to 48 hours. The dough will slowly rise and develop a wonderful, yeasty aroma.
- Bring to room temperature: About 2 hours before you plan to bake, remove the dough balls from the fridge. Leave them covered on the counter. They will soften and relax, becoming pliable and losing their chill. A properly rested ball will feel soft and supple, not tight and resistant.
- Stretch, don't roll: Place a dough ball on a floured surface, pressing it flat with your fingertips, leaving a slightly thicker rim. Then, using your knuckles and the backs of your hands, gently stretch the dough from the centre outwards, rotating it. Let gravity help you. You want a thin, even base with a distinct, puffy border. The dough should be so thin you can almost see through the centre, but it shouldn't tear. It should look like a rustic, irregular circle.
- Bake to perfection: Slide the stretched dough onto a semolina-dusted pizza peel. Add your toppings. Bake in a preheated oven at the highest possible temperature (250°C/500°F or as high as your oven will go) on a preheated pizza stone or heavy baking tray. Bake for 8–12 minutes, until the crust is deeply golden and the cheese is bubbling with brown spots. The bottom should be crisp and sound hollow when tapped, and the kitchen will smell of a proper pizzeria.
Notes
There’s a special kind of pride that comes from pulling a blistered, beautifully golden pizza out of your own oven, especially when it’s for people you care about. This dough gives you the confidence to build a stunning, restaurant-worthy centrepiece. I’d love to hear how you topped yours — drop a comment below and let me know your favourite combination. Happy baking!