Cozy Weekend Project: Classic New York Style Cheesecake
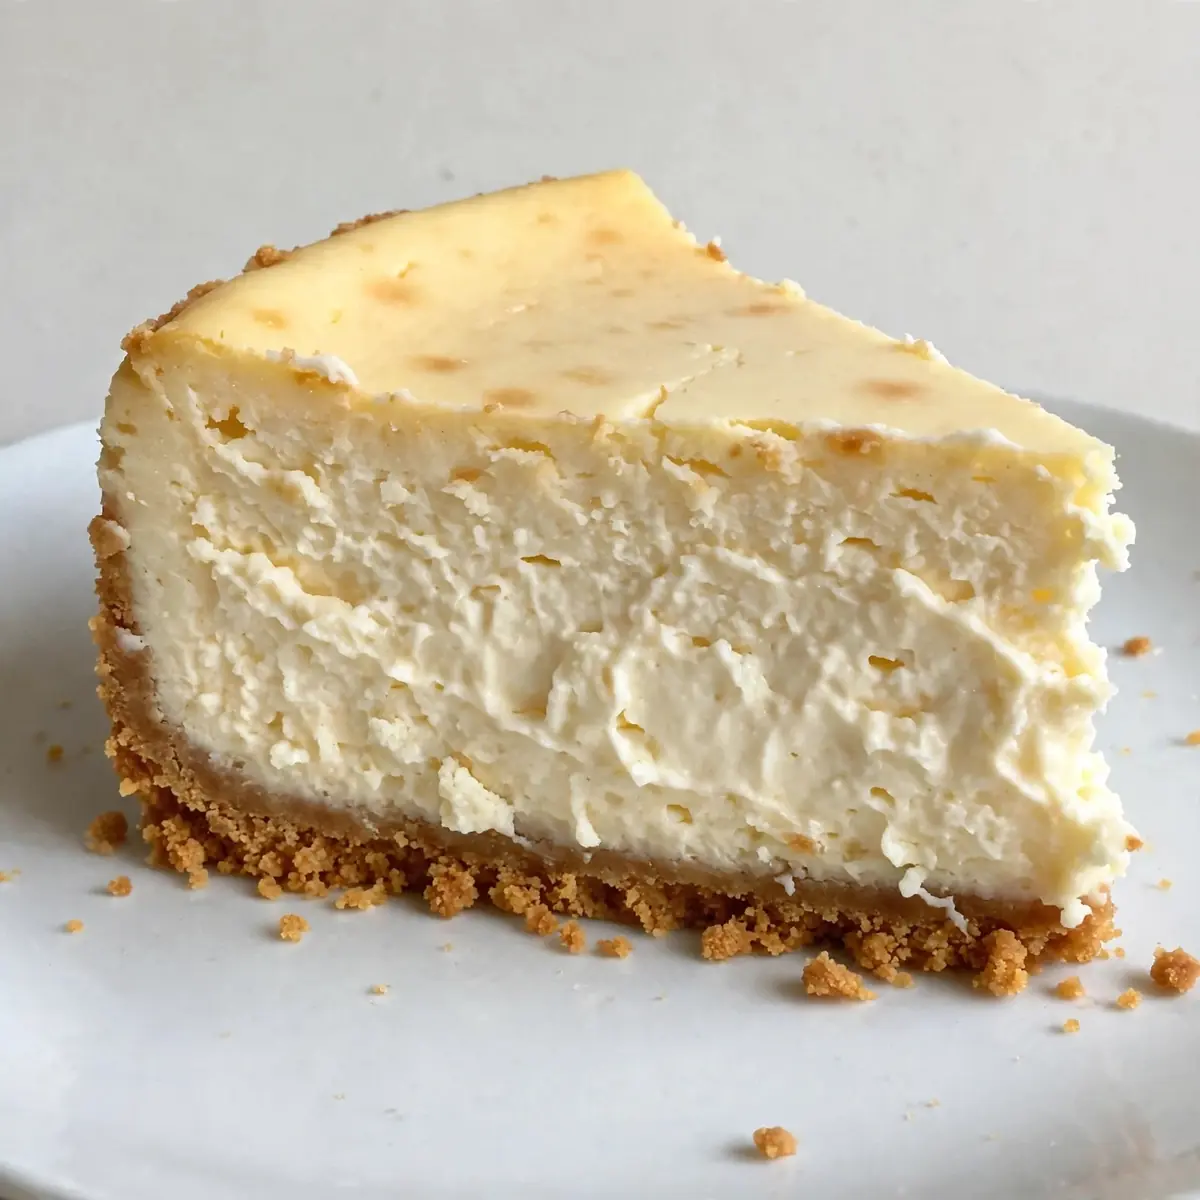
There are few pleasures quite as satisfying as spending a quiet, grey Saturday afternoon with the oven on, the scent of butter and vanilla slowly filling every corner of the house. This Classic New York Style Cheesecake is the perfect weekend project — a slow, deliberate bake that rewards your patience with a dense, creamy, and utterly luxurious slice. Let’s get our hands a little floury and make something truly special.
Recipe Overview
- Prep time: 30 minutes
- Cook time: 1 hour 10 minutes
- Total time: 5 hours 30 minutes (including cooling and chilling)
- Servings: 12 generous slices
- Difficulty: Medium
Why You’ll Love This Classic New York Style Cheesecake
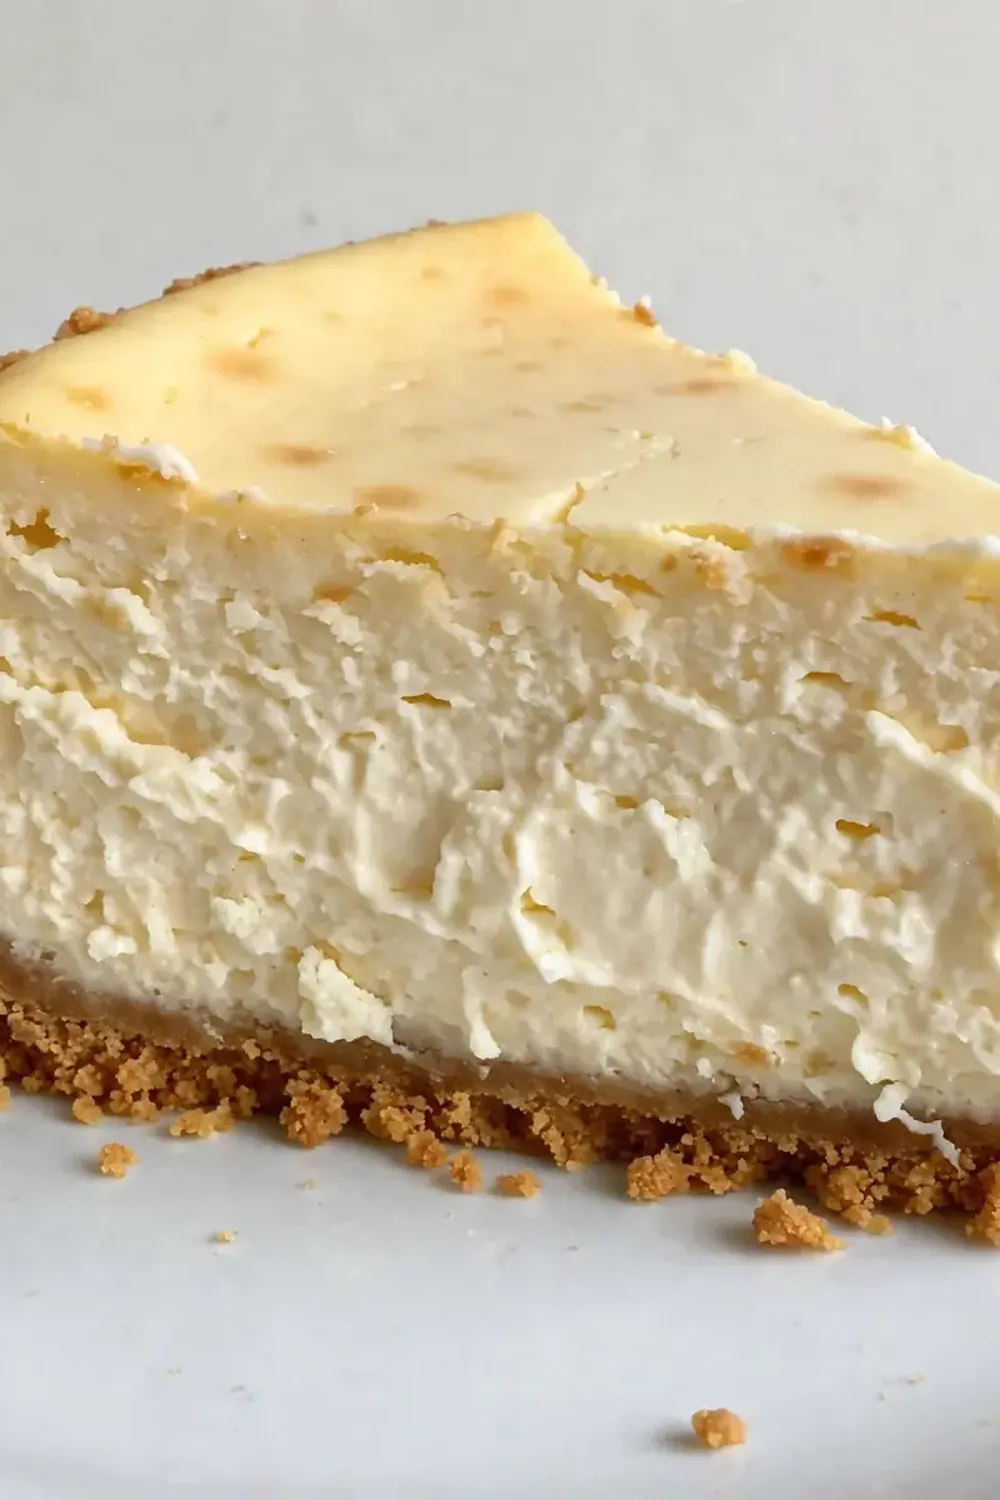
- That signature creamy texture: Dense, velvety, and luxuriously smooth — it melts on your tongue without being heavy.
- A buttery, crisp biscuit base: The contrast between the crunchy crust and the silky filling is pure magic.
- Deep, pure flavour: No fussy add-ins here — just the rich tang of cream cheese, a whisper of vanilla, and a hint of lemon.
- It gets better with time: This cheesecake develops its full flavour after an overnight rest in the fridge, making it a make-ahead dream.
- A true sensory project: From the sound of the mixer to the gentle wobble of the finished bake, every step is a small joy.
Ingredients You’ll Need
- 200g digestive biscuits
- 100g unsalted butter, melted
- 900g full-fat cream cheese, at room temperature
- 200g caster sugar
- 1 tablespoon plain flour
- 1 teaspoon vanilla extract
- 1 teaspoon lemon zest
- 4 large eggs, at room temperature
- 1 large egg yolk, at room temperature
- 200ml double cream
- Pinch of fine sea salt
Tip: Room temperature ingredients are non-negotiable here. Cold cream cheese and eggs will create a lumpy batter that bakes unevenly. Take them out of the fridge a good two hours before you start, and you’ll be rewarded with a silky-smooth filling.
How to Make Classic New York Style Cheesecake
- Prepare the crust. Place the digestive biscuits in a sealed bag and crush them with a rolling pin until they resemble fine, golden sand. You want a uniform texture — no large chunks. Tip the crumbs into a bowl, pour over the melted butter, and stir until every grain is coated and the mixture smells wonderfully toasty. Press this firmly into the base of a 23cm springform tin lined with parchment paper. Use the flat bottom of a glass to really compact it down. Bake at 160°C for 10 minutes — it should look a shade darker and smell nutty. Set aside to cool.
- Begin the filling. In the bowl of a stand mixer fitted with the paddle attachment, beat the cream cheese on low speed for a minute until it’s soft and smooth. You’re looking for a texture like thick, spreadable butter — no lumps at all. Scrape down the bowl and the beater well.
- Add the sugar and dry ingredients. Add the caster sugar, flour, vanilla, lemon zest, and salt. Mix on low speed until everything is just combined. The mixture will look glossy and slightly grainy. Do not overmix — we don’t want to incorporate too much air.
- Add the eggs one by one. Crack the first egg into a small bowl to check for shell, then add it to the mixer on low speed. Wait until you no longer see yellow streaks — about 15 seconds — before adding the next. The batter will become looser and more fluid with each egg. Add the extra yolk last. The mixture should now be pale, smooth, and smell distinctly of vanilla.
- Fold in the cream. Remove the bowl from the mixer. Pour in the double cream and use a large rubber spatula to fold it in gently. Use a slow, sweeping motion from the bottom up. The batter will become lighter, silkier, and a shade paler. Stop as soon as the cream disappears — no further.
- Prepare the water bath. Wrap the outside of your springform tin with two layers of strong foil, bringing it up the sides. Place the tin in a large, deep roasting tray. Pour the cheesecake batter into the prepared crust, smoothing the top with a spatula. The surface should be level and glossy.
- Bake low and slow. Place the roasting tray on the middle oven rack. Carefully pour hot (not boiling) water into the roasting tray until it reaches halfway up the sides of the springform tin. Close the oven door gently. Bake at 160°C for 50-60 minutes. The edges will look puffed and set, but the centre should have a distinct wobble — like a firm jelly. The top should be a pale, matte gold, and you’ll smell the sweet, buttery aroma filling your kitchen.
- Cool gradually. Turn the oven off and crack the door open with a wooden spoon. Leave the cheesecake in the warm oven for one hour. This gentle cooling prevents the surface from cracking. After an hour, remove the tin from the water bath, take off the foil, and place it on a wire cooling rack until it reaches room temperature. The top will settle and become flat and even.
- Chill overnight. Once completely cool, cover the tin tightly with cling film and refrigerate for at least 6 hours, but preferably overnight. This is the crucial step where the cheesecake sets into its signature dense, sliceable texture. The aroma will be fainter now, but the promise of that first bite is worth the wait.
Tips From My Kitchen
- Use full-fat cream cheese, always. Low-fat versions contain more water and stabilisers, which will prevent the cheesecake from setting properly. You need the high fat content for that classic dense, creamy texture. The difference in the final mouthfeel is night and day.
- Mix on low speed, and stop often. Beating too much air into the batter creates bubbles that expand in the oven and then collapse, leaving you with cracks and a spongy texture. We want a dense, fudgy crumb. Scrape down the bowl and paddle after every addition to keep things smooth without overworking.
- Do not skip the water bath. The steam from the hot water creates a humid environment in the oven, which keeps the top of the cheesecake from drying out and cracking. It also ensures the centre cooks gently and evenly, without the edges over-baking. This is the single most important technique for a bakery-quality result.
- Test for doneness with a gentle jiggle. Forget the toothpick test — a clean toothpick means an over-baked cheesecake. Instead, gently shake the tin. The outer 5cm should be set and firm, while the centre should wobble like a relaxed jelly. It will continue to set as it cools.
- Let it cool completely before chilling. Placing a warm cheesecake directly into the fridge will cause condensation to form on the surface, making it soggy. Let it reach room temperature on the counter first, then cover and chill. The wait is worth it for that clean, sharp slice.
Equipment You’ll Need
- Stand mixer or hand mixer with paddle attachment
- 23cm springform cake tin
- Parchment paper
- Large roasting tray for the water bath
- Rolling pin and sealable bag for crushing biscuits
- Large rubber spatula
- Wire cooling rack
- Strong aluminium foil
Common Mistakes to Avoid
- Overcrowding the pan: This isn’t about space in the tin, but about overfilling it. Leave at least 1cm of space at the top of the springform tin so the batter has room to rise slightly without spilling over the sides. If you have extra batter, bake it in a small ramekin on the side.
- Wrong temperature: A hot oven is the enemy of cheesecake. Baking at 160°C is the sweet spot — high enough to set the eggs, but low enough to prevent curdling and cracking. Always use an oven thermometer to be sure, as home ovens can run hot.
- Skipping the rest time: The full chilling time is not a suggestion — it’s a structural requirement. A cheesecake needs at least 6 hours in the fridge for the proteins to set and the flavours to meld. Cutting into it too early will give you a runny, unstable slice. Patience is the secret ingredient here.
Delicious Variations to Try
- Lemon Swirl Cheesecake: After pouring the batter, dollop 4 tablespoons of lemon curd on top and swirl gently with a knife. The bright, tart ribbons cut through the richness beautifully.
- Berry Topping Variation: Skip the fussy water bath for a simpler version — simply bake the cheesecake as instructed, let it cool, and top with a quick stovetop compote of mixed berries and a touch of honey. The tart fruit is a perfect partner.
- Chocolate Base Version: Swap 50g of the digestive biscuits for 50g of cocoa-rich chocolate biscuits, and add a tablespoon of cocoa powder to the melted butter. The dark, bitter notes in the crust contrast wonderfully with the sweet, creamy filling.
What to Serve With Classic New York Style Cheesecake
- A dollop of softly whipped cream and a scattering of fresh raspberries or strawberries.
- A drizzle of warm salted caramel sauce for a touch of indulgence.
- A side of tangy berry compote to balance the richness.
- For a savoury contrast, a simple Fresh Tomato And Avocado Salad makes a surprising but delightful palate cleanser between courses.
- A cup of strong black coffee or a pot of Earl Grey tea is the ideal companion for a slice of this dense cheesecake.
Still hungry for ideas? You might also love Classic New York Baked Cheesecake, New York Style Pizza Dough from our sister kitchens.
Frequently Asked Questions
Classic New York Style Cheesecake
Ingredients
Method
- Prepare the crust. Place the digestive biscuits in a sealed bag and crush them with a rolling pin until they resemble fine, golden sand. You want a uniform texture — no large chunks. Tip the crumbs into a bowl, pour over the melted butter, and stir until every grain is coated and the mixture smells wonderfully toasty. Press this firmly into the base of a 23cm springform tin lined with parchment paper. Use the flat bottom of a glass to really compact it down. Bake at 160°C for 10 minutes — it should look a shade darker and smell nutty. Set aside to cool.
- Begin the filling. In the bowl of a stand mixer fitted with the paddle attachment, beat the cream cheese on low speed for a minute until it's soft and smooth. You're looking for a texture like thick, spreadable butter — no lumps at all. Scrape down the bowl and the beater well.
- Add the sugar and dry ingredients. Add the caster sugar, flour, vanilla, lemon zest, and salt. Mix on low speed until everything is just combined. The mixture will look glossy and slightly grainy. Do not overmix — we don't want to incorporate too much air.
- Add the eggs one by one. Crack the first egg into a small bowl to check for shell, then add it to the mixer on low speed. Wait until you no longer see yellow streaks — about 15 seconds — before adding the next. The batter will become looser and more fluid with each egg. Add the extra yolk last. The mixture should now be pale, smooth, and smell distinctly of vanilla.
- Fold in the cream. Remove the bowl from the mixer. Pour in the double cream and use a large rubber spatula to fold it in gently. Use a slow, sweeping motion from the bottom up. The batter will become lighter, silkier, and a shade paler. Stop as soon as the cream disappears — no further.
- Prepare the water bath. Wrap the outside of your springform tin with two layers of strong foil, bringing it up the sides. Place the tin in a large, deep roasting tray. Pour the cheesecake batter into the prepared crust, smoothing the top with a spatula. The surface should be level and glossy.
- Bake low and slow. Place the roasting tray on the middle oven rack. Carefully pour hot (not boiling) water into the roasting tray until it reaches halfway up the sides of the springform tin. Close the oven door gently. Bake at 160°C for 50-60 minutes. The edges will look puffed and set, but the centre should have a distinct wobble — like a firm jelly. The top should be a pale, matte gold, and you'll smell the sweet, buttery aroma filling your kitchen.
- Cool gradually. Turn the oven off and crack the door open with a wooden spoon. Leave the cheesecake in the warm oven for one hour. This gentle cooling prevents the surface from cracking. After an hour, remove the tin from the water bath, take off the foil, and place it on a wire cooling rack until it reaches room temperature. The top will settle and become flat and even.
- Chill overnight. Once completely cool, cover the tin tightly with cling film and refrigerate for at least 6 hours, but preferably overnight. This is the crucial step where the cheesecake sets into its signature dense, sliceable texture. The aroma will be fainter now, but the promise of that first bite is worth the wait.
Notes
There’s something wonderfully grounding about taking a whole afternoon to make a proper cheesecake — the rhythm of crushing biscuits, the gentle hum of the mixer, the slow perfume of vanilla and butter baking. It’s a small act of care that fills your home with warmth and your table with something truly memorable. I’d love to hear how yours turns out — drop a comment below and let me know if your kitchen smelled as good as mine did.