Copycat Dairy Queen Oreo Blizzard Is Weekend Comfort Bliss
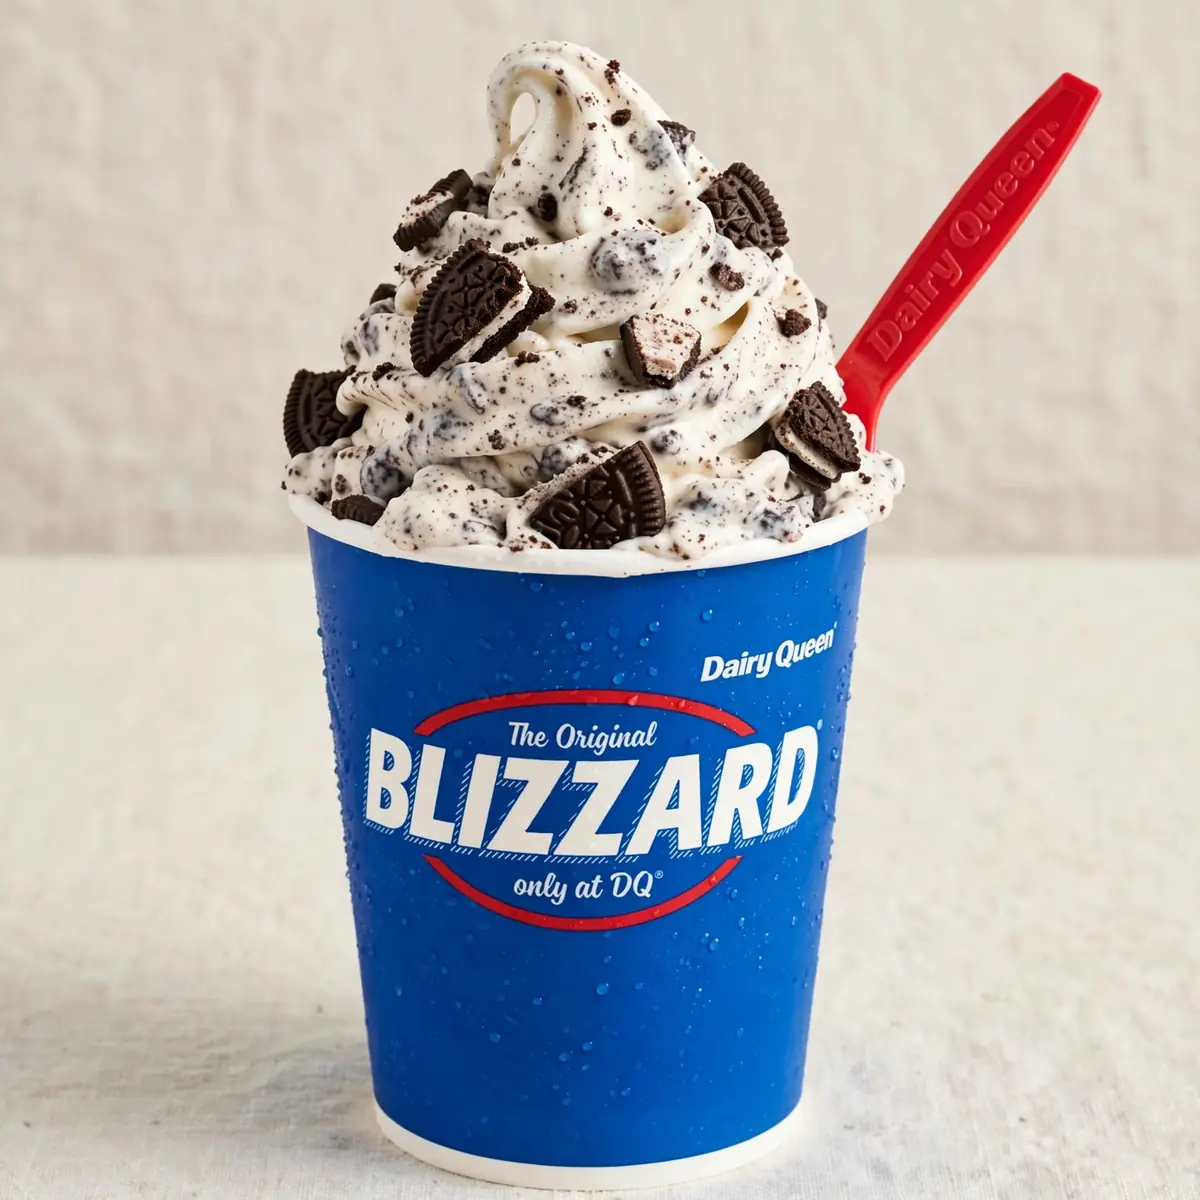
There are few things more soothing on a grey Sunday afternoon than the sound of a blender wrestling with ice cream and biscuits, knowing that a thick, creamy, utterly indulgent treat is just moments away. This copycat Dairy Queen Oreo Blizzard is my favourite weekend project—a simple, joyful act of making something that tastes far more special than the sum of its parts.
Recipe Overview
- Prep Time: 10 minutes
- Cook Time: 0 minutes (no-cook recipe)
- Total Time: 10 minutes
- Servings: 2 generous servings (or 1 very generous one)
- Difficulty: Easy
Why You’ll Love This Copycat Dairy Queen Oreo Blizzard
- You get that signature thick, spoon-standing-up texture without needing a commercial soft-serve machine.
- The cookies soften just enough to create those wonderful little pockets of chocolate fudge-like paste throughout the cream.
- It is a wonderfully forgiving recipe—adjust the milk or cream to reach your ideal consistency.
- Making it at home means you can use your favourite vanilla ice cream and control the sweetness.
- My kids absolutely devour this every time I make it, and I love that I know exactly what is going into their glasses.

Ingredients You’ll Need
- 500 ml (2 cups) good-quality vanilla ice cream
- 60 ml (¼ cup) full-fat milk, plus extra if needed
- 1 teaspoon vanilla extract
- 130 g (about 12) Oreo biscuits (or any halal-certified chocolate cream sandwich biscuit)
- 2 tablespoons chocolate sauce (optional, for drizzling)
- Whipped cream, to serve (optional)
- 1 additional Oreo biscuit, crushed, for garnish
Tip: For the richest, creamiest result, use a full-fat, premium vanilla ice cream. The lower the air content in the ice cream, the denser and more luscious your blizzard will be.
How to Make Copycat Dairy Queen Oreo Blizzard
- Soften the ice cream: Remove your vanilla ice cream from the freezer and let it sit on the counter for 8-10 minutes. You want it to be just soft enough to scoop easily but not melted—it should still hold its shape and look slightly glossy on the surface.
- Crush the Oreos: Place the Oreo biscuits in a sturdy resealable bag and gently bash them with a rolling pin. Aim for a mix of fine crumbs and small, pea-sized chunks. The sound of the biscuits cracking is deeply satisfying—you want a few larger pieces for texture, not dust.
- Build the base: Scoop the softened ice cream into a large mixing bowl. Pour in the milk and the vanilla extract. The mixture should look thick and creamy, with the milk just starting to loosen the ice cream.
- Fold in the biscuits: Add the crushed Oreos (including the fine crumbs) to the bowl. Using a sturdy spatula, fold everything together with a gentle, turning motion. You will see the white ice cream become streaked with dark chocolate as the crumbs incorporate. Stop folding as soon as you no longer see dry patches of biscuit—over-mixing will melt the ice cream too much.
- Chill the glass: While the mixture rests, pop your serving glasses or tall sundae dishes into the freezer for 5 minutes. A chilled glass helps the blizzard maintain its thick, spoonable texture from the first bite to the last.
- Assemble and serve: Spoon the Oreo mixture into the chilled glasses. If using, drizzle a little chocolate sauce over the top, add a generous swirl of whipped cream, and finish with a sprinkle of the reserved crushed Oreo. Serve immediately with a long spoon—the texture should be thick enough that the spoon stands upright in the centre.
Tips From My Kitchen
- Don’t over-soften the ice cream: The most common mistake is letting the ice cream become too soft. If it turns soupy before you add the biscuits, your blizzard will be thin and watery. You want it to be the consistency of stiff, just-melting butter—cold, pliable, but still holding its form.
- Use a metal bowl: A metal mixing bowl conducts cold much better than glass or plastic. If you chill your metal bowl in the freezer for 10 minutes before starting, the mixture will stay colder for longer, giving you a better texture.
- Crush the Oreos by hand, not a food processor: A food processor reduces the biscuits to a uniform powder. You want variation—some fine crumbs that melt into the ice cream and create a chocolate swirl effect, and some larger chunks that provide a satisfying crunch.
- Adjust the milk based on your ice cream: Different brands of ice cream have different fat and air contents. Start with the minimum amount of milk (60 ml) and add a teaspoon at a time if the mixture is too stiff to fold. The final blizzard should be thick enough to mound on a spoon, not pour.
- Work quickly once the ice cream is soft: Once you start mixing, the friction of the spatula and the warmth of your hand will begin to melt the ice cream. Have all your ingredients measured and ready before you take the ice cream out of the freezer. I make this at least once a week—it’s become a family favourite, and speed is everything.
Equipment You’ll Need
- Large mixing bowl (preferably metal)
- Sturdy spatula or wooden spoon
- Rolling pin
- Resealable plastic bag
- Measuring cups and spoons
- Tall serving glasses or sundae dishes
What to Serve With Copycat Dairy Queen Oreo Blizzard
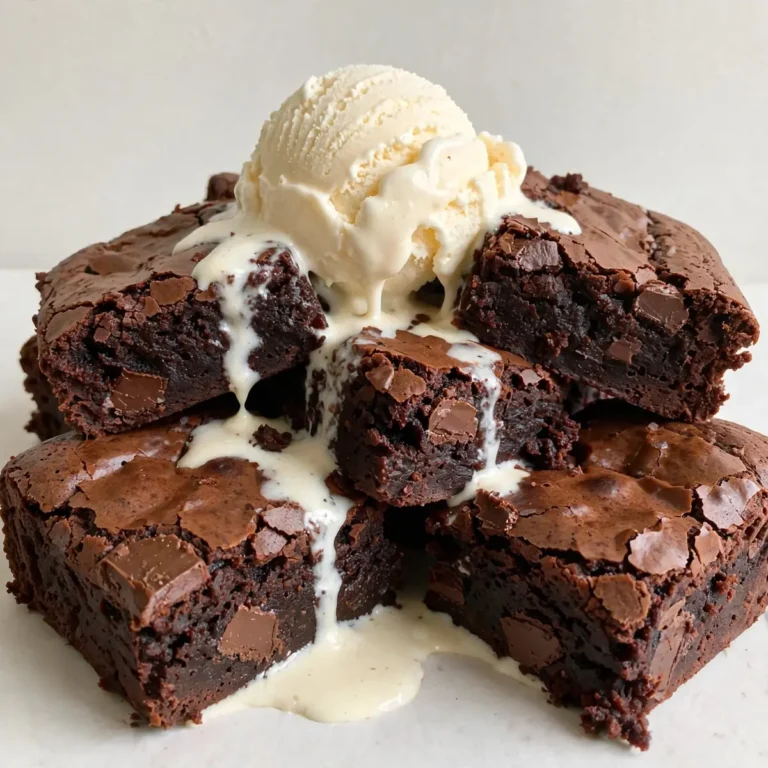
- A warm, gooey brownie for a classic hot-and-cold dessert contrast.
- A small cup of strong black coffee or espresso to balance the sweetness.
- Fresh berries, such as raspberries or sliced strawberries, for a touch of tartness.
Frequently Asked Questions
Copycat Dairy Queen Oreo Blizzard
Ingredients
Method
- Soften the ice cream: Remove your vanilla ice cream from the freezer and let it sit on the counter for 8-10 minutes. You want it to be just soft enough to scoop easily but not melted—it should still hold its shape and look slightly glossy on the surface.
- Crush the Oreos: Place the Oreo biscuits in a sturdy resealable bag and gently bash them with a rolling pin. Aim for a mix of fine crumbs and small, pea-sized chunks. The sound of the biscuits cracking is deeply satisfying—you want a few larger pieces for texture, not dust.
- Build the base: Scoop the softened ice cream into a large mixing bowl. Pour in the milk and the vanilla extract. The mixture should look thick and creamy, with the milk just starting to loosen the ice cream.
- Fold in the biscuits: Add the crushed Oreos (including the fine crumbs) to the bowl. Using a sturdy spatula, fold everything together with a gentle, turning motion. You will see the white ice cream become streaked with dark chocolate as the crumbs incorporate. Stop folding as soon as you no longer see dry patches of biscuit—over-mixing will melt the ice cream too much.
- Chill the glass: While the mixture rests, pop your serving glasses or tall sundae dishes into the freezer for 5 minutes. A chilled glass helps the blizzard maintain its thick, spoonable texture from the first bite to the last.
- Assemble and serve: Spoon the Oreo mixture into the chilled glasses. If using, drizzle a little chocolate sauce over the top, add a generous swirl of whipped cream, and finish with a sprinkle of the reserved crushed Oreo. Serve immediately with a long spoon—the texture should be thick enough that the spoon stands upright in the centre.
Notes
I hope this copycat Dairy Queen Oreo Blizzard becomes a little ritual in your kitchen, too. There is something deeply restorative about taking ten minutes to create a dessert that feels like a proper event—the clatter of the rolling pin, the sight of white ice cream turning into a marble of chocolate and cream. If you make it, I would love to hear how it turned out in the comments below.