Cosy Weekend Project: Crispy Beer-Battered Onion Rings
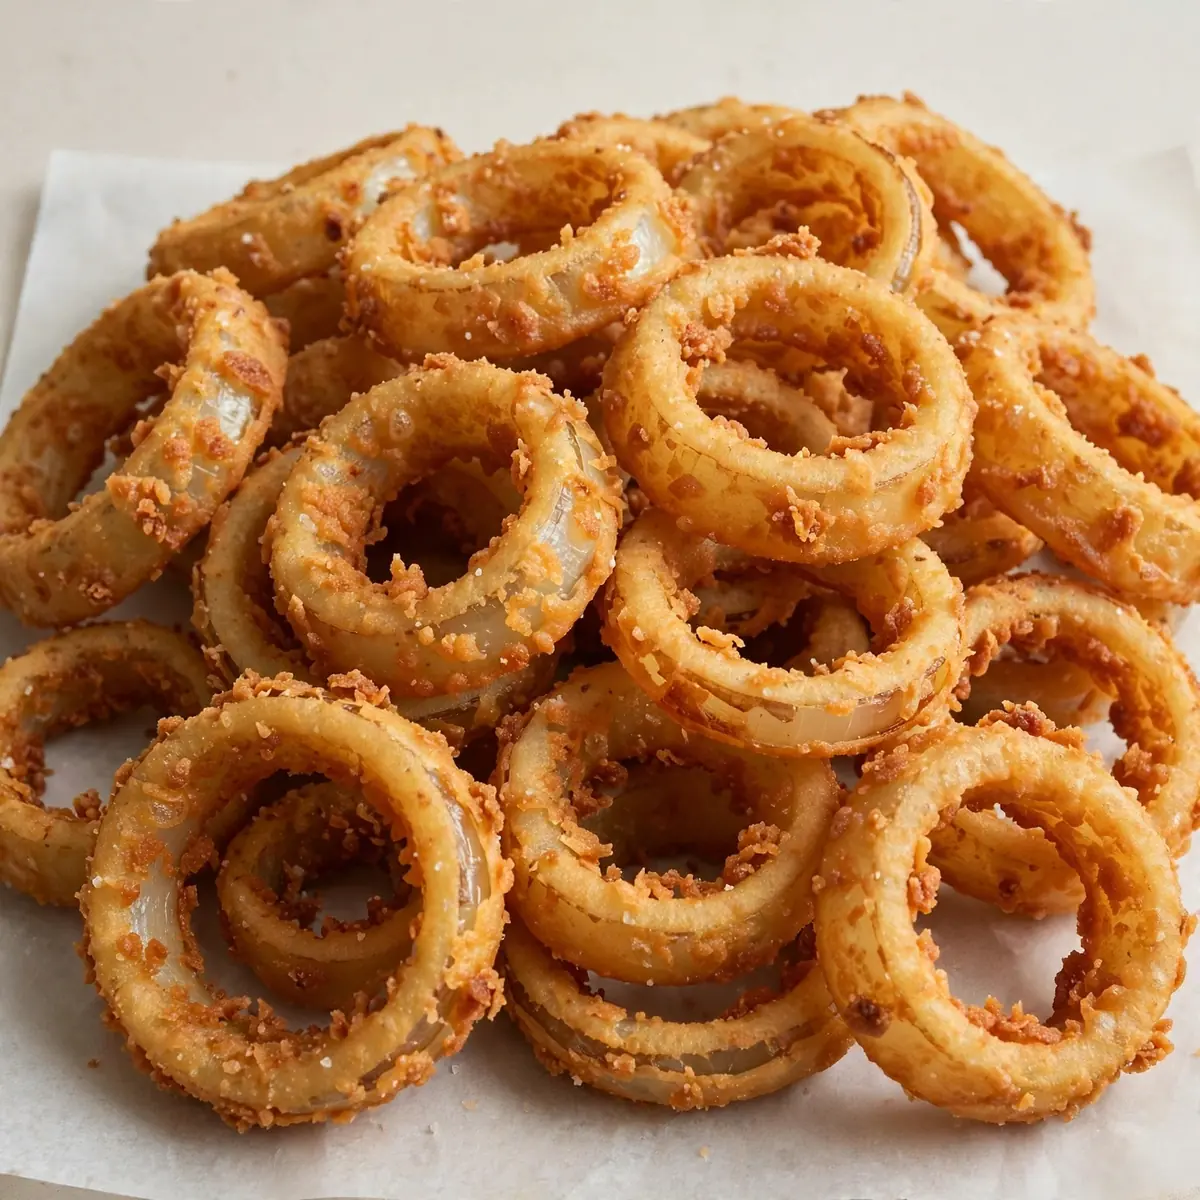
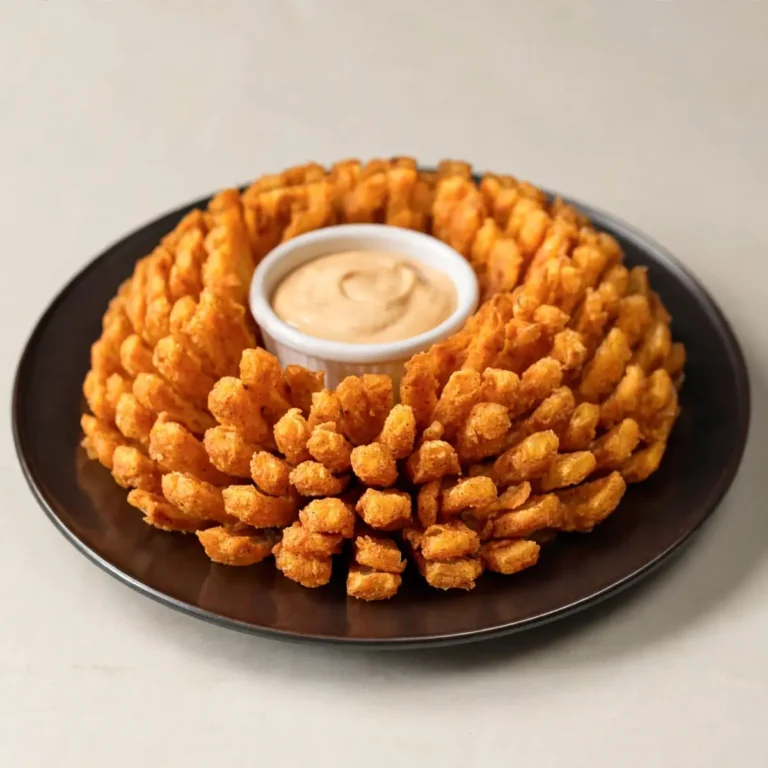
There are afternoons when the kitchen calls not for speed, but for ceremony. The sort of afternoon where the rain taps gently at the window, a podcast hums from the speaker, and the only agenda is a stack of onions and a bowl of batter. This is my weekend project: a towering plate of golden, shatteringly crisp onion rings, made with a clever non-alcoholic malt and soda base that gives you all the flavour of the classic beer batter without the booze. After testing this recipe five times, I finally got it just right, and I want to walk you through every satisfying, aromatic step.
Recipe Overview
- Prep Time: 25 minutes
- Cook Time: 20 minutes
- Total Time: 45 minutes
- Servings: 4 (as a generous side or starter)
- Difficulty: Medium (requires a bit of patience for the batter)
Why You’ll Love This Crispy Beer-Battered Onion Rings (Non-Alcoholic Malt/Soda Base)
- Authentic flavour, zero alcohol: The combination of non-alcoholic malt drink and fizzy soda creates that deep, slightly sweet, toasty note you associate with classic batter, without using any beer.
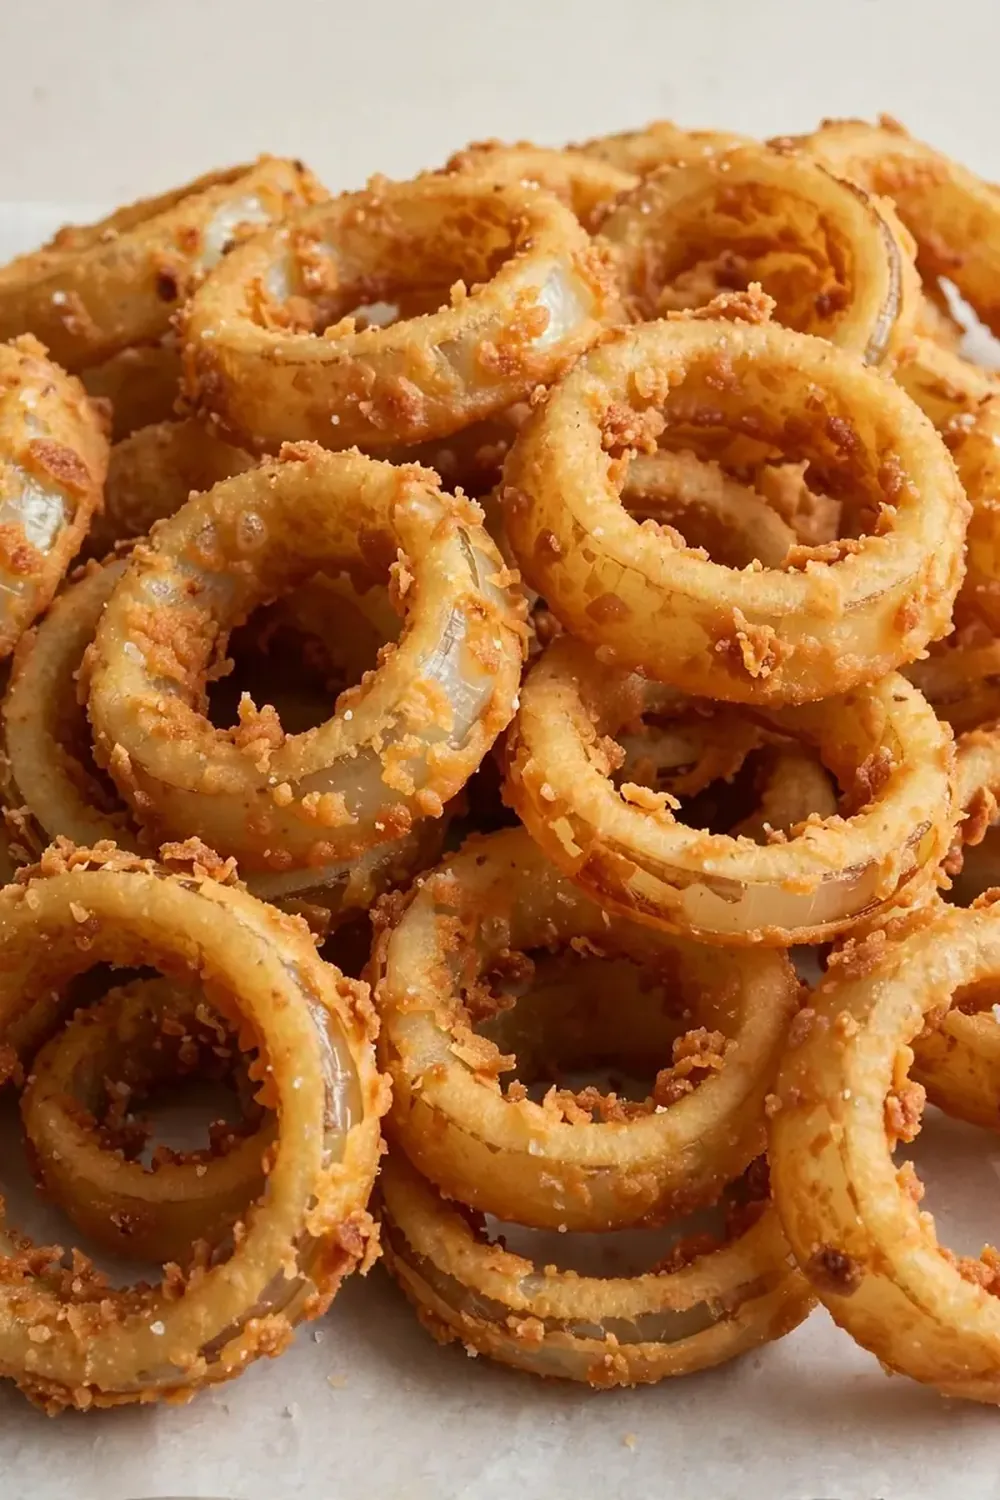
- That perfect crunch: The carbonation in the soda creates tiny air pockets in the batter, which puff up and crisp beautifully in the hot oil. You get a light, lacy shell that shatters when you bite into it.
- A proper weekend ritual: This isn’t a recipe you rush. It’s about slicing the onions evenly, whisking the batter to a smooth ribbon, and watching each ring transform in the pan. The process is the reward.
- Completely halal-friendly: By using a non-alcoholic malt base and a simple soda, this recipe is accessible to everyone, without compromising on the taste or texture of the original.
- Incredibly versatile: Serve them alongside a juicy burger, dip them in a smoky chipotle mayo, or pile them high next to a hearty steak. They are the ultimate sidekick to so many meals.
Ingredients You’ll Need
- 3 large white onions (about 600g)
- 200g plain flour, plus extra for dusting
- 50g cornflour
- 1 teaspoon baking powder
- 1 teaspoon fine sea salt
- ½ teaspoon smoked paprika
- ¼ teaspoon cayenne pepper (optional, for a little warmth)
- 250ml non-alcoholic malt drink (such as Barbican or Maltina)
- 100ml chilled sparkling water or lemon soda
- 1.5 litres vegetable or sunflower oil, for deep-frying
Tip: The malt drink and soda must be ice-cold. This is non-negotiable. A cold batter reacts more dramatically when it hits the hot oil, creating a lighter, crispier crust. Keep them in the fridge until the very last moment.
How to Make Crispy Beer-Battered Onion Rings (Non-Alcoholic Malt/Soda Base)
- Prepare the onions: Peel the onions and slice them into 1cm thick rounds. Gently separate the rings, discarding the tiny inner rings (they tend to burn). You want rings that are roughly the same size for even cooking. Place the rings in a bowl of ice water and leave them to soak for 15 minutes. This step makes them slightly sweeter and removes some of the sharp, raw bite.
- Make the dry mix: In a large mixing bowl, whisk together the plain flour, cornflour, baking powder, salt, smoked paprika, and cayenne. The cornflour is my secret weapon for extra crispness; it creates a more delicate, lacy texture than flour alone.
- Create the batter: Make a well in the centre of the dry ingredients. Pour in the cold non-alcoholic malt drink. Whisk gently from the centre outward until a thick, smooth paste forms. The aroma here is incredible — malty, slightly sweet, and deeply savoury. Now, pour in the chilled soda and whisk again. The batter should be the consistency of single cream. It will be thin, but don’t panic. Sensory cue: The batter should coat the back of a spoon and leave a clear trail when you run your finger through it. If it feels too thick, add a splash more soda.
- Heat the oil: Pour the oil into a large, deep frying pan or heavy-bottomed pot. You need at least 5cm of oil. Heat it to 180°C (350°F). If you don’t have a thermometer, drop a tiny bit of batter into the oil. If it sizzles immediately and rises to the surface, you’re ready. Sensory cue: The oil should shimmer on the surface but not smoke. A gentle, steady bubble is the sound of success.
- Dredge the rings: Pat the soaked onion rings completely dry with a clean tea towel. Any water on the rings will cause the batter to slide off. Toss a few rings at a time in the extra flour (the dusting flour). Shake off the excess. This flour layer gives the batter something to cling to, preventing that dreaded separation in the fryer.
- Batter and fry: Dip a floured ring into the batter, letting the excess drip off for a second. Carefully lower it into the hot oil. Fry in small batches — no more than 4 or 5 rings at a time. Sensory cue: Listen for a vigorous sizzle as the ring hits the oil. The batter will immediately puff and bubble. Fry for 2–3 minutes on each side, until the underside is a deep golden brown and the top is turning opaque. Use a slotted spoon to flip them once.
- Drain and season: Lift the rings out of the oil with a slotted spoon and place them on a wire rack set over a baking tray. Do not use paper towels — the steam will make the bottom soggy. While they are still hot, sprinkle them with a little more flaky sea salt. Sensory cue: They should make a hollow, crisp sound when tapped against the rack. Repeat with the remaining rings, letting the oil come back up to temperature between batches.
Tips From My Kitchen
- Keep everything cold: The science is simple: a cold batter creates a greater temperature shock when it hits the hot oil. That shock causes the liquids in the batter to rapidly turn to steam, which puffs up the crust. I pop my mixing bowl and whisk in the fridge for 10 minutes before starting.
- Don’t overmix the batter: A few lumps are your friends. Over-whisking develops the gluten in the flour, resulting in a tough, dense, and chewy coating rather than a light, crisp one. Stir just until the dry ingredients are incorporated.
- Resist the urge to crowd the pan: I used to struggle with this dish until I discovered that dropping too many rings into the oil at once is a recipe for disaster. The oil temperature plummets, the rings absorb oil instead of crisping up, and they end up greasy. Fry in small, patient batches.
- Use a wire rack, not kitchen roll: This is the single best tip for keeping onion rings crisp. When you place hot, fried food on paper towels, the steam gets trapped underneath and softens the crust. A wire rack allows air to circulate all around the ring, keeping every side shatteringly crisp.
- Slice onions against the grain: When you cut the onion, you want the rings to hold their shape. Slicing against the grain (perpendicular to the root-to-stem lines) creates shorter fibres, which makes the rings more tender and less likely to fall apart in the fryer.
Equipment You’ll Need
- Large frying pan, deep skillet, or heavy-bottomed saucepan (for deep-frying)
- Sharp chef’s knife and a sturdy cutting board
- Two medium mixing bowls (one for dry mix, one for batter)
- Balloon whisk
- Slotted spoon or spider strainer
- Wire cooling rack set over a baking tray
- Kitchen thermometer (highly recommended)
- Clean tea towel for drying onions
Common Mistakes to Avoid
- Overcrowding the pan: This is the most common error. When you add too many rings at once, the oil temperature drops dramatically. The batter absorbs the oil instead of repelling it, resulting in heavy, greasy, and soggy rings. Fry only 4-5 rings per batch, and always let the oil return to 180°C between batches.
- Wrong temperature: If the oil is too cool, the batter will absorb fat and become dense. If it’s too hot, the outside will burn before the onion inside has softened. A thermometer is your best friend here. Aim for a steady 180°C. If you don’t have one, the breadcrumb test works well: a cube of bread should turn golden brown in about 60 seconds.
- Skipping the rest time: Letting the batter rest for 10 minutes after mixing is crucial. This allows the flour to fully hydrate and the gluten to relax. A rested batter clings better to the onion rings and creates a more even, crisp crust. Don’t rush this step.
What to Serve With Crispy Beer-Battered Onion Rings (Non-Alcoholic Malt/Soda Base)
- A classic dipping sauce like chipotle mayo, garlic aioli, or a simple ketchup and horseradish blend.
- Piled high on top of a juicy burger, like my Baked Ziti With Ground Beef (sub the pasta for a bun, of course).
- As a side to a fresh and zesty fish dish or a plate of Zesty Shrimp Tacos Recipe.
- Alongside a crisp, fresh salad like my Fresh Greek Salad Recipe to cut through the richness.
- As a crunchy topping for a hearty bowl of soup or chilli.
Frequently Asked Questions
Crispy Beer-Battered Onion Rings (Non-Alcoholic Malt/Soda Base)
Ingredients
Method
- Prepare the onions: Peel the onions and slice them into 1cm thick rounds. Gently separate the rings, discarding the tiny inner rings (they tend to burn). You want rings that are roughly the same size for even cooking. Place the rings in a bowl of ice water and leave them to soak for 15 minutes. This step makes them slightly sweeter and removes some of the sharp, raw bite.
- Make the dry mix: In a large mixing bowl, whisk together the plain flour, cornflour, baking powder, salt, smoked paprika, and cayenne. The cornflour is my secret weapon for extra crispness; it creates a more delicate, lacy texture than flour alone.
- Create the batter: Make a well in the centre of the dry ingredients. Pour in the cold non-alcoholic malt drink. Whisk gently from the centre outward until a thick, smooth paste forms. The aroma here is incredible — malty, slightly sweet, and deeply savoury. Now, pour in the chilled soda and whisk again. The batter should be the consistency of single cream. It will be thin, but don't panic. Sensory cue: The batter should coat the back of a spoon and leave a clear trail when you run your finger through it. If it feels too thick, add a splash more soda.
- Heat the oil: Pour the oil into a large, deep frying pan or heavy-bottomed pot. You need at least 5cm of oil. Heat it to 180°C (350°F). If you don't have a thermometer, drop a tiny bit of batter into the oil. If it sizzles immediately and rises to the surface, you're ready. Sensory cue: The oil should shimmer on the surface but not smoke. A gentle, steady bubble is the sound of success.
- Dredge the rings: Pat the soaked onion rings completely dry with a clean tea towel. Any water on the rings will cause the batter to slide off. Toss a few rings at a time in the extra flour (the dusting flour). Shake off the excess. This flour layer gives the batter something to cling to, preventing that dreaded separation in the fryer.
- Batter and fry: Dip a floured ring into the batter, letting the excess drip off for a second. Carefully lower it into the hot oil. Fry in small batches — no more than 4 or 5 rings at a time. Sensory cue: Listen for a vigorous sizzle as the ring hits the oil. The batter will immediately puff and bubble. Fry for 2–3 minutes on each side, until the underside is a deep golden brown and the top is turning opaque. Use a slotted spoon to flip them once.
- Drain and season: Lift the rings out of the oil with a slotted spoon and place them on a wire rack set over a baking tray. Do not use paper towels — the steam will make the bottom soggy. While they are still hot, sprinkle them with a little more flaky sea salt. Sensory cue: They should make a hollow, crisp sound when tapped against the rack. Repeat with the remaining rings, letting the oil come back up to temperature between batches.
Notes
So there it is — my weekend project, your weekend project. A bowl of batter, a stack of onions, and the patient, rhythmic sizzle of the pan. I hope you find the same quiet joy in the process as I do, and that the first bite of that impossibly crisp, golden ring makes every minute of preparation worthwhile. I would love to hear how yours turn out — share your photos and stories in the comments below.