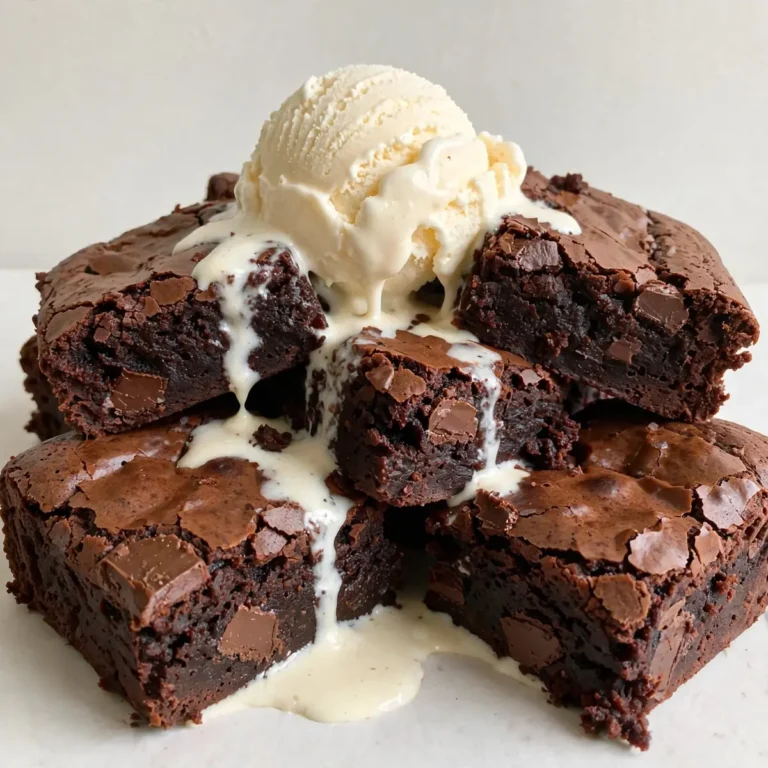
Classic Brownies (Fudgy)
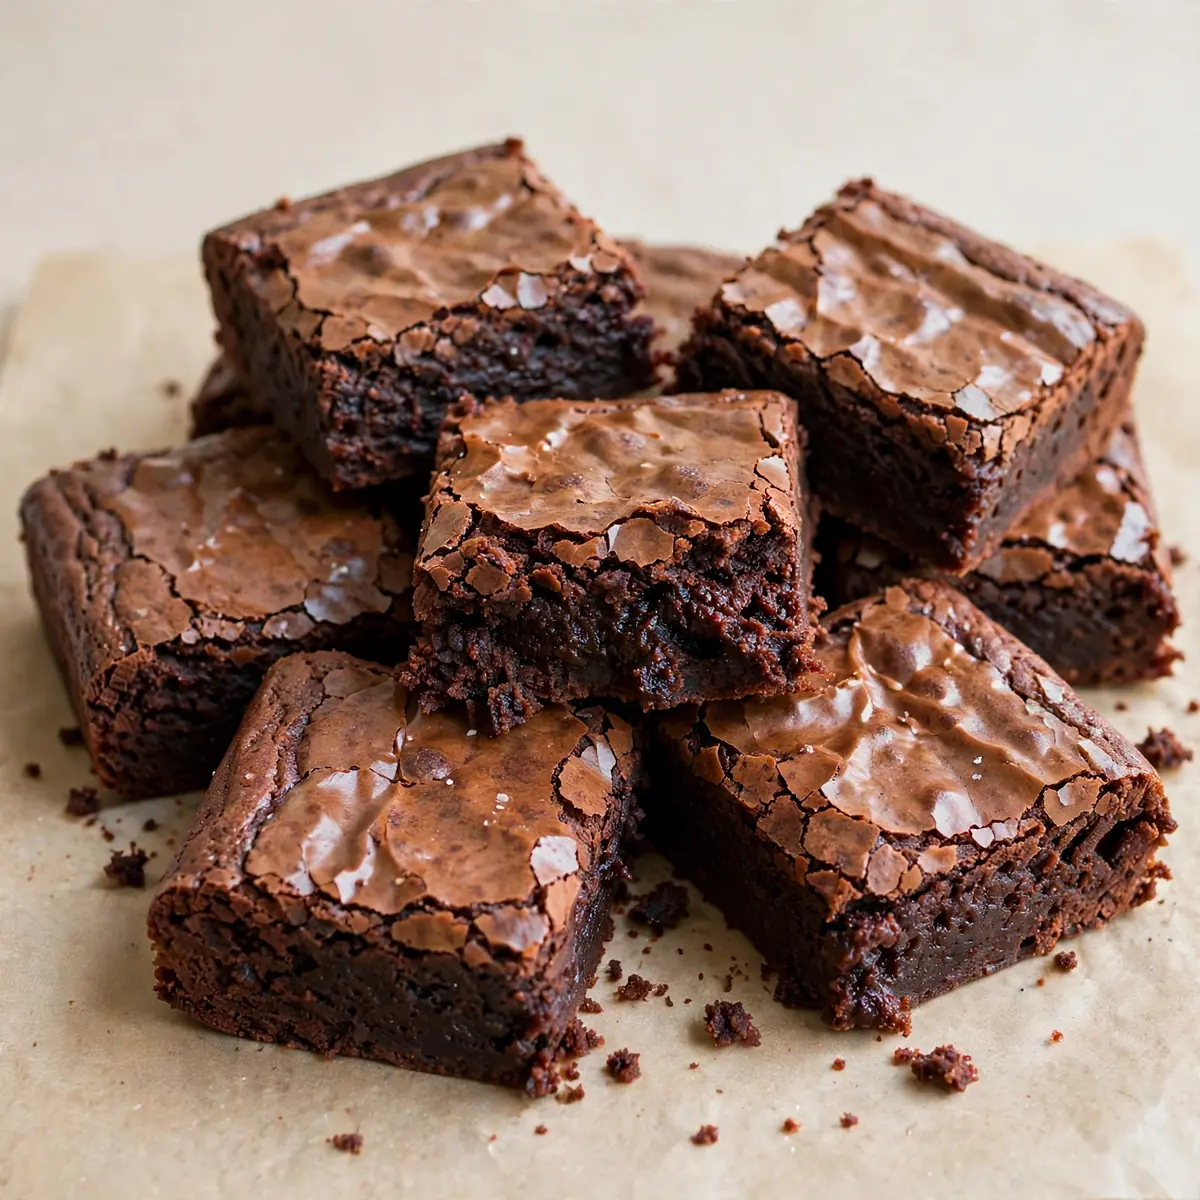
I still remember the first time I served these brownies at a dinner party. I’d spent the whole afternoon agonising over a lamb roast, only to watch my guests fall utterly silent over the final course: a single, gleaming square of fudgy chocolate, topped with a shard of salt and a quenelle of cream. That night, the brownies stole the show. This isn’t just a recipe for a sweet treat; it’s a blueprint for a restaurant-quality dessert that demands attention, built on a foundation of deep, fudgy richness and finished with the kind of plating that makes people reach for their phones before their forks.
Recipe Overview
- Prep Time: 20 minutes
- Cook Time: 25 minutes
- Total Time: 1 hour 30 minutes (includes cooling)
- Servings: 16 squares
- Difficulty: Medium
Why You’ll Love This Classic Brownies (Fudgy)
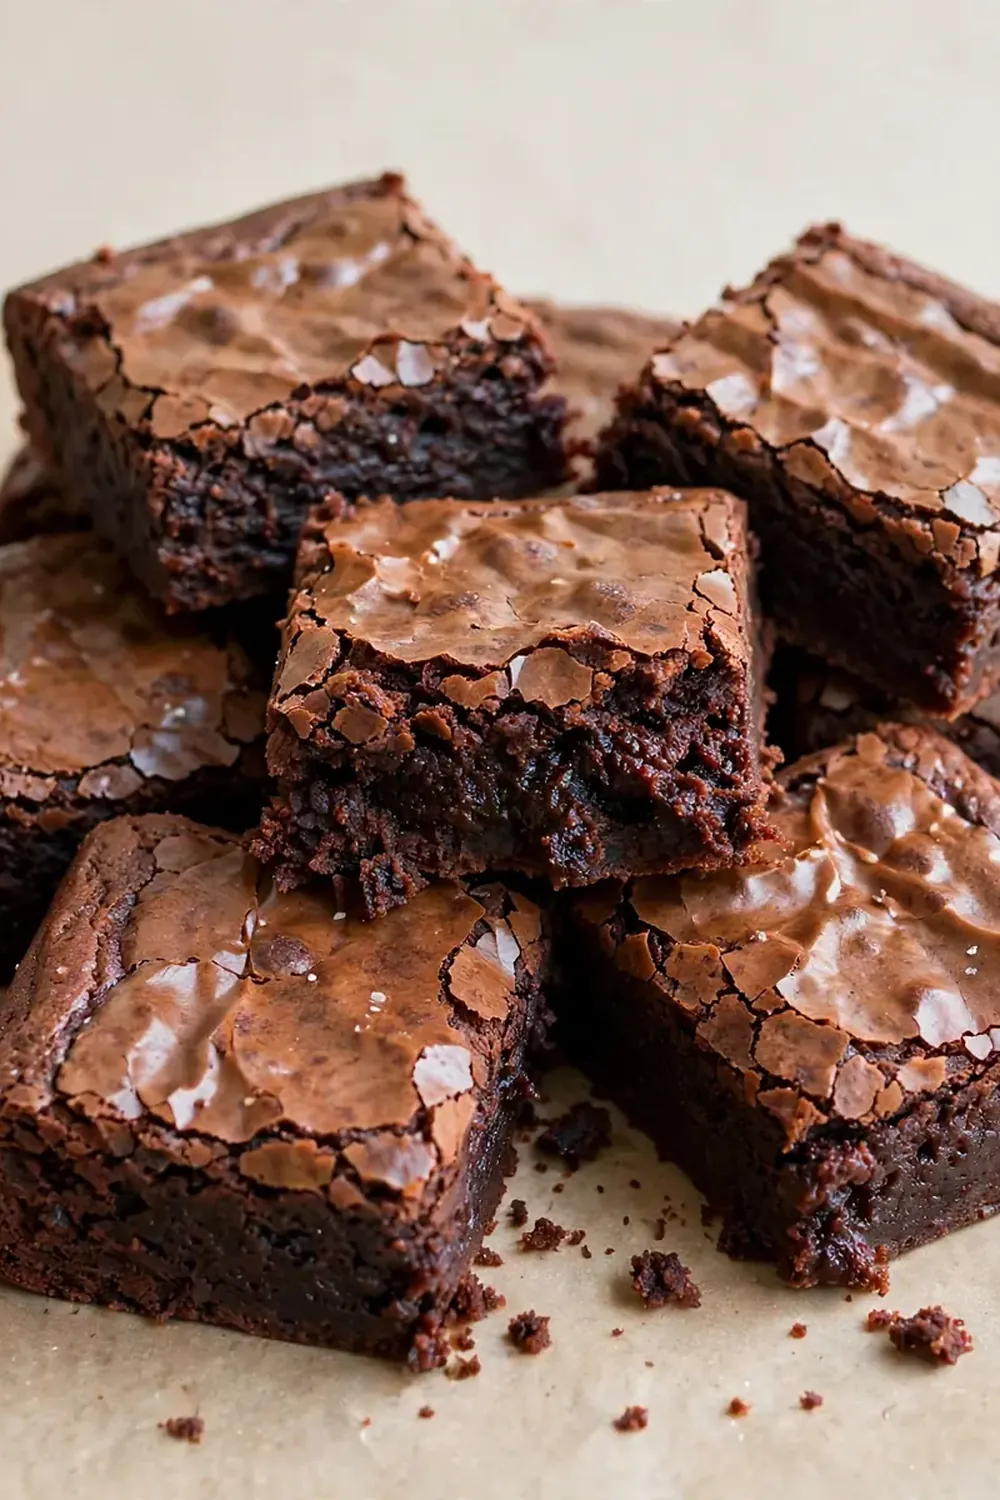
- Restaurant-Worthy Presentation: This recipe is engineered for the plate. The glossy, crackled top and clean-cut edges create a visual anchor that feels intentional and polished.
- Unapologetically Fudgy Texture: We’ve maximised the butter-to-flour ratio to achieve that dense, melt-in-the-middle bite that defines a true fudgy brownie, not a cakey one.
- Deep, Complex Chocolate Flavour: A combination of dark chocolate and cocoa powder creates a layered richness that lingers, making each small square feel decadent and complete.
- Built for Garnish: The slightly savoury, unsweetened base of this brownie provides the perfect canvas for a sprinkle of flaky sea salt, a dusting of icing sugar, or a dollop of crème fraîche.
- Make-Ahead Confidence: These brownies actually improve after a day in the fridge, becoming denser and more fudgy. You can bake them 48 hours in advance and focus on your main course.
Ingredients You’ll Need
- 200g unsalted butter, plus extra for greasing
- 200g dark chocolate (70% cocoa solids), roughly chopped
- 300g caster sugar
- 3 large eggs, at room temperature
- 1 tsp vanilla extract
- 100g plain flour
- 40g cocoa powder, sifted
- ½ tsp fine sea salt
- 100g white chocolate chips (optional, for a marbled effect)
- Flaky sea salt, for finishing
Tip: Use the best dark chocolate you can afford. The flavour is the star here, and a cheap bar will make the final result taste flat. I use one with 70% cocoa solids for the perfect balance of bitterness and sweetness.
How to Make Classic Brownies (Fudgy)
- Melt the butter and chocolate: Place the butter and chopped dark chocolate in a heatproof bowl set over a pan of gently simmering water. Stir occasionally until the mixture is completely smooth and glossy. The smell at this stage should be deeply chocolatey, not burnt. Remove from the heat and let it cool for five minutes. It should feel warm to the touch, not hot.
- Whisk in the sugar and eggs: Add the caster sugar to the chocolate mixture and whisk vigorously until fully incorporated. The mixture will look grainy. Add the eggs one at a time, whisking well after each addition. The batter will become thick, glossy, and should fall from the whisk in a smooth, thick ribbon.
- Add the dry ingredients: Gently fold in the sifted plain flour, cocoa powder, and fine sea salt using a rubber spatula. Stop folding as soon as you see the last streak of flour disappear. The batter should be thick, fudgy, and smell intensely of chocolate.
- Fold in optional white chocolate: If using, gently fold the white chocolate chips into the batter. Do not overmix; you want distinct pockets of white chocolate that will melt into creamy puddles.
- Bake the brownies: Pour the batter into a prepared 20cm x 20cm square baking tin lined with parchment paper. Smooth the top with a spatula. Bake in a preheated oven at 170°C (fan-forced) for 22-25 minutes. The top should be set, cracked, and slightly shiny, but a skewer inserted into the centre should come out with a few moist, fudgy crumbs attached—not clean. The edges will look firmer than the centre.
- Cool completely: Place the tin on a wire cooling rack and let the brownies cool completely in the tin. This is critical. Do not even think about cutting them for at least one hour. As they cool, they will set into that perfect, fudgy texture.
- Chill for clean cuts: After cooling, transfer the entire block (still in the parchment) to the refrigerator and chill for at least 30 minutes. This firms the butter and makes for incredibly clean, sharp edges. I stumbled upon this combination by accident, and it’s been a hit ever since.
Equipment You’ll Need
- Stand mixer or hand mixer (though a whisk works fine)
- 20cm x 20cm square baking tin
- Parchment paper
- Wire cooling rack
- Heatproof bowl and saucepan (for a bain-marie)
- Sharp chef’s knife (for clean cuts)
Tips From My Kitchen
- Don’t overmix the batter after adding flour: Overworking the gluten is the fastest route to a cakey brownie. You want to develop just enough structure to hold the fudgy centre, not a light crumb. Fold only until the flour disappears, then stop.
- Use a light-coloured metal tin: Glass or dark non-stick tins conduct heat differently and can lead to over-baked edges before the centre is set. A standard light-coloured metal tin gives the most even, gentle heat distribution.
- Line the tin with a parchment sling: Cut two strips of parchment that overhang on opposite sides. This allows you to lift the entire block of brownies out of the tin after cooling, making cutting them into neat squares infinitely easier.
- Invest in a good kitchen scale: Baking is a science. Measuring flour by volume (cups) can lead to a dry, crumbly brownie. Weighing your ingredients ensures the exact ratio needed for that fudgy texture every single time.
- The toothpick test is a lie (sort of): A clean toothpick means you’ve overbaked. You want a few moist, sticky crumbs clinging to the skewer. The residual heat will finish cooking the centre as it cools.
- Embrace the chill before cutting: After testing this recipe five times, I finally got it just right. The single biggest improvement was the chill step. A warm brownie is a sticky, crumbly mess. A cold one yields perfect, photograph-worthy squares.
Common Mistakes to Avoid
- Overcrowding the pan: Using a tin that is too small will result in a thick, underbaked centre that never sets properly. Stick to the 20cm x 20cm tin specified. A larger tin will give you thin, over-crisp brownies.
- Wrong temperature: An oven that runs hot will give you a hard, dry top and a raw centre. Always use an oven thermometer to verify your oven’s true temperature. 170°C (fan) is the sweet spot.
- Skipping the rest time: Cutting into a warm brownie is a tragedy. The structure needs time to set. The rest time—first at room temperature, then in the fridge—is non-negotiable for achieving that clean, fudgy slice.
Delicious Variations to Try
- Spicy Version: Add ½ teaspoon of cayenne pepper and 1 teaspoon of ground cinnamon to the flour mixture. The heat will sneak up on you, cutting through the richness beautifully.
- Vegetarian/Vegan Option: Replace the eggs with a flax egg (3 tablespoons ground flaxseed mixed with 9 tablespoons water, left to gel for 10 minutes). Use a high-quality vegan butter and ensure your dark chocolate is dairy-free. The texture will be slightly less fudgy, but still deeply satisfying.
- Different Protein: Fold in 100g of roughly chopped roasted pistachios or toasted walnuts after the flour. The nutty crunch provides a lovely textural contrast to the dense, fudgy crumb.
What to Serve With Classic Brownies (Fudgy)
- A quenelle of lightly whipped, unsweetened crème fraîche – the tang cuts the sweetness.
- A small scoop of good-quality vanilla ice cream, dusted with a pinch of flaky sea salt.
- A drizzle of warm, salted caramel sauce, made by simmering sugar, butter, and cream.
- A scattering of fresh raspberries or a dollop of sharp raspberry coulis.
- A small, strong espresso on the side to contrast the richness.
Still hungry for ideas? You might also love Fudgy Homemade Brownies Rich Chewy Irresistible, Fudgy Banana Brownies from our sister kitchens.
Frequently Asked Questions
Classic Brownies (Fudgy)
Ingredients
Method
- Melt the butter and chocolate: Place the butter and chopped dark chocolate in a heatproof bowl set over a pan of gently simmering water. Stir occasionally until the mixture is completely smooth and glossy. The smell at this stage should be deeply chocolatey, not burnt. Remove from the heat and let it cool for five minutes. It should feel warm to the touch, not hot.
- Whisk in the sugar and eggs: Add the caster sugar to the chocolate mixture and whisk vigorously until fully incorporated. The mixture will look grainy. Add the eggs one at a time, whisking well after each addition. The batter will become thick, glossy, and should fall from the whisk in a smooth, thick ribbon.
- Add the dry ingredients: Gently fold in the sifted plain flour, cocoa powder, and fine sea salt using a rubber spatula. Stop folding as soon as you see the last streak of flour disappear. The batter should be thick, fudgy, and smell intensely of chocolate.
- Fold in optional white chocolate: If using, gently fold the white chocolate chips into the batter. Do not overmix; you want distinct pockets of white chocolate that will melt into creamy puddles.
- Bake the brownies: Pour the batter into a prepared 20cm x 20cm square baking tin lined with parchment paper. Smooth the top with a spatula. Bake in a preheated oven at 170°C (fan-forced) for 22-25 minutes. The top should be set, cracked, and slightly shiny, but a skewer inserted into the centre should come out with a few moist, fudgy crumbs attached—not clean. The edges will look firmer than the centre.
- Cool completely: Place the tin on a wire cooling rack and let the brownies cool completely in the tin. This is critical. Do not even think about cutting them for at least one hour. As they cool, they will set into that perfect, fudgy texture.
- Chill for clean cuts: After cooling, transfer the entire block (still in the parchment) to the refrigerator and chill for at least 30 minutes. This firms the butter and makes for incredibly clean, sharp edges. I stumbled upon this combination by accident, and it's been a hit ever since.
Notes
These brownies are more than a recipe; they are a statement. They are the quiet confidence of a perfectly cooked steak, the bold flourish of a final course that leaves an impression long after the plates are cleared. They prove that the most memorable dishes are often the most simple, executed with precision and a little bit of love. I’d love to hear how you plate yours up—drop a comment below and let me know your signature garnish.