Classic Chocolate Cake
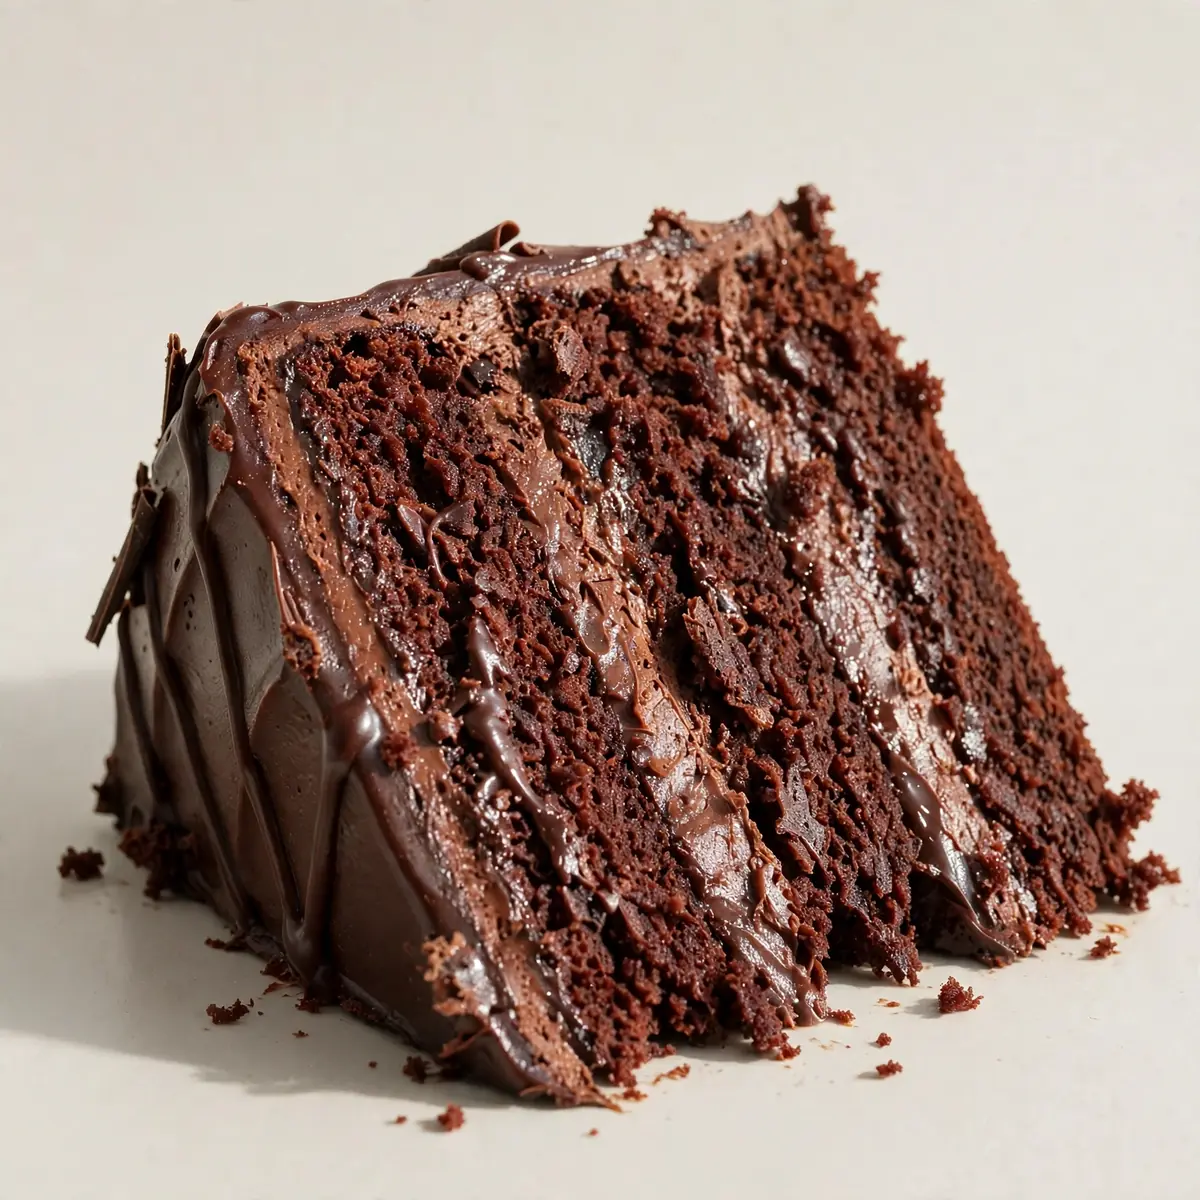
I remember the first time I served this Classic Chocolate Cake to guests; the silence at the table, broken only by the clink of forks, told me everything I needed to know. This isn’t just another recipe — it’s a restaurant-quality showstopper designed to impress, with every ounce of richness and detail polished through five careful tests. Let me guide you through the precise steps that turn a simple dessert into the centrepiece of your dinner party.
Recipe Overview
- Prep Time: 25 minutes
- Cook Time: 30–35 minutes
- Total Time: 1 hour (plus cooling)
- Servings: 10–12 generous slices
- Difficulty: Medium
Why You’ll Love This Classic Chocolate Cake
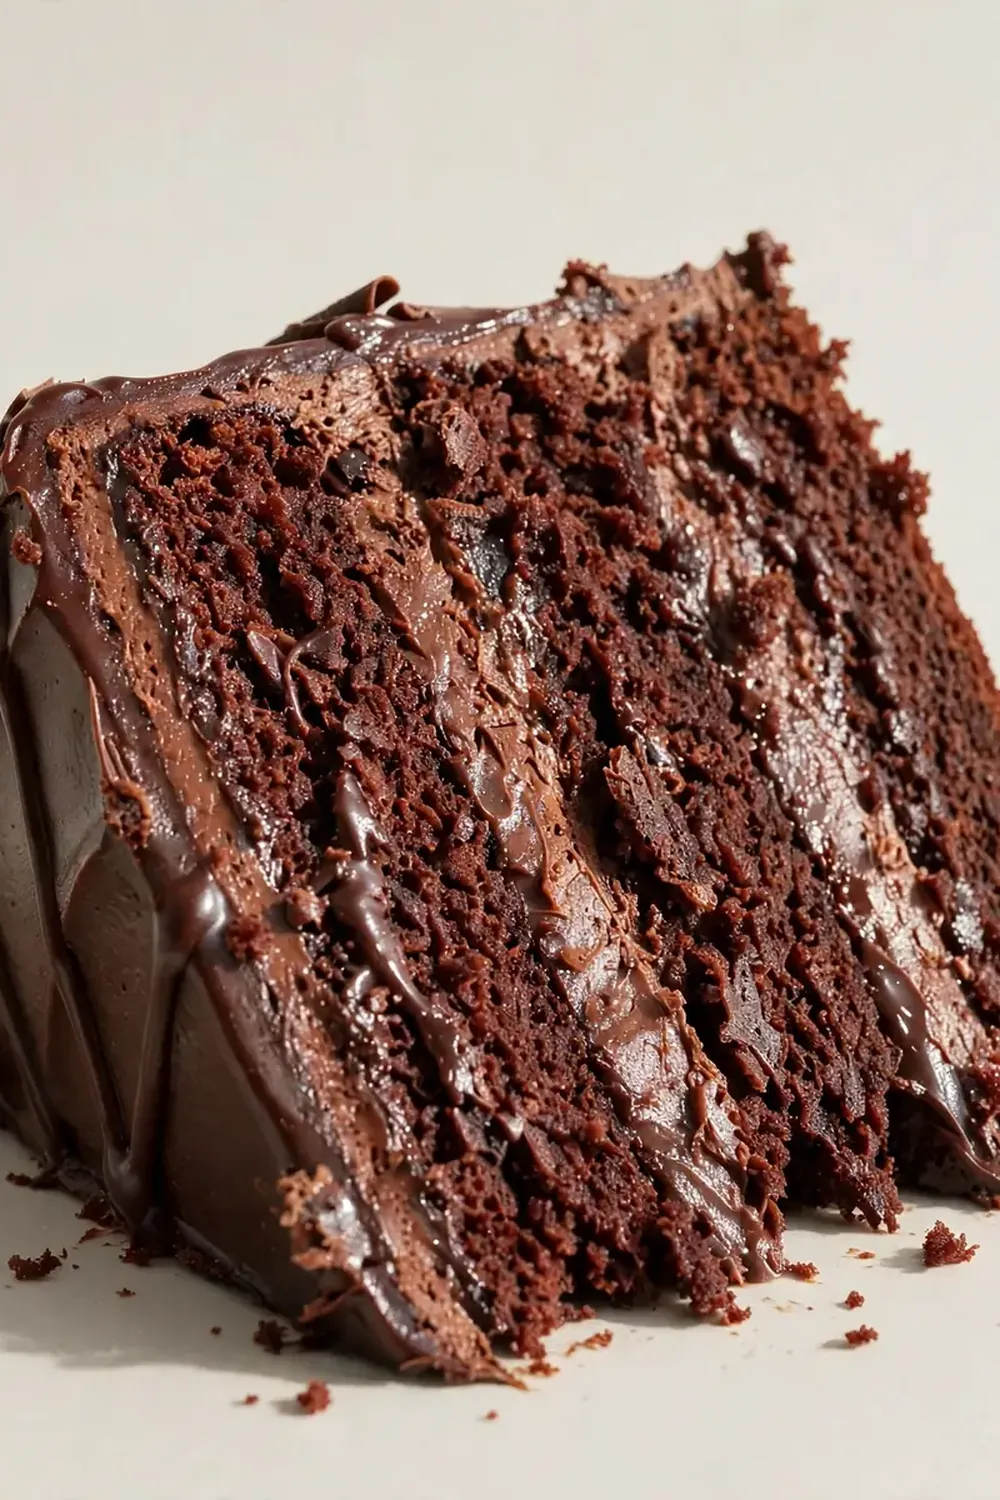
- Restaurant-quality presentation: With a glossy ganache and a clean, sharp slice, this cake looks as though it came from a patisserie.
- Deep, sophisticated flavour: The combination of cocoa and melted chocolate gives a richness that lingers, without being cloying.
- Perfectly moist crumb: Buttermilk and oil ensure a tender texture that stays fresh for days — no dry edges here.
- Simple to scale: This batter works beautifully for two 20cm tins or one 23cm tin; I often double it for a towering layer cake.
- Forgiving yet precise: Even if you overmix slightly, the high fat content saves the crumb, but following the cues guarantees a flawless result.
Ingredients You’ll Need
- 250g plain flour
- 80g Dutch-processed cocoa powder
- 1½ teaspoons bicarbonate of soda
- 1 teaspoon baking powder
- ½ teaspoon fine sea salt
- 300g caster sugar
- 120ml sunflower oil (or any neutral oil)
- 2 large eggs, at room temperature
- 2 teaspoons vanilla extract
- 240ml buttermilk, shaken well
- 240ml freshly brewed black coffee, cooled slightly
- 200g dark chocolate (70% cocoa), finely chopped
- 200ml double cream
- 30g unsalted butter, softened
- Optional: fresh raspberries and edible flowers for garnish
Tip: The coffee does not make the cake taste like coffee; it deepens the chocolate flavour without adding bitterness. If you’re caffeine-sensitive, replace it with hot water, though the result will be slightly less intense.
How to Make Classic Chocolate Cake
- Preheat and prepare your tins: Set your oven to 180°C (160°C fan). Grease two 20cm round cake tins with butter, then line the bases with baking parchment. Dust the sides lightly with cocoa powder — this prevents a white flour residue on the finished cake.
- Sift the dry ingredients: In a large bowl, sift together the flour, cocoa powder, bicarbonate of soda, baking powder, and salt. The sifting aerates the mixture and removes any lumps; you should see a fine, dark brown powder that smells deeply of chocolate.
- Combine the wet ingredients: In a separate jug, whisk the sugar, oil, eggs, vanilla extract, and buttermilk until the mixture is pale and slightly thickened — about 2 minutes. The texture should be smooth and glossy, like thin caramel.
- Add the coffee: Pour the cooled coffee into the wet mixture and whisk gently. The batter will become very thin and liquid — don’t worry, that’s exactly what we want. It should look like a milky chocolate drink.
- Combine wet and dry: Pour the wet mixture into the dry ingredients and fold together with a spatula. Mix until just combined; you’ll see a few small lumps disappear, but stop as soon as the flour streaks vanish. The batter will be very loose and will bubble slightly.
- Divide and bake: Pour the batter evenly into the prepared tins — I use a digital scale to get exactly 500g per tin for perfect layers. Bake for 30–35 minutes. The cake is ready when the top springs back to a gentle touch, and a skewer inserted into the centre comes out with a few moist crumbs, not wet batter. The kitchen will smell intensely of rich chocolate.
- Cool completely: Leave the cakes in their tins for 10 minutes on a wire rack. Then turn them out, peel off the parchment, and let them cool fully — at least 1 hour. Warm cakes will melt your ganache, so patience is essential.
- Make the ganache: Place the chopped dark chocolate in a heatproof bowl. Heat the double cream in a small saucepan until it just begins to simmer — you’ll see small bubbles around the edge, but do not let it boil. Pour the hot cream over the chocolate and let it sit for 2 minutes. Stir gently from the centre outward until the mixture is smooth and glossy. Add the softened butter and stir until fully incorporated. The ganache should be pourable but thick enough to coat the back of a spoon.
- Assemble and glaze: Place one cake layer on a serving plate or turntable. Spoon a generous layer of ganache on top — about 3 tablespoons — and spread evenly. Place the second layer on top, then pour the remaining ganache over the centre. Use a palette knife to spread it to the edges, letting it drip naturally down the sides. For a clean finish, work quickly while the ganache is still warm.
- Final touches: Allow the ganache to set for 15–20 minutes at room temperature until it is firm to the touch but still glossy. Arrange fresh raspberries in a neat cluster on top and scatter a few edible flowers for colour. The contrast of deep chocolate and bright red fruit is visually stunning.
Tips From My Kitchen
- Use room-temperature eggs and buttermilk: Cold ingredients seize the fat in the batter, leading to a denser cake. Leave them on the counter for 30 minutes before starting; the batter will emulsify more easily and rise evenly.
- Don’t skip the coffee: Coffee amplifies the cocoa’s natural flavour compounds without adding a coffee taste. Think of it as a flavour enhancer, like salt in savoury cooking. Use freshly brewed coffee for the best depth.
- Weigh your batter for even layers: Uneven layers mean uneven baking. I pour the batter into a jug and weigh each tin — it takes 30 seconds and guarantees two identical sponges that stack beautifully.
- Chill the cake before slicing: After the ganache sets, pop the whole cake into the fridge for 20 minutes. A cold cake cuts cleanly without crumbling, giving you those sharp, professional edges that impress guests.
- Warm your knife for clean slices: Run a long, thin knife under hot water, dry it quickly, then slice. The heat glides through the ganache and sponge without dragging. Wipe the blade between each slice for pristine presentation.
- Make the ganache a day ahead: Ganache keeps well in the fridge for up to 3 days. Warm it gently in a bowl over simmering water, stirring occasionally, until it returns to a pourable consistency. This saves time on the day of serving.
Common Mistakes to Avoid
- Overcrowding the pan: Filling the tins more than two-thirds full causes the batter to dome excessively or spill over. Stick to 500g of batter per 20cm tin for a flat, even top that layers perfectly.
- Wrong temperature: An oven that’s too hot will set the edges before the centre rises, creating a cracked dome. Use an oven thermometer to verify 180°C (160°C fan) — many ovens run hotter than their dial suggests.
- Skipping the rest time: Cutting into a warm cake ruins the crumb structure and melts the ganache into a puddle. Let the sponges cool completely — at least 1 hour — before assembling. The texture becomes tender and the ganache stays glossy.
What to Serve With Classic Chocolate Cake
- A dollop of lightly whipped double cream, barely sweetened, to cut the richness.
- A handful of fresh berries — raspberries or strawberries — for acidity and colour contrast.
- A small scoop of vanilla or salted caramel ice cream for a cold, creamy counterpoint.
- For a savoury balance, serve alongside a Fresh Tomato And Avocado Salad to start the meal light before finishing with this decadent cake.
Still hungry for ideas? You might also love White Chocolate Raspberry Dream Cake, Tasty Triple Chocolate Mousse Cake Delicious Easy from our sister kitchens.
Frequently Asked Questions
Classic Chocolate Cake
Ingredients
Method
- Preheat and prepare your tins: Set your oven to 180°C (160°C fan). Grease two 20cm round cake tins with butter, then line the bases with baking parchment. Dust the sides lightly with cocoa powder — this prevents a white flour residue on the finished cake.
- Sift the dry ingredients: In a large bowl, sift together the flour, cocoa powder, bicarbonate of soda, baking powder, and salt. The sifting aerates the mixture and removes any lumps; you should see a fine, dark brown powder that smells deeply of chocolate.
- Combine the wet ingredients: In a separate jug, whisk the sugar, oil, eggs, vanilla extract, and buttermilk until the mixture is pale and slightly thickened — about 2 minutes. The texture should be smooth and glossy, like thin caramel.
- Add the coffee: Pour the cooled coffee into the wet mixture and whisk gently. The batter will become very thin and liquid — don't worry, that's exactly what we want. It should look like a milky chocolate drink.
- Combine wet and dry: Pour the wet mixture into the dry ingredients and fold together with a spatula. Mix until just combined; you'll see a few small lumps disappear, but stop as soon as the flour streaks vanish. The batter will be very loose and will bubble slightly.
- Divide and bake: Pour the batter evenly into the prepared tins — I use a digital scale to get exactly 500g per tin for perfect layers. Bake for 30–35 minutes. The cake is ready when the top springs back to a gentle touch, and a skewer inserted into the centre comes out with a few moist crumbs, not wet batter. The kitchen will smell intensely of rich chocolate.
- Cool completely: Leave the cakes in their tins for 10 minutes on a wire rack. Then turn them out, peel off the parchment, and let them cool fully — at least 1 hour. Warm cakes will melt your ganache, so patience is essential.
- Make the ganache: Place the chopped dark chocolate in a heatproof bowl. Heat the double cream in a small saucepan until it just begins to simmer — you'll see small bubbles around the edge, but do not let it boil. Pour the hot cream over the chocolate and let it sit for 2 minutes. Stir gently from the centre outward until the mixture is smooth and glossy. Add the softened butter and stir until fully incorporated. The ganache should be pourable but thick enough to coat the back of a spoon.
- Assemble and glaze: Place one cake layer on a serving plate or turntable. Spoon a generous layer of ganache on top — about 3 tablespoons — and spread evenly. Place the second layer on top, then pour the remaining ganache over the centre. Use a palette knife to spread it to the edges, letting it drip naturally down the sides. For a clean finish, work quickly while the ganache is still warm.
- Final touches: Allow the ganache to set for 15–20 minutes at room temperature until it is firm to the touch but still glossy. Arrange fresh raspberries in a neat cluster on top and scatter a few edible flowers for colour. The contrast of deep chocolate and bright red fruit is visually stunning.
Notes
I hope this Classic Chocolate Cake becomes your new secret weapon for dinner parties — the one that draws gasps when you carry it to the table. It’s the kind of dessert that makes guests lean in, ask for the recipe, and reach for a second slice without hesitation. If you give it a go, I’d love to hear how it turned out — drop a comment below and tell me about your own plating touches or serving ideas. Happy baking, and remember: the best dishes are made with confidence and a little patience.