Classic Key Lime Pie
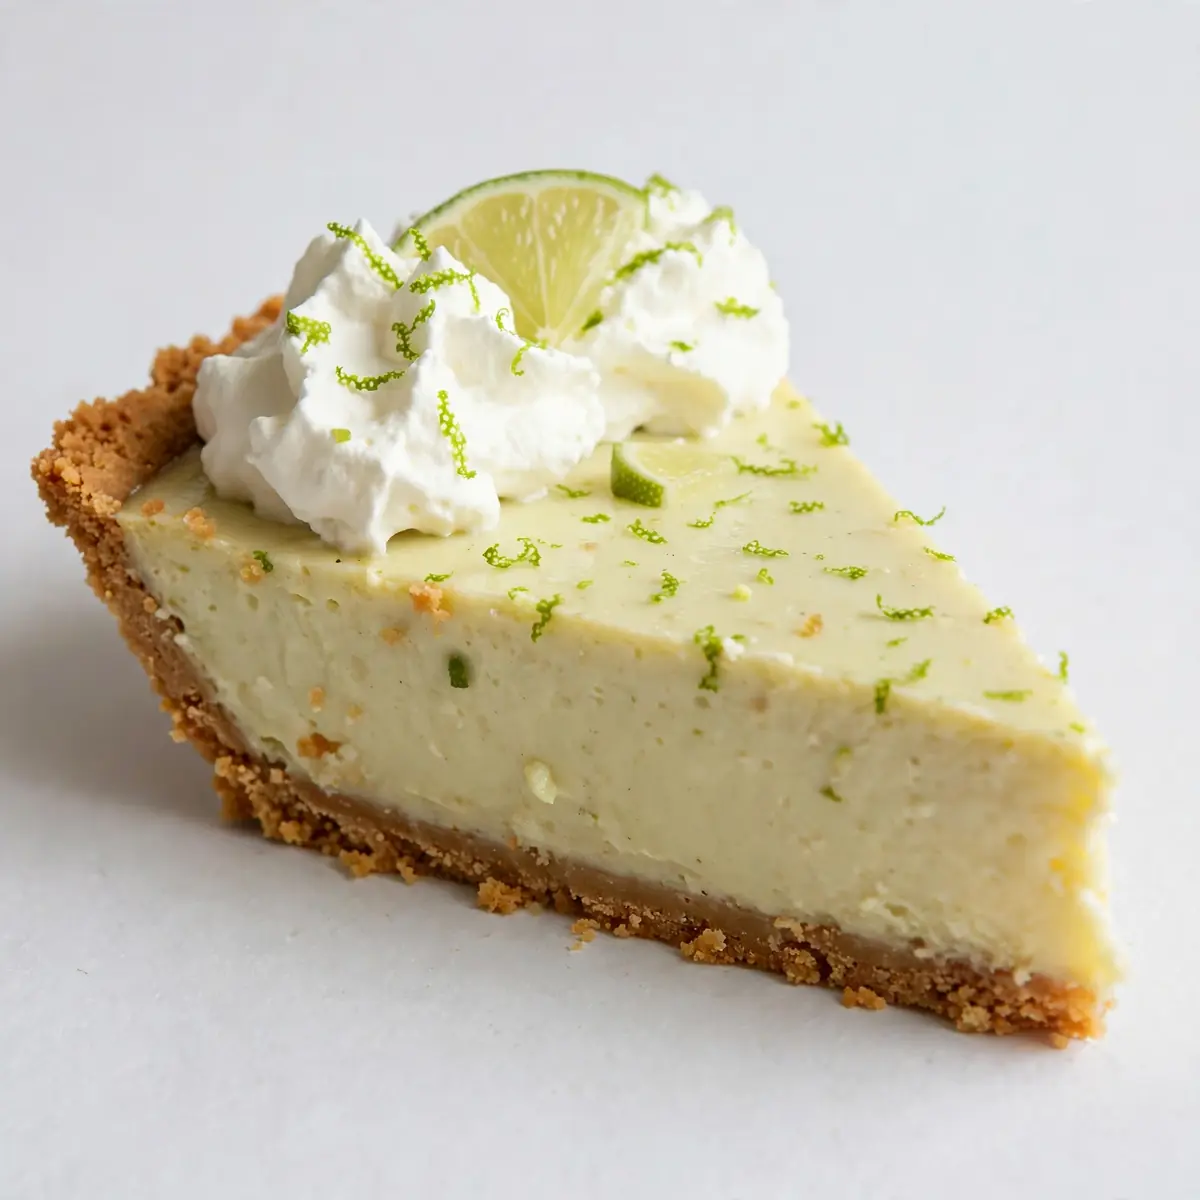
There are desserts that impress, and then there are desserts that stop conversation. The Classic Key Lime Pie I serve at dinner parties does the latter. It arrives on the table with a cloud of toasted meringue, a crumb crust that shatters under the fork, and a filling so sharp and creamy it makes people close their eyes. After testing this recipe five times, I finally got it just right — and I have learned exactly which small touches make it look like it came from a high-end restaurant kitchen rather than my own.
Recipe Overview
- Prep Time: 30 minutes
- Cook Time: 15 minutes (plus 10 minutes for meringue)
- Chill Time: 4 hours minimum, ideally overnight
- Total Time: 5 hours (including chilling)
- Servings: 8 generous slices
- Difficulty: Medium — the meringue requires attention, but the steps are forgiving
Why You’ll Love This Classic Key Lime Pie
- Restaurant-worthy presentation: The tall, swirled meringue and golden-brown peaks make this pie the centrepiece of any table. It photographs beautifully and earns genuine compliments.
- Bright, balanced flavour: Key limes bring a floral tartness that ordinary limes cannot match. The sweetened condensed milk softens the acid into something lush and memorable.
- Make-ahead convenience: This pie actually improves after a full night in the fridge. You can prepare it the day before your gathering and focus on other dishes.
- Customisable topping: The meringue is my signature, but you can switch to whipped cream or a lime glaze depending on your mood or the season.
- Foolproof crumb crust: Unlike pastry dough, this biscuit crust does not shrink, crack, or require rolling. It presses into the tin in minutes and bakes evenly every time.
Ingredients You’ll Need
- 200g digestive biscuits (or graham crackers)
- 80g unsalted butter, melted
- 30g caster sugar
- 400g sweetened condensed milk (one standard tin)
- 120ml fresh Key lime juice (about 20–25 Key limes, or use bottled if necessary)
- 1 tbsp finely grated Key lime zest
- 3 large egg yolks (save the whites for the meringue)
- 4 large egg whites, at room temperature
- 100g caster sugar (for the meringue)
- ¼ tsp cream of tartar
- Pinch of sea salt
- Extra lime zest and thin lime slices for garnish
Tip: Use a microplane for the zest — coarse gratings create bitter flecks in the filling. I zest the limes before juicing them, and I always roll the fruit firmly on the countertop before cutting to release maximum juice.
How to Make Classic Key Lime Pie
- Prepare the crust: Preheat your oven to 180°C (160°C fan). Crush the digestive biscuits into fine crumbs — I use a food processor for even texture, but a rolling pin and sealed bag work well. Mix the crumbs with the melted butter and caster sugar until the mixture feels like damp sand and holds together when squeezed. Press this firmly into a 23cm loose-bottomed tart tin, working up the sides evenly. Bake for 10 minutes until the crust is fragrant, lightly browned at the edges, and firm to the touch. Cool completely on a wire rack.
- Make the filling: In a large bowl, whisk the egg yolks with the lime zest until the mixture turns pale and thickens slightly, about 2 minutes. Add the sweetened condensed milk and whisk until smooth and glossy. Pour in the Key lime juice slowly while whisking — the mixture will thicken immediately as the acid reacts with the milk. The filling should be thick, creamy, and pale yellow with a silky sheen. Pour it into the cooled crust and spread evenly.
- Bake the filling: Place the pie on a baking tray and bake at 180°C (160°C fan) for 12 minutes. The edges should be set and slightly puffed, but the centre will still jiggle like a soft custard when you gently shake the tray. Remove and cool on a wire rack for 30 minutes, then refrigerate for at least 4 hours — the filling firms up into a dense, sliceable texture.
- Prepare the meringue: In a perfectly clean, dry bowl, beat the egg whites with the cream of tartar and a pinch of salt on medium speed until soft peaks form — the peaks should flop over when you lift the whisk. Gradually add the caster sugar, one tablespoon at a time, while beating on high speed. Continue until the meringue is stiff, glossy, and holds a firm peak that does not droop. The sugar should be fully dissolved — rub a little meringue between your fingers; it should feel smooth, not gritty.
- Toast the meringue: Spoon the meringue over the chilled pie, starting at the edges and sealing them completely to prevent shrinking. Create dramatic peaks and swirls with the back of a spoon or a palette knife. Use a kitchen blowtorch for the most controlled toasting — move the flame in slow circles until the peaks are golden brown and caramelised in patches. Alternatively, place the pie under a hot grill for 1–2 minutes, watching constantly so it does not burn. The toasted meringue should smell sweet and warm, with dark brown tips against white clouds.
- Garnish and serve: Let the pie rest at room temperature for 15 minutes after toasting so the meringue settles. Scatter extra lime zest over the top and arrange thin lime slices around the edge of the pie for a professional finish. Slice with a sharp knife dipped in hot water and wiped dry between cuts for clean edges.
Tips From My Kitchen
- Chill the pie completely before adding meringue: A warm or even slightly cool filling will cause the meringue to slide off or weep during toasting. I always refrigerate the baked pie overnight — the filling becomes dense and the crust stays crisp. This step transforms a good pie into a great one.
- Use room-temperature egg whites for maximum volume: Cold egg whites do not whip as high or as stable. Separate the eggs when they are cold (easier to separate cleanly), then let the whites sit on the counter for 20 minutes before beating. The meringue will double in volume and hold its shape far longer.
- Seal the meringue to the crust edges: Spread the meringue so it touches the inner rim of the crust on all sides. This prevents the meringue from shrinking away from the crust during toating, which creates an ugly gap. I press the meringue firmly against the crust with the back of a spoon before creating the decorative peaks.
- Always use real Key limes if you can find them: Bottled Key lime juice works in a pinch, but fresh Key limes have a floral, almost honeyed aroma that standard limes lack. If you must use ordinary limes, add an extra teaspoon of zest to compensate for the missing fragrance. My kids absolutely devour this every time I make it, and they can taste the difference between fresh and bottled.
- Wipe your bowl and whisk with vinegar before beating egg whites: Any trace of fat or yolk will prevent the whites from reaching stiff peaks. I wipe the bowl and whisk attachment with a paper towel dipped in white vinegar, then dry them thoroughly. It takes ten seconds and guarantees a stable meringue every time.
- Let the pie rest after toasting: The meringue needs a few minutes to stabilise after the blowtorch or grill. Slicing immediately causes the topping to slide. I set a timer for 15 minutes and use that time to arrange the garnish and pour drinks for guests.
Equipment You’ll Need
- 23cm loose-bottomed tart tin (essential for clean removal)
- Stand mixer or hand mixer with whisk attachment
- Baking tray (to catch any filling drips during baking)
- Parchment paper
- Wire cooling rack
- Microplane or fine grater
- Citrus juicer (reamer style works best for Key limes)
- Kitchen blowtorch (optional but highly recommended for meringue)
- Sharp, thin-bladed knife for slicing
Common Mistakes to Avoid
- Overcrowding the pan: Do not press the crust too thickly up the sides of the tin. A thin, even layer bakes crisp and holds the filling without becoming soggy. If the crust is too thick, it will crumble when you slice the pie. Aim for about 5mm thickness on the sides and 8mm on the base.
- Wrong temperature: Baking the filling at too high a temperature causes the eggs to scramble, creating a curdled, grainy texture. Stick to 180°C (160°C fan) and watch the timer closely. The filling should puff slightly at the edges but remain jiggly in the centre — it continues to set as it cools.
- Skipping the rest time: Cutting into the pie while it is still warm or barely chilled results in a runny, soupy mess. The filling needs a minimum of 4 hours in the fridge to firm up, and overnight is even better. Resting also allows the flavours to meld and the tartness to mellow into something rounded and elegant.
- Overbeating the meringue: Stiff peaks are ideal, but beating beyond that point causes the meringue to become dry and grainy. Stop as soon as the peaks stand straight and the mixture looks glossy. If the meringue starts to separate or looks curdled, you have gone too far and need to start fresh.
- Using bottled lime juice without adjusting: Bottled Key lime juice is more acidic and less aromatic than fresh. If you use it, reduce the amount by 15ml and add a teaspoon of honey or agave syrup to balance the sharpness. Taste the filling before pouring it into the crust — it should be tart but not mouth-puckering.
Delicious Variations to Try
- Spicy Version: Add ½ teaspoon of finely grated fresh ginger and a pinch of cayenne pepper to the filling before whisking. The warmth of the ginger pairs surprisingly well with the lime, and the cayenne adds a subtle heat that lingers on the finish. Garnish with candied ginger strips for a visual cue.
- Vegan Option: Replace the sweetened condensed milk with a tin of coconut condensed milk (available in health food shops or online). Use aquafaba — the liquid from a tin of chickpeas — in place of egg whites for the meringue. Whip the aquafaba with cream of tartar and sugar exactly as you would egg whites; it takes a little longer but produces a stable, glossy topping. Use a vegan biscuit for the crust.
- Different Protein: For a savoury-sweet twist, serve each slice with a small side of grilled, seasoned chicken breast sliced thin. The smoky, salty chicken contrasts beautifully with the tart, creamy pie. Alternatively, pair the pie with a Zesty Shrimp Tacos Recipe for a dinner party menu that balances bright citrus flavours across courses.
What to Serve With Classic Key Lime Pie
- A dollop of double cream or crème fraîche to cut the tartness
- A light, crisp salad with a simple vinaigrette — the Fresh Tomato And Avocado Salad works beautifully
- Fresh berries — raspberries or sliced strawberries add colour and a complementary sweet-sour note
- Shortbread biscuits on the side for extra crunch
- Chilled sparkling water with lime slices to cleanse the palate between bites
Still hungry for ideas? You might also love No Bake Key Lime Pie Desserts, Cream Cheese No Bake Key Lime Pie from our sister kitchens.
Frequently Asked Questions
Classic Key Lime Pie
Ingredients
Method
- Prepare the crust: Preheat your oven to 180°C (160°C fan). Crush the digestive biscuits into fine crumbs — I use a food processor for even texture, but a rolling pin and sealed bag work well. Mix the crumbs with the melted butter and caster sugar until the mixture feels like damp sand and holds together when squeezed. Press this firmly into a 23cm loose-bottomed tart tin, working up the sides evenly. Bake for 10 minutes until the crust is fragrant, lightly browned at the edges, and firm to the touch. Cool completely on a wire rack.
- Make the filling: In a large bowl, whisk the egg yolks with the lime zest until the mixture turns pale and thickens slightly, about 2 minutes. Add the sweetened condensed milk and whisk until smooth and glossy. Pour in the Key lime juice slowly while whisking — the mixture will thicken immediately as the acid reacts with the milk. The filling should be thick, creamy, and pale yellow with a silky sheen. Pour it into the cooled crust and spread evenly.
- Bake the filling: Place the pie on a baking tray and bake at 180°C (160°C fan) for 12 minutes. The edges should be set and slightly puffed, but the centre will still jiggle like a soft custard when you gently shake the tray. Remove and cool on a wire rack for 30 minutes, then refrigerate for at least 4 hours — the filling firms up into a dense, sliceable texture.
- Prepare the meringue: In a perfectly clean, dry bowl, beat the egg whites with the cream of tartar and a pinch of salt on medium speed until soft peaks form — the peaks should flop over when you lift the whisk. Gradually add the caster sugar, one tablespoon at a time, while beating on high speed. Continue until the meringue is stiff, glossy, and holds a firm peak that does not droop. The sugar should be fully dissolved — rub a little meringue between your fingers; it should feel smooth, not gritty.
- Toast the meringue: Spoon the meringue over the chilled pie, starting at the edges and sealing them completely to prevent shrinking. Create dramatic peaks and swirls with the back of a spoon or a palette knife. Use a kitchen blowtorch for the most controlled toasting — move the flame in slow circles until the peaks are golden brown and caramelised in patches. Alternatively, place the pie under a hot grill for 1–2 minutes, watching constantly so it does not burn. The toasted meringue should smell sweet and warm, with dark brown tips against white clouds.
- Garnish and serve: Let the pie rest at room temperature for 15 minutes after toasting so the meringue settles. Scatter extra lime zest over the top and arrange thin lime slices around the edge of the pie for a professional finish. Slice with a sharp knife dipped in hot water and wiped dry between cuts for clean edges.
Notes
I hope this Classic Key Lime Pie becomes your signature dessert for entertaining — the kind of dish people request by name when they know they are coming to your house. The first time I served it, a guest asked for the recipe before the plates were cleared, and that is the highest compliment a home cook can receive. If you try it, I would love to hear how it turned out — leave a comment below and tell me which garnish you chose, or if you experimented with one of the variations. Happy baking, and remember: the meringue peaks make the pie.