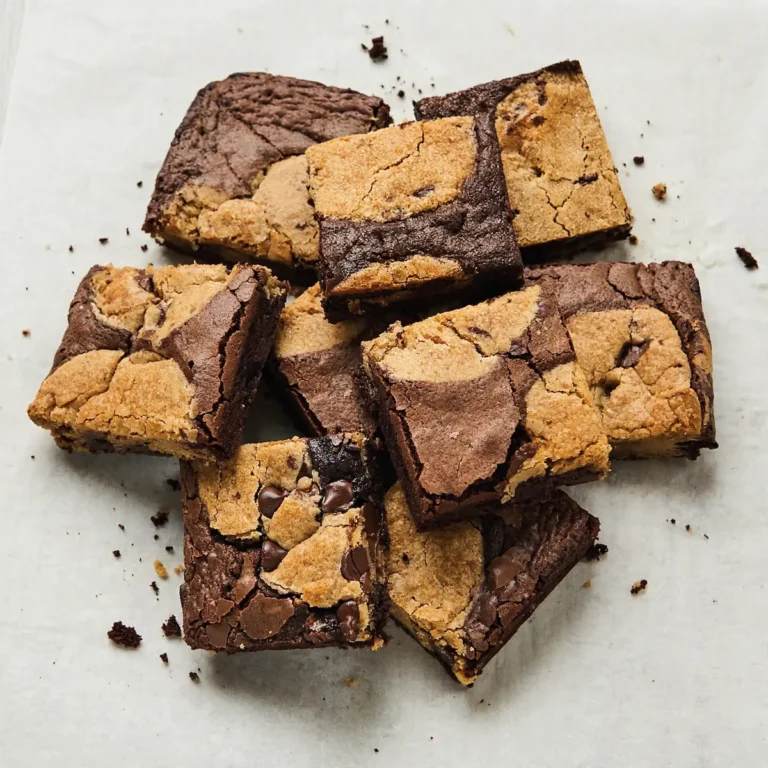
Cozy Weekend Fudgy Chocolate Brownies with Vanilla Ice Cream
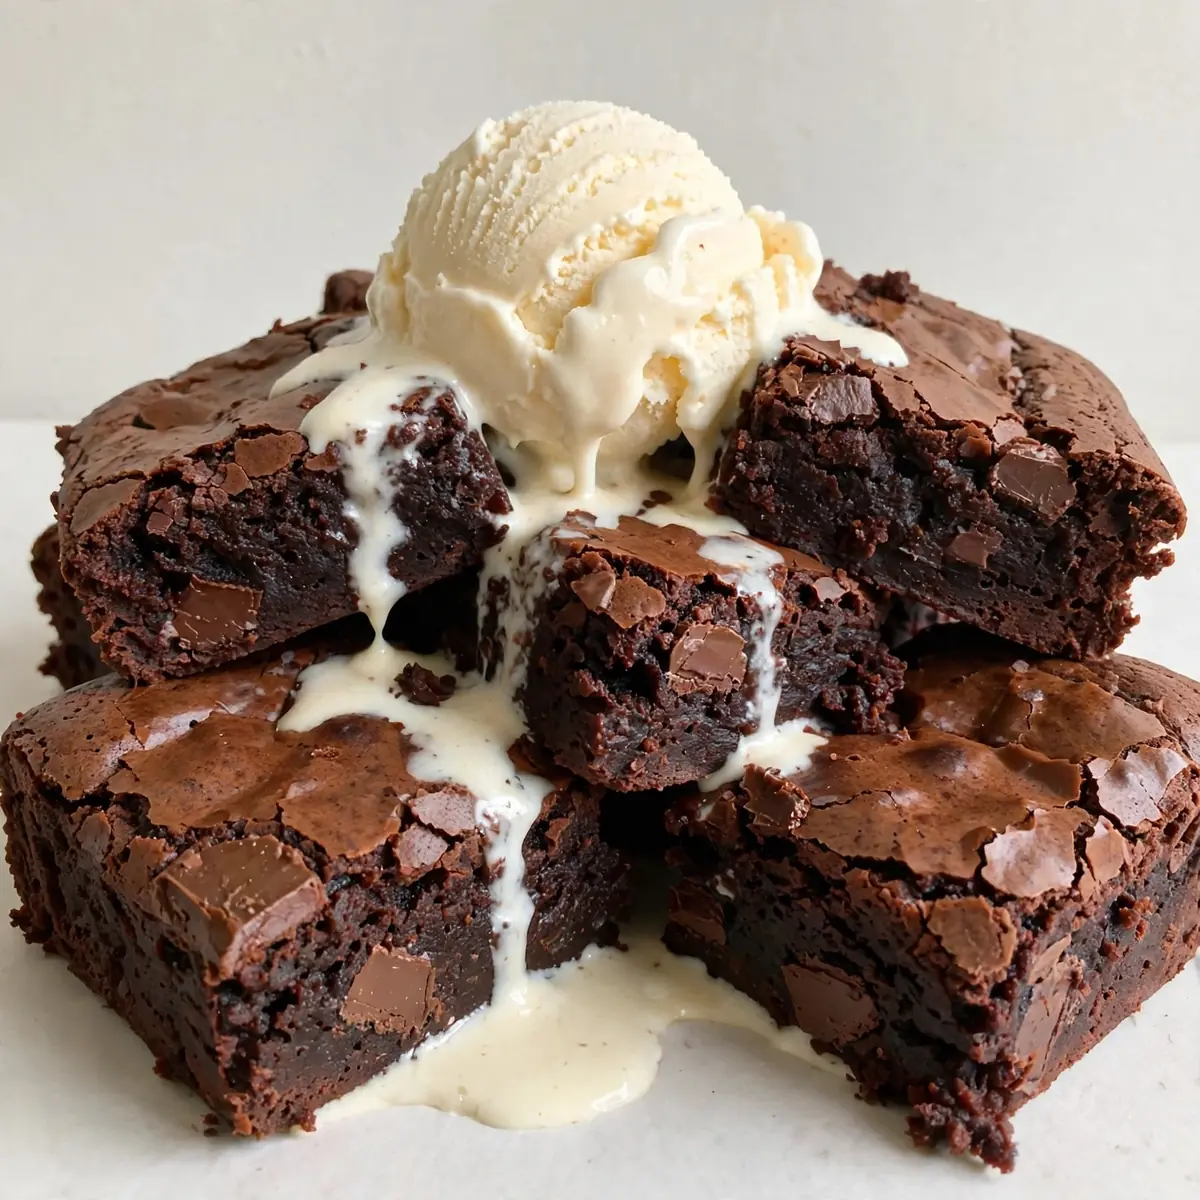
There’s a particular kind of magic that happens on a grey Saturday afternoon when the kitchen fills with the scent of melting chocolate and the promise of something deeply indulgent. This Fudgy Chocolate Brownies with Vanilla Ice Cream recipe is my personal ritual for those moments—a deliberate, slow act of creation that rewards you with a dessert so rich and satisfying, it feels like a hug from the inside. Friends always ask me for this recipe after trying it at dinner parties, and I’ve been making this for over 5 years, and it never disappoints; it’s the project that turns a quiet weekend into a memorable one.
Recipe Overview
- Prep Time: 20 minutes
- Cook Time: 30-35 minutes
- Total Time: 55 minutes (plus 1 hour cooling time)
- Servings: 12 generous brownies
- Difficulty: Easy
Why You’ll Love This Fudgy Chocolate Brownies with Vanilla Ice Cream
- The ultimate fudgy texture: This recipe uses a high fat-to-flour ratio, creating a dense, gooey centre that practically melts on your tongue, with a delicate, paper-thin crust on top.
- Aromatic comfort from the oven: The process itself is a sensory journey—the rich scent of melted butter and cocoa fills your home, signalling warmth and cosiness long before you take a bite.
- Perfect temperature contrast: The warm, dense brownie paired with cold, creamy vanilla ice cream creates a delightful interplay of textures and temperatures that elevates a simple dessert into something special.
- Easily adaptable for any occasion: Whether you’re baking for a quiet night in or a gathering with friends, these brownies feel both rustic and impressive, and they travel well if you need to take them somewhere.
- No complicated techniques required: This is a straightforward, one-bowl (well, two-bowl) affair that relies on proper timing and a few key tips rather than fancy equipment or pastry skills.
Ingredients You’ll Need
- 200g unsalted butter, plus extra for greasing
- 200g dark chocolate (70% cocoa solids), roughly chopped
- 300g caster sugar
- 3 large eggs, at room temperature
- 1 tsp vanilla extract
- 100g plain flour
- 40g cocoa powder, sifted
- ½ tsp salt
- 200g good-quality vanilla ice cream, to serve
- Flaky sea salt, to finish (optional, but recommended)
- 100g dark chocolate chips or chopped nuts (optional, for extra texture)
Tip: For the most intense flavour, use a high-quality dark chocolate that you enjoy eating on its own—it’s the star of the show here. Avoid using cooking chocolate, as it often lacks the depth of flavour needed for a truly fudgy brownie.
How to Make Fudgy Chocolate Brownies with Vanilla Ice Cream
- Preheat your oven to 160°C (140°C fan) and line your baking tin. Grease a 20cm square baking tin with a little butter, then line it with a long strip of parchment paper, leaving an overhang on two opposite sides—this will act as handles to lift the brownies out later. The smell of warm butter on the paper is the first hint of what’s to come.
- Melt the butter and chocolate together gently. Place the chopped butter and dark chocolate in a heatproof bowl set over a saucepan of simmering water (make sure the bowl doesn’t touch the water). Stir occasionally with a rubber spatula until the mixture is smooth and glossy. You’ll see the butter melt first, followed by the chocolate turning into a thick, dark river. The aroma at this stage is deeply, almost intoxicatingly chocolatey. Remove from the heat and let it cool for five minutes—it should feel warm, not hot, to the touch.
- Whisk in the sugar, eggs, and vanilla. Pour the sugar into the melted chocolate mixture and stir until combined. The mixture will look slightly grainy at first, but that’s fine. In a separate small bowl, lightly beat the eggs and vanilla extract together, then pour them into the chocolate-sugar mixture. Whisk vigorously for a full minute—the batter will become thicker, shinier, and noticeably lighter in colour as the eggs incorporate. You should hear a soft, slick sound as you whisk, and the batter will fall in a thick ribbon from the whisk.
- Fold in the dry ingredients. Sift the plain flour, cocoa powder, and salt directly over the batter. Using a flexible spatula, fold the dry ingredients into the wet ones with a gentle, sweeping motion. Stop as soon as you no longer see streaks of flour—over-mixing will develop the gluten and make the brownies cakey rather than fudgy. The batter at this point should be thick, dark, and smell intensely of rich cocoa.
- Pour the batter into the prepared tin and bake. Scrape the batter into the lined tin and spread it evenly into the corners with the spatula. If you’re adding chocolate chips or nuts, scatter them over the top now and press them in lightly. Bake for 30-35 minutes. The cue for doneness is crucial: the top should look set and slightly cracked, and a skewer inserted into the centre should come out with a few moist crumbs clinging to it—not wet batter. The edges will have pulled away from the sides of the tin slightly, and your kitchen will smell like a patisserie.
- Cool completely in the tin, then chill for the best texture. Place the tin on a wire cooling rack and let the brownies cool to room temperature for at least one hour. For the ultimate fudgy texture, once cool, cover the tin with cling film and refrigerate for at least two hours, or overnight. This step is not optional—it allows the brownies to set properly and develop that dense, almost truffle-like centre. The brownies will feel firm to the touch and slice cleanly.
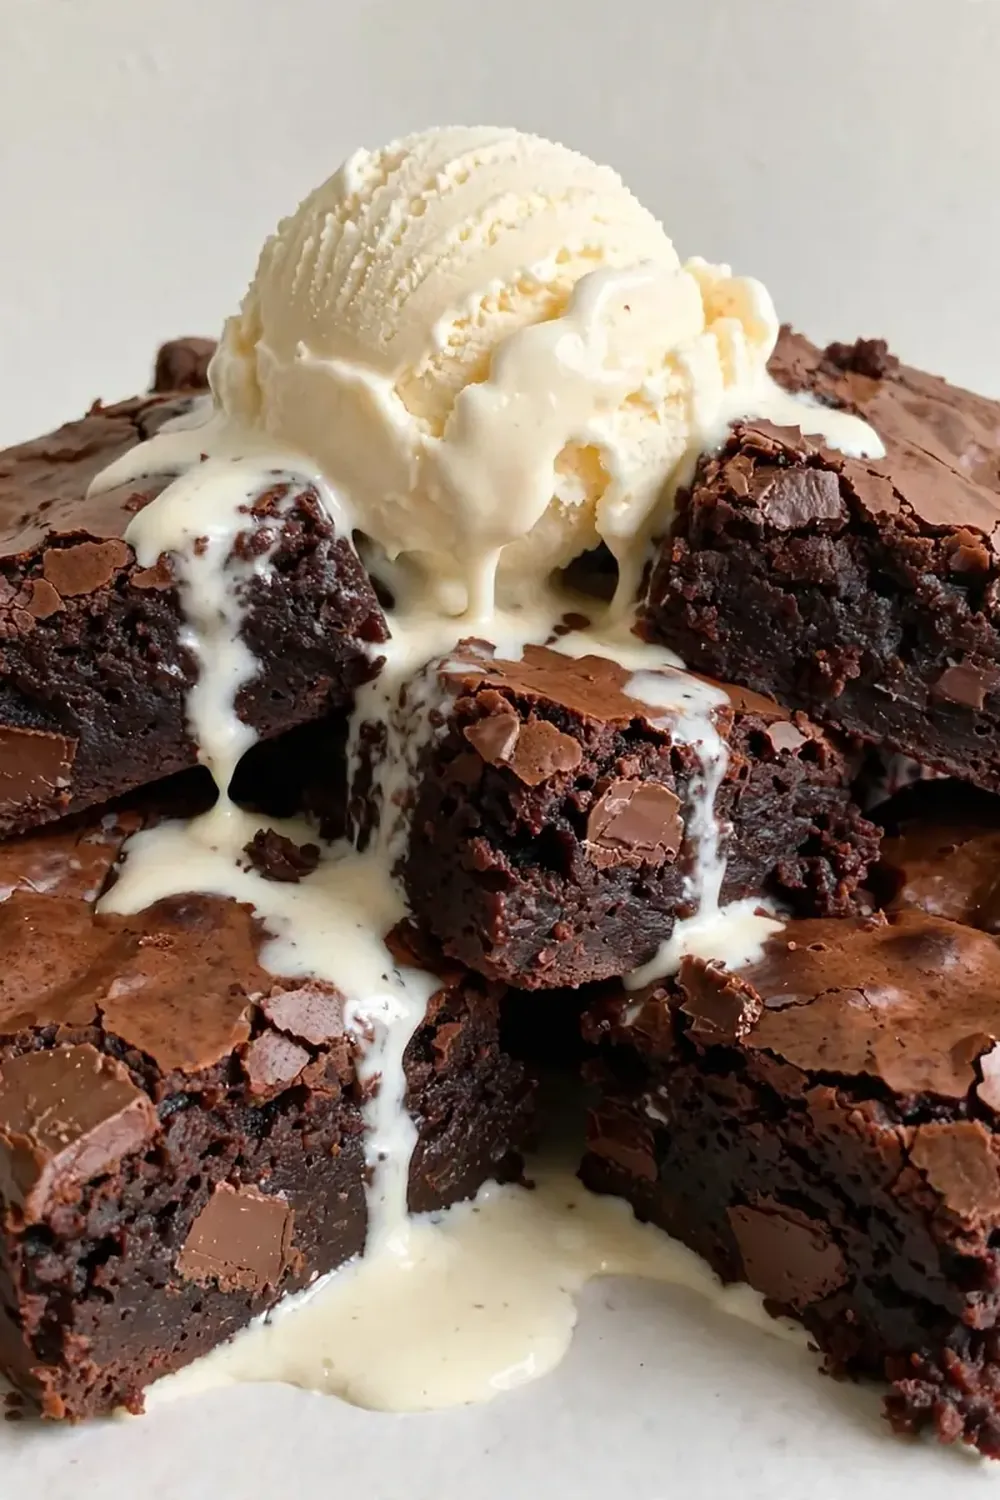
- Slice, warm slightly, and serve. Lift the brownies out of the tin using the parchment paper overhang. Place them on a cutting board and use a sharp, dry knife to cut into 12 squares (wipe the blade clean between cuts for neat edges). For serving, warm each brownie in the microwave for 10-15 seconds, or in a low oven for 5 minutes, until just soft and warm. Place one brownie in a shallow bowl, top with a generous scoop of vanilla ice cream, and finish with a tiny pinch of flaky sea salt if you’re using it. Watch the ice cream begin to melt over the warm brownie—that’s the moment it’s ready.
Tips From My Kitchen
- Use room temperature eggs: Cold eggs will seize the chocolate mixture, causing it to become stiff and grainy. Take your eggs out of the fridge 30 minutes before you start baking. If you forget, place them in a bowl of warm water for 5 minutes—this gentle warmth brings them up to temperature without cooking them.
- Don’t overbake—look for the wobble: The biggest mistake with fudgy brownies is leaving them in the oven too long. Start checking at 28 minutes. The centre should have a slight wobble when you gently shake the tin, and a skewer should come out with moist crumbs. If the skewer comes out clean, you’ve baked them too long and they’ll be dry.
- Chill before slicing for clean edges: Warm brownies are too soft to cut neatly—they’ll squish and crumble. Refrigerating them for at least two hours firms the butter and chocolate, allowing you to slice through them like a bar of chocolate. Use a long, sharp knife and wipe it clean between each cut for professional-looking squares.
- Line your tin with parchment paper overhang: This is a simple trick that makes removal effortless. Without it, you’ll be wrestling with a stuck brownie, and no one wants that. The overhang acts as handles, letting you lift the entire slab out in one piece.
- Toast any nuts before adding them: If you decide to add walnuts or pecans, toast them in a dry pan for 3-4 minutes until they smell fragrant and nutty. This deepens their flavour and ensures they stay crunchy inside the dense brownie, rather than turning soft and damp.
- Sift your cocoa powder to avoid lumps: Cocoa powder has a tendency to clump, and those lumps won’t dissolve in the batter. A quick sift over the bowl ensures a smooth, uniform texture and prevents you from biting into a pocket of bitter powder.
Equipment You’ll Need
- Stand mixer or hand mixer (optional, a whisk works fine for this recipe)
- 20cm square baking tin
- Parchment paper (baking paper)
- Wire cooling rack
- Heatproof mixing bowl
- Saucepan (for the bain-marie)
- Rubber spatula
- Sharp knife for slicing
Common Mistakes to Avoid
- Overcrowding the pan: Using a tin that is too small will result in a thick, undercooked centre that never sets properly. A 20cm square tin is the ideal size for this quantity of batter, allowing the brownies to bake evenly and develop that perfect fudgy texture throughout.
- Wrong temperature: Baking at too high a temperature will cook the edges before the centre is done, leaving you with a dry, cakey rim and a gooey, uncooked middle. Stick to 160°C (140°C fan) and bake low and slow for the most consistent result.
- Skipping the rest time: I know it’s tempting to dig in while they’re warm, but brownies need time to set. Cutting them too early will result in a crumbly, messy slice. The refrigeration step firms the structure, making the brownies dense and sliceable, and the flavour actually deepens as they cool.
What to Serve With Fudgy Chocolate Brownies with Vanilla Ice Cream
- A generous scoop of good-quality vanilla ice cream—this is non-negotiable for the classic pairing.
- A drizzle of warm salted caramel sauce or chocolate fudge sauce for extra decadence.
- A handful of fresh raspberries or strawberries, whose tartness cuts through the richness beautifully.
- A cup of strong black coffee or an espresso—the bitterness balances the sweetness.
- For a truly cosy weekend spread, serve these brownies alongside a slice of Classic Apple Pie Recipe for a dessert board that has something for everyone.
Still hungry for ideas? You might also love Chocolate Brownies Filling Ganache Dessert, Chocolate Chip Brownies Recipe Dessert from our sister kitchens.
Frequently Asked Questions
Fudgy Chocolate Brownies with Vanilla Ice Cream
Ingredients
Method
- Preheat your oven to 160°C (140°C fan) and line your baking tin. Grease a 20cm square baking tin with a little butter, then line it with a long strip of parchment paper, leaving an overhang on two opposite sides—this will act as handles to lift the brownies out later. The smell of warm butter on the paper is the first hint of what's to come.
- Melt the butter and chocolate together gently. Place the chopped butter and dark chocolate in a heatproof bowl set over a saucepan of simmering water (make sure the bowl doesn't touch the water). Stir occasionally with a rubber spatula until the mixture is smooth and glossy. You'll see the butter melt first, followed by the chocolate turning into a thick, dark river. The aroma at this stage is deeply, almost intoxicatingly chocolatey. Remove from the heat and let it cool for five minutes—it should feel warm, not hot, to the touch.
- Whisk in the sugar, eggs, and vanilla. Pour the sugar into the melted chocolate mixture and stir until combined. The mixture will look slightly grainy at first, but that's fine. In a separate small bowl, lightly beat the eggs and vanilla extract together, then pour them into the chocolate-sugar mixture. Whisk vigorously for a full minute—the batter will become thicker, shinier, and noticeably lighter in colour as the eggs incorporate. You should hear a soft, slick sound as you whisk, and the batter will fall in a thick ribbon from the whisk.
- Fold in the dry ingredients. Sift the plain flour, cocoa powder, and salt directly over the batter. Using a flexible spatula, fold the dry ingredients into the wet ones with a gentle, sweeping motion. Stop as soon as you no longer see streaks of flour—over-mixing will develop the gluten and make the brownies cakey rather than fudgy. The batter at this point should be thick, dark, and smell intensely of rich cocoa.
- Pour the batter into the prepared tin and bake. Scrape the batter into the lined tin and spread it evenly into the corners with the spatula. If you're adding chocolate chips or nuts, scatter them over the top now and press them in lightly. Bake for 30-35 minutes. The cue for doneness is crucial: the top should look set and slightly cracked, and a skewer inserted into the centre should come out with a few moist crumbs clinging to it—not wet batter. The edges will have pulled away from the sides of the tin slightly, and your kitchen will smell like a patisserie.
- Cool completely in the tin, then chill for the best texture. Place the tin on a wire cooling rack and let the brownies cool to room temperature for at least one hour. For the ultimate fudgy texture, once cool, cover the tin with cling film and refrigerate for at least two hours, or overnight. This step is not optional—it allows the brownies to set properly and develop that dense, almost truffle-like centre. The brownies will feel firm to the touch and slice cleanly.
- Slice, warm slightly, and serve. Lift the brownies out of the tin using the parchment paper overhang. Place them on a cutting board and use a sharp, dry knife to cut into 12 squares (wipe the blade clean between cuts for neat edges). For serving, warm each brownie in the microwave for 10-15 seconds, or in a low oven for 5 minutes, until just soft and warm. Place one brownie in a shallow bowl, top with a generous scoop of vanilla ice cream, and finish with a tiny pinch of flaky sea salt if you're using it. Watch the ice cream begin to melt over the warm brownie—that's the moment it's ready.
Notes
I hope this recipe becomes your go-to for those quiet, slow weekends when only something deeply chocolatey will do. The combination of a warm, fudgy brownie with cold, creamy ice cream is a simple pleasure that never gets old. If you bake these, I’d love to hear how they turned out—drop a comment below and let me know if you added any personal twists. And if you’re in the mood for another cosy baking project, you might enjoy making a batch of Crisp Lemon Butter Cookies for a lighter, zesty contrast to all that chocolate richness. Happy baking, friends.