New York Cheesecake
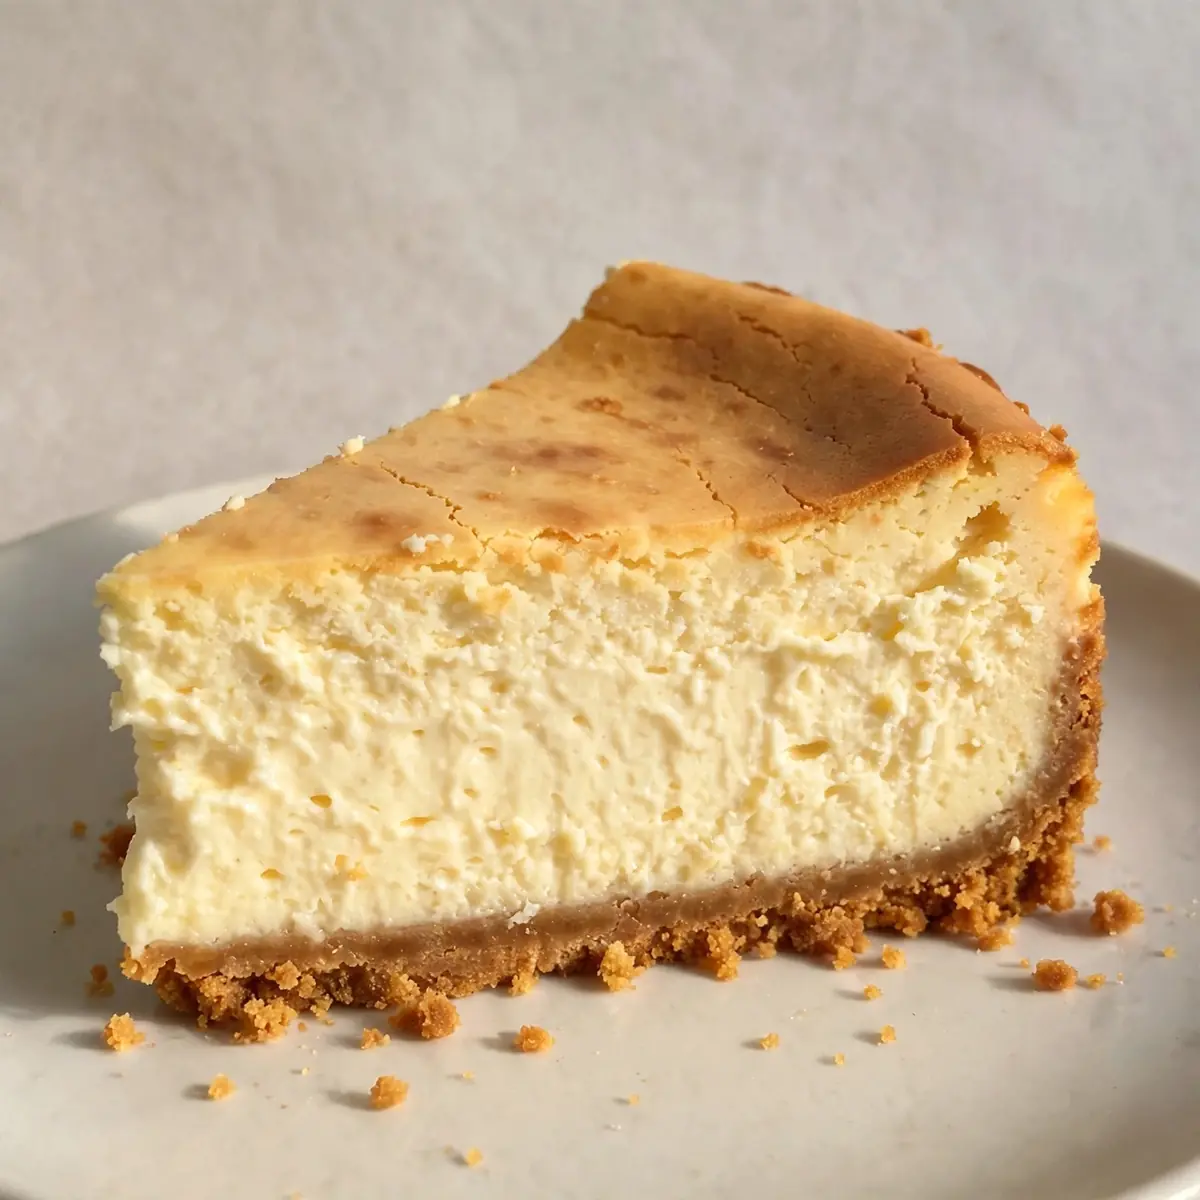
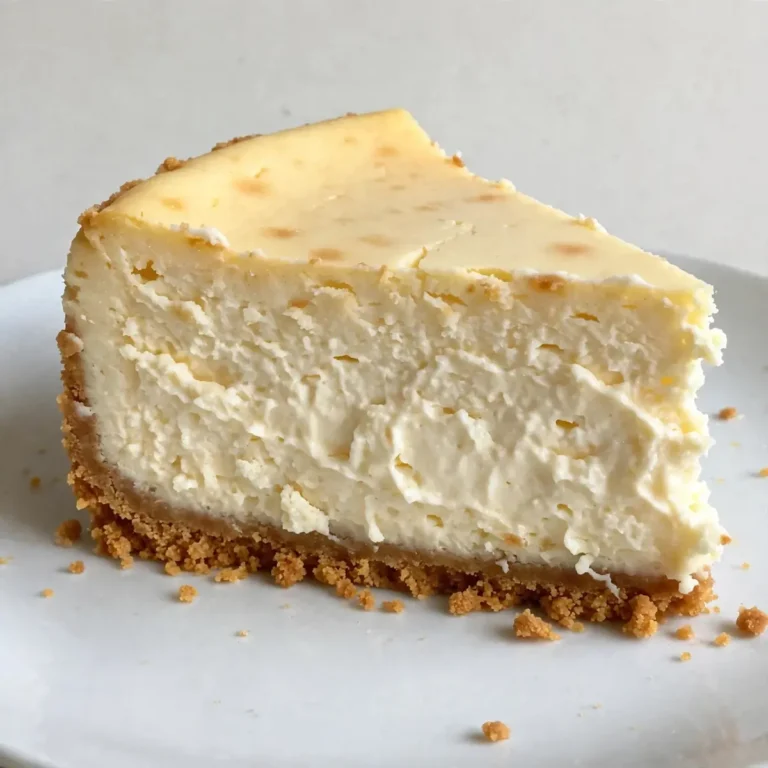
I’ve spent years perfecting the art of the dinner party finale, and nothing commands a room quite like a New York Cheesecake. This isn’t just a dessert; it’s a statement of intent, a dense, creamy, and luxuriously tall slice that promises you’ve gone the extra mile for your guests. We’re skipping the nervous cracks and sunken centres to deliver a showstopper that looks like it was plated in a Michelin-starred kitchen.
Recipe Overview
- Prep Time: 30 minutes
- Cook Time: 1 hour 45 minutes (plus 4+ hours cooling)
- Total Time: 6 hours 15 minutes (includes chilling)
- Servings: 12 generous slices
- Difficulty: Intermediate
Why You’ll Love This New York Cheesecake
- Restaurant-Quality Plating: This recipe focuses on the details—a perfectly smooth top, a clean cut, and a stunning garnish—that make it look like it came from a patisserie.
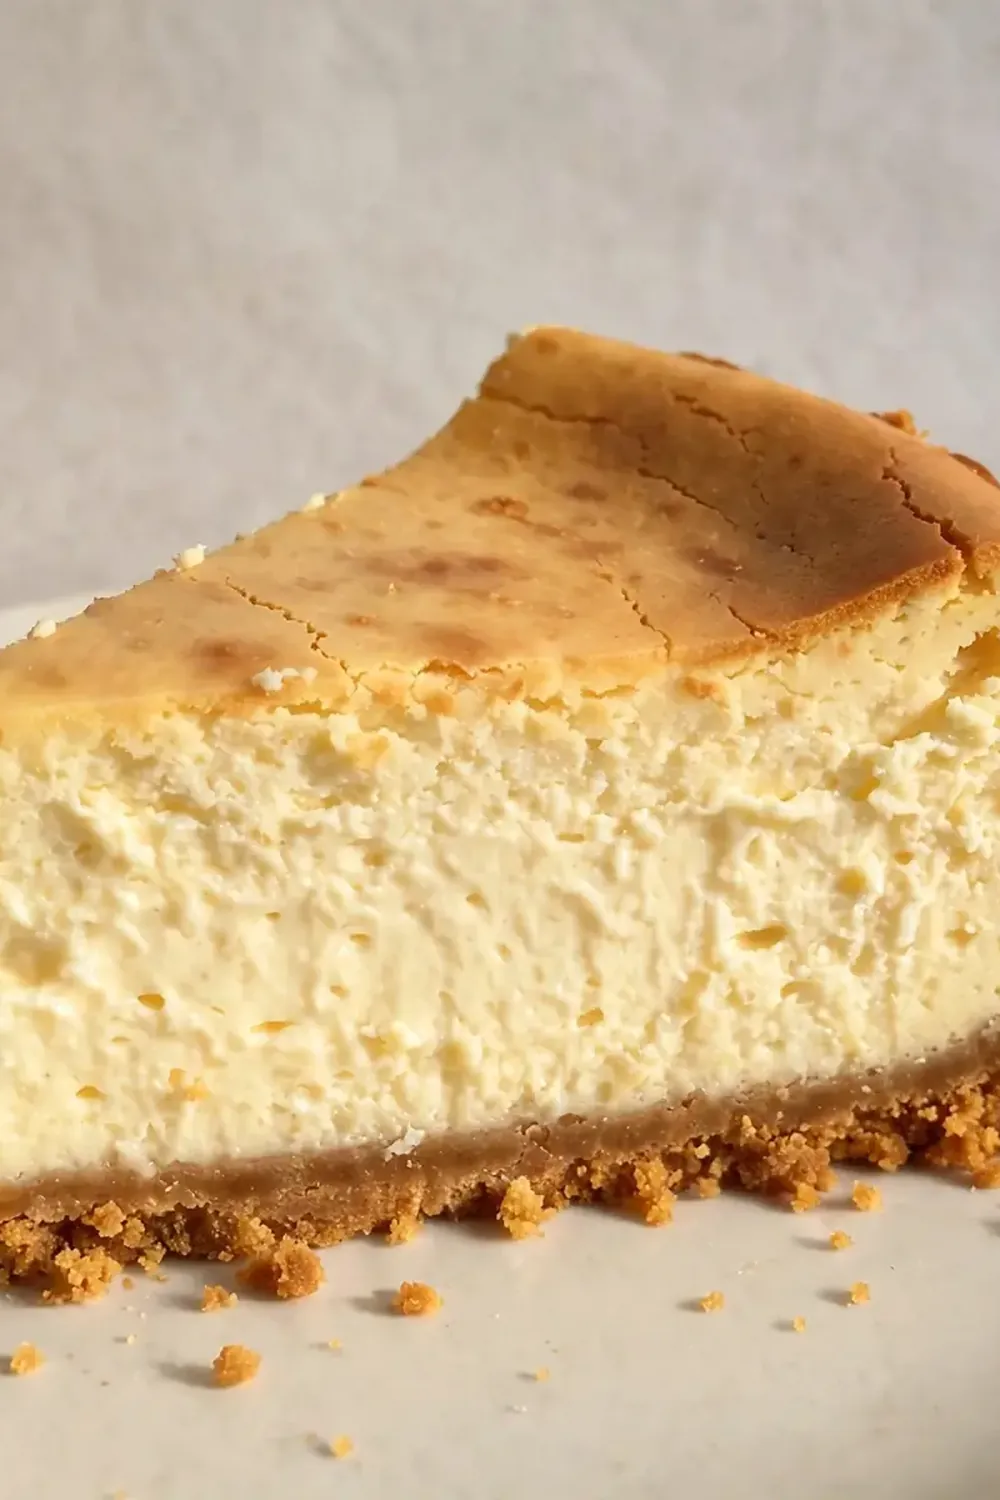
- Unapologetically Rich Flavour: We use a high ratio of cream cheese, giving it that signature dense, velvety texture that melts on the tongue.
- No Water Bath Fuss: My method uses a low, slow bake and a clever cooling technique to prevent cracks without the risk of a soggy base. It’s far more reliable.
- Make-Ahead Magic: This cheesecake tastes better after a full day in the fridge. It’s the perfect dessert to prepare a day ahead, leaving you free to enjoy your party.
- Customisable Canvas: While stunning plain, it’s the ideal base for seasonal fruits, a salted caramel drizzle, or a simple dusting of icing sugar for a minimalist look.
Ingredients You’ll Need
- 200g digestive biscuits (or shortbread biscuits)
- 100g unsalted butter, melted
- 1 tablespoon caster sugar
- 900g full-fat cream cheese, at room temperature
- 250g caster sugar
- 1 tablespoon plain flour
- 1 teaspoon vanilla extract
- Finely grated zest of 1 lemon
- 4 large eggs, at room temperature
- 2 large egg yolks, at room temperature
- 240ml full-fat soured cream
- Pinch of sea salt
Tip: For the glossiest, most professional finish, ensure every single dairy ingredient is at room temperature. Cold ingredients create a lumpy batter and a dense, rather than silky, texture.
How to Make New York Cheesecake
- Prepare the Base: Preheat your oven to 160°C (140°C fan). Crush the biscuits into fine crumbs. I like to put them in a sealed bag and use a rolling pin until you hear no more crunching. Mix with the melted butter and 1 tablespoon of sugar until the mixture smells deeply buttery and looks like wet sand. Press this firmly into the base of a 23cm springform tin. Bake for 10 minutes, until the edges are just beginning to turn a shade darker and you can smell toasted biscuit. Set aside to cool.
- Start the Filling: In a large bowl, beat the room-temperature cream cheese with an electric mixer on low speed. You want it to look fluffy and feel light, like a cloud, with no lumps. This takes about 2 minutes. Scrape down the bowl and beaters thoroughly.
- Add Dry Ingredients: Add the 250g sugar, flour, vanilla, lemon zest, and salt. Beat on low just until combined. The batter will look slightly grainy at this stage, but that’s fine. Stop as soon as you can’t see the sugar anymore.
- Incorporate the Eggs: Add the eggs and egg yolks one at a time, beating on low after each addition. The batter will become increasingly smooth and glossy, turning a pale, creamy yellow. Do not overmix; you just want it to come together. Overbeating adds too much air, which causes cracking.
- Finish with Soured Cream: Gently fold in the soured cream using a spatula. The batter should now be silky, thick, and luscious, with a slight sheen. Pour it over the cooled biscuit base. Give the tin a gentle tap on the counter to release any trapped air bubbles.
- The Low and Slow Bake: Place the tin on a baking tray in the centre of the oven. Bake for 50 minutes. Then, without opening the door, turn the oven off and leave the cheesecake inside for another 1 hour. The top should be set and a pale golden colour, but the centre will still wobble like a firm jelly when you gently shake the tin. This is exactly what you want.
- Cooling and Chilling: Run a thin knife around the edge of the tin to release the cake. Let it cool completely on a wire rack at room temperature for at least 2 hours. The smell of warm cheesecake will fill your kitchen. Once cool, cover loosely with cling film and refrigerate for at least 4 hours, but ideally overnight. This is where the magic of a firm, clean slice happens.
Tips From My Kitchen
- Room Temperature is Non-Negotiable: I cannot stress this enough. Cold cream cheese and eggs create a lumpy batter that bakes unevenly. Take them out of the fridge 1–2 hours before you start. The cream cheese should feel soft to the touch. After testing this recipe five times, I finally got it just right by being patient with this step.
- Don’t Overbeat the Batter: Use a low speed and stop as soon as the ingredients are combined. Overmixing incorporates too much air, which expands in the oven and then collapses, causing a large crack down the centre. You want a dense, velvety texture, not an airy one.
- The “Oven Off” Trick: This is my secret weapon for a crack-free top. By turning the oven off and letting the cheesecake cool slowly in the residual heat, you prevent the sudden temperature change that causes the top to crack. It’s a gentle, controlled cooling method that works every time.
- Knife for Clean Slices: For those perfect, restaurant-quality slices, use a long, thin-bladed knife. Run it under hot water, wipe it dry, then make your cut. The heat glides through the cold cheesecake without dragging. Wipe the blade clean between each slice for a pristine edge.
- Springform Tin Prep: Even with non-stick tins, I lightly butter the sides of the springform pan. This helps the cheesecake release cleanly after chilling and prevents it from sticking and tearing as it cools and shrinks slightly.
Common Mistakes to Avoid
- Overcrowding the pan: Don’t be tempted to use a smaller tin. This recipe is designed for a 23cm tin. Using a smaller one will result in a batter that is too deep, leading to an undercooked centre and burnt edges. The volume needs the correct surface area to bake evenly.
- Wrong temperature: A high oven temperature is the enemy of a New York Cheesecake. It causes the outside to set too quickly while the inside remains liquid, leading to a cracked surface. The low 160°C (140°C fan) is crucial for a gentle, even bake.
- Skipping the rest time: Cheesecake is a custard, and custards need time to set. Rushing it to the table after only 2 hours of chilling will result in a messy, gooey slice. The overnight rest in the fridge allows the structure to firm up completely, giving you that clean, sharp cut.
Delicious Variations to Try
- Spicy Version: Add a teaspoon of ground ginger and a pinch of cayenne pepper to the biscuit base. For the filling, swirl in a tablespoon of finely chopped crystallised ginger just before baking. The warmth of the spice cuts through the richness beautifully.
- Vegetarian/Vegan Option: Use a plant-based cream cheese and soured cream. For the eggs, use a commercial egg replacer or a mixture of cornflour and water (2 tablespoons cornflour to 3 tablespoons water per egg). The texture will be slightly lighter but still deliciously creamy.
- Different Protein: Instead of a biscuit base, try a thin layer of your favourite nut butter (like almond or cashew) spread on the base before adding the filling. This adds a subtle nutty flavour and a different texture that pairs wonderfully with the tangy filling.
What to Serve With New York Cheesecake
- A vibrant Grilled Salmon With Lemon Butter Sauce Recipe makes a surprisingly elegant starter before the richness of the cheesecake.
- A simple berry compote, warmed slightly, poured over the top just before serving adds a beautiful colour contrast and a touch of acidity.
- A dollop of lightly whipped double cream and a scattering of fresh raspberries or blueberries.
- For a touch of elegance, serve alongside a pot of strong, freshly brewed coffee or a selection of herbal teas.
Frequently Asked Questions
New York Cheesecake
Ingredients
Method
- Prepare the Base: Preheat your oven to 160°C (140°C fan). Crush the biscuits into fine crumbs. I like to put them in a sealed bag and use a rolling pin until you hear no more crunching. Mix with the melted butter and 1 tablespoon of sugar until the mixture smells deeply buttery and looks like wet sand. Press this firmly into the base of a 23cm springform tin. Bake for 10 minutes, until the edges are just beginning to turn a shade darker and you can smell toasted biscuit. Set aside to cool.
- Start the Filling: In a large bowl, beat the room-temperature cream cheese with an electric mixer on low speed. You want it to look fluffy and feel light, like a cloud, with no lumps. This takes about 2 minutes. Scrape down the bowl and beaters thoroughly.
- Add Dry Ingredients: Add the 250g sugar, flour, vanilla, lemon zest, and salt. Beat on low just until combined. The batter will look slightly grainy at this stage, but that’s fine. Stop as soon as you can’t see the sugar anymore.
- Incorporate the Eggs: Add the eggs and egg yolks one at a time, beating on low after each addition. The batter will become increasingly smooth and glossy, turning a pale, creamy yellow. Do not overmix; you just want it to come together. Overbeating adds too much air, which causes cracking.
- Finish with Soured Cream: Gently fold in the soured cream using a spatula. The batter should now be silky, thick, and luscious, with a slight sheen. Pour it over the cooled biscuit base. Give the tin a gentle tap on the counter to release any trapped air bubbles.
- The Low and Slow Bake: Place the tin on a baking tray in the centre of the oven. Bake for 50 minutes. Then, without opening the door, turn the oven off and leave the cheesecake inside for another 1 hour. The top should be set and a pale golden colour, but the centre will still wobble like a firm jelly when you gently shake the tin. This is exactly what you want.
- Cooling and Chilling: Run a thin knife around the edge of the tin to release the cake. Let it cool completely on a wire rack at room temperature for at least 2 hours. The smell of warm cheesecake will fill your kitchen. Once cool, cover loosely with cling film and refrigerate for at least 4 hours, but ideally overnight. This is where the magic of a firm, clean slice happens.
Notes
I’ve been making this for over 9 years, and it never disappoints. The moment you pull that perfectly smooth, golden cheesecake from the fridge and cut into it, revealing that dense, creamy interior, you’ll feel a surge of pride. It’s the kind of dessert that makes people lean in, take a photo, and ask for the recipe. For a different but equally satisfying dessert, you might also enjoy our Rich Dark Chocolate Muffins. Now, go on—give it a try and let me know how it turns out in the comments below!