Sticky Honey Sriracha Chicken Wings
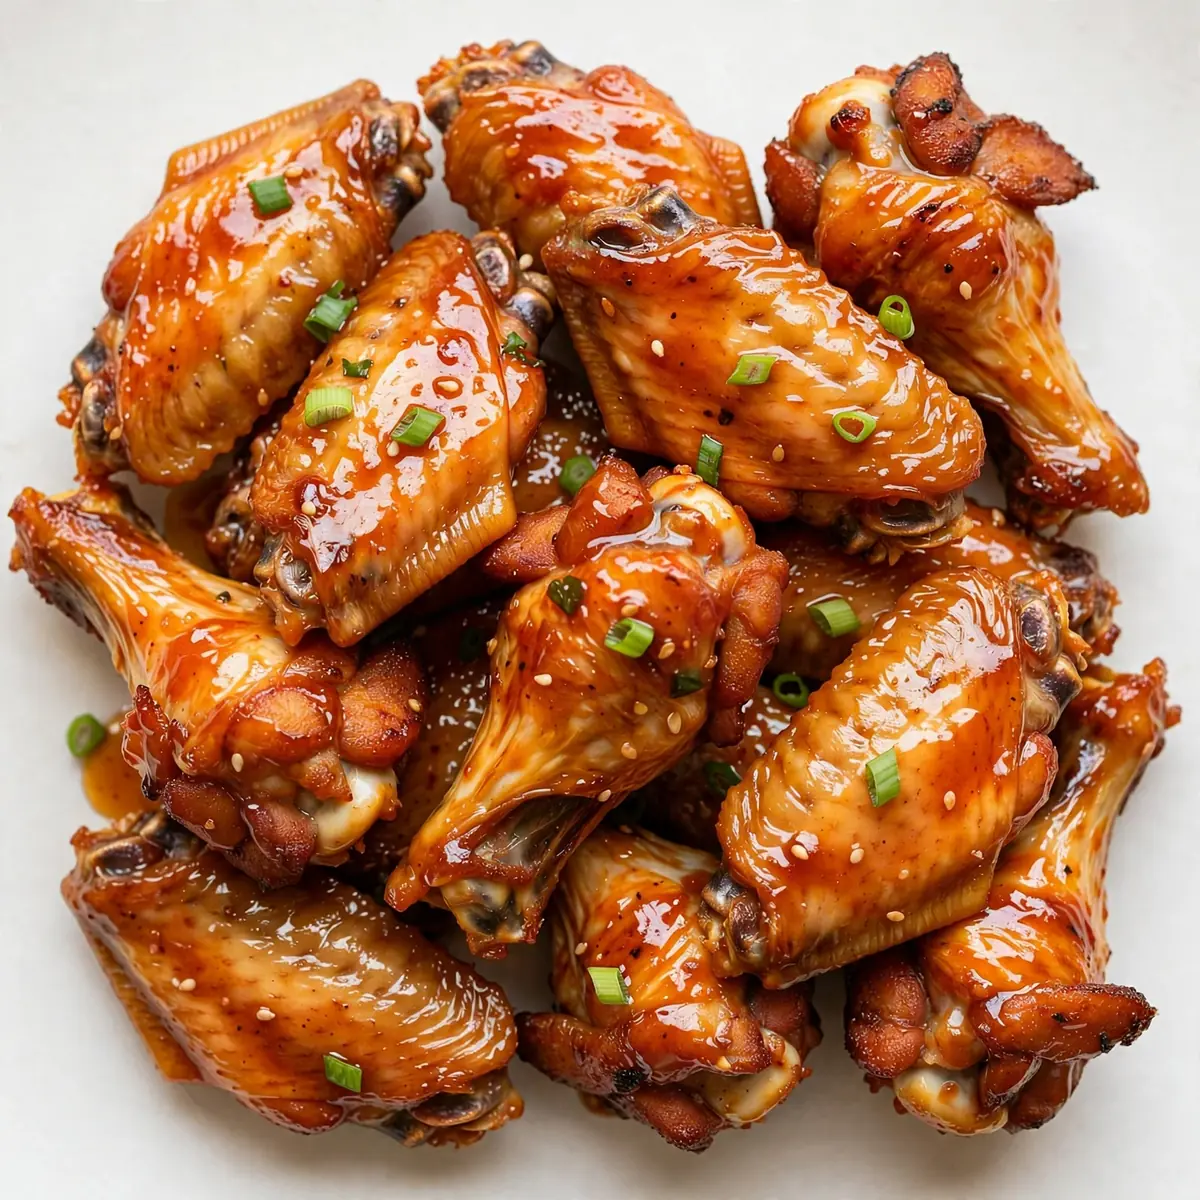
I still remember the first time I served these Sticky Honey Sriracha Chicken Wings to guests. The silence at the table was telling — not the awkward kind, but the kind that happens when everyone is too busy eating to speak. That’s the moment I knew I’d stumbled onto something special: a dish that looks like it took hours of fussing but actually comes together with surprising ease. Today, I’m sharing every detail so you can recreate that same restaurant-quality experience in your own kitchen.
Recipe Overview
- Prep time: 20 minutes
- Cook time: 45 minutes
- Total time: 1 hour 5 minutes
- Servings: 4 as a main, 6 as a starter
- Difficulty: Medium
Why You’ll Love This Sticky Honey Sriracha Chicken Wings
- Restaurant-quality presentation: The glossy, lacquered finish on these wings makes them look like they’ve been plated by a professional chef — perfect for impressing dinner guests without the stress.
- Balanced heat and sweetness: The honey mellows the fiery kick of sriracha, creating a sauce that’s bold but not overwhelming. Everyone from spice lovers to cautious eaters finds their happy place here.
- Make-ahead friendly: You can prepare the sauce and par-cook the wings earlier in the day. A final glaze and quick roast just before serving means more time with your guests and less time in the kitchen.
- Crispy skin without deep frying: A clever baking powder trick in the dry rub gives you that satisfying crackle on the outside while the meat stays tender and juicy inside — no deep fryer required.
- Customisable heat level: Want it milder? Reduce the sriracha and add a little extra honey. Craving more fire? A pinch of cayenne or a dash of chilli flakes takes it up a notch without losing the sticky sweetness.
Ingredients You’ll Need
- 1.2 kg chicken wings, tips removed and separated into drumettes and flats
- 2 tablespoons baking powder (not baking soda)
- 1 teaspoon fine sea salt
- ½ teaspoon white pepper
- 4 tablespoons honey
- 3 tablespoons sriracha sauce
- 2 tablespoons unsalted butter
- 2 cloves garlic, finely minced
- 1 tablespoon soy sauce (use tamari for gluten-free)
- 1 tablespoon rice vinegar
- 1 teaspoon sesame oil
- 2 tablespoons toasted sesame seeds
- 3 spring onions, thinly sliced on the diagonal
- Fresh coriander leaves, for garnish (optional)
Tip: For the best results, pat the chicken wings very dry with kitchen paper before adding the dry rub. Excess moisture is the enemy of crispy skin — this step alone makes a noticeable difference.
How to Make Sticky Honey Sriracha Chicken Wings
- Preheat the oven and prepare the wings. Set your oven to 200°C (400°F) and line a large baking tray with foil, then place a wire rack on top. In a large bowl, combine the baking powder, salt, and white pepper. Add the dried chicken wings and toss thoroughly, ensuring every piece is coated. You’ll see the powder clinging to the skin like a fine dust — that’s exactly what you want.
- Arrange and bake. Lay the wings in a single layer on the wire rack, making sure none of them are touching. Slide the tray onto the middle oven rack and bake for 30 minutes. At this point, the wings should look pale golden and the skin will feel dry and slightly puffy to the touch — a sign the baking powder is doing its job.
- Make the sticky sauce. While the wings bake, place a small saucepan over medium heat. Add the butter and let it melt until it foams gently — you’ll hear a soft sizzle. Stir in the minced garlic and cook for 30 seconds until fragrant, then add the honey, sriracha, soy sauce, rice vinegar, and sesame oil. Whisk everything together and let it simmer for 2 to 3 minutes. The sauce will thicken slightly and turn a deep, glossy amber colour. Remove from the heat and set aside.
- Glaze the wings. After 30 minutes, remove the tray from the oven. Using tongs, transfer the wings to a clean large bowl. Pour about two-thirds of the sauce over the wings and toss gently until each piece is coated. You’ll notice the sauce clings to the skin, creating a sticky, shiny layer.
- Second bake for the perfect finish. Return the glazed wings to the wire rack in a single layer. Spoon any remaining sauce from the bowl over the tops. Bake for another 12 to 15 minutes. The wings will darken to a rich caramel colour, and the sauce will bubble and set into a tacky glaze. You’ll smell the sweet-spicy aroma filling your kitchen — that’s your cue they’re nearly done.
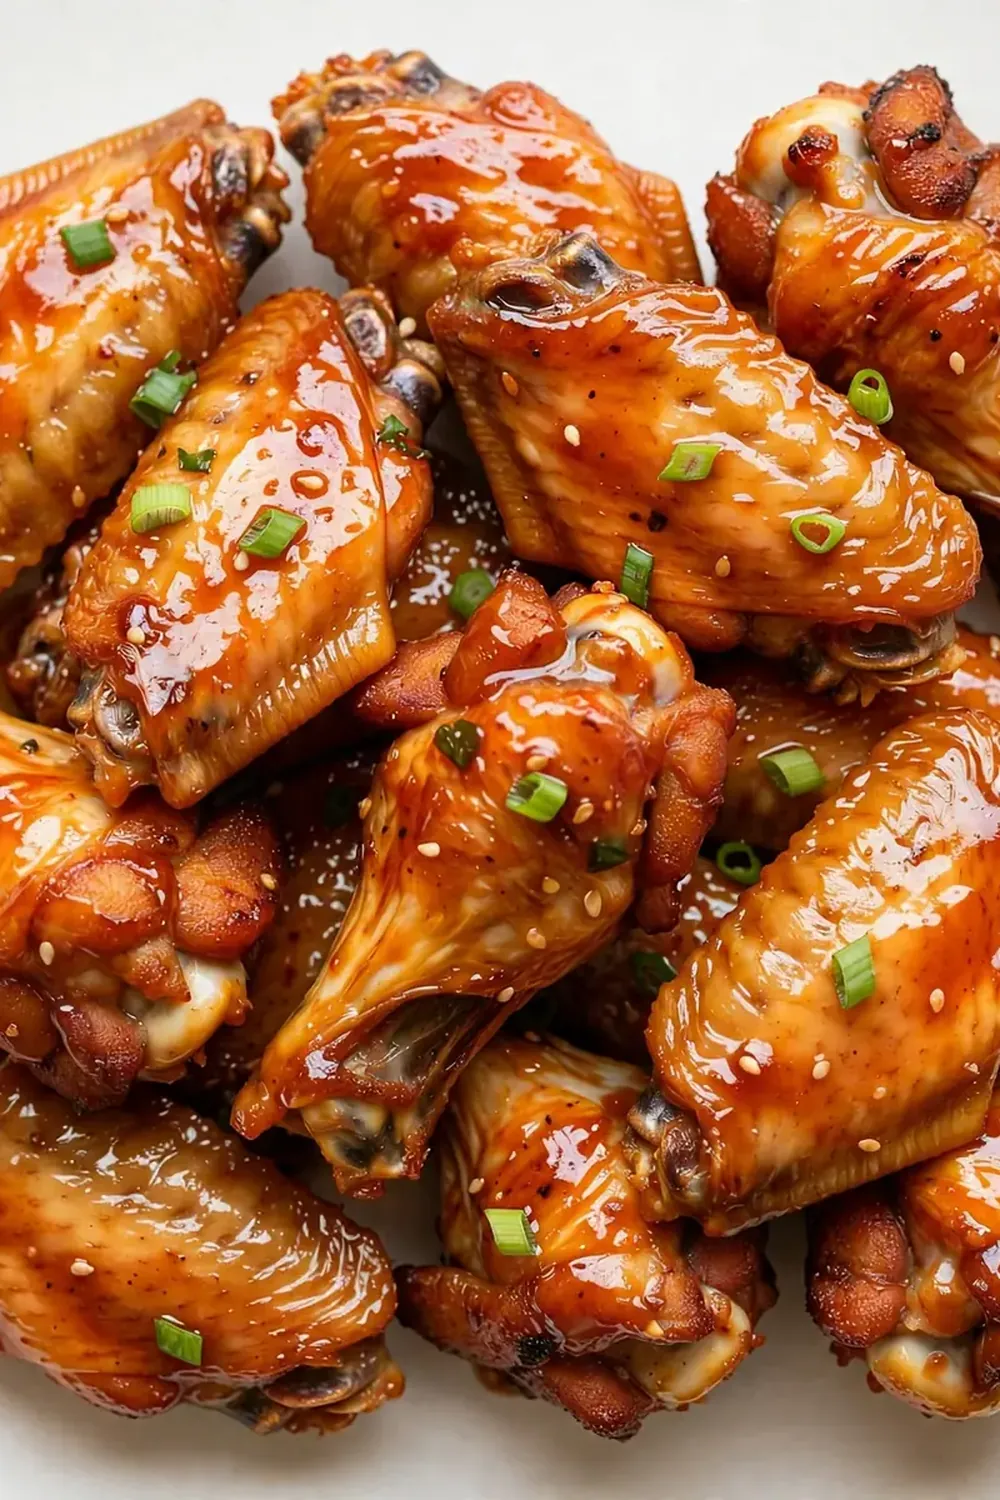
- Rest and garnish. Remove the tray from the oven and let the wings rest on the rack for 5 minutes. This short rest allows the glaze to firm up slightly, so it doesn’t slide off when you plate them. Transfer to a serving platter, sprinkle with toasted sesame seeds, sliced spring onions, and coriander if using. The contrast of the dark, glossy wings against the bright green garnish is where the restaurant magic happens.
Tips From My Kitchen
- Dry the wings thoroughly: Moisture is the number one enemy of crispy skin. After washing the wings (if you do), pat them dry with kitchen paper, then let them sit uncovered in the fridge for 30 minutes. This extra drying step draws out surface moisture and helps the baking powder work more effectively. I used to skip this and wondered why my wings came out chewy — now I never do.
- Use a wire rack: Placing the wings directly on a baking tray traps steam underneath, which softens the skin. A wire rack elevates the wings, allowing hot air to circulate all around them. The result is evenly crisped skin on every side without having to flip them halfway through.
- Don’t skip the baking powder: This is the secret to oven-fried texture. Baking powder raises the pH of the skin, which helps it brown faster and creates tiny bubbles that crisp up beautifully. Make sure it’s baking powder, not baking soda — they’re not the same, and baking soda will leave a metallic taste.
- Taste the sauce before glazing: Honey and sriracha vary in sweetness and heat between brands. I always dip a clean spoon into the finished sauce and taste it. If you prefer more heat, add an extra teaspoon of sriracha. If it’s too spicy, stir in another tablespoon of honey. Adjusting now saves you from disappointing wings later.
- Glaze in two stages: Applying the sauce halfway through baking, then again at the end, builds a thicker, more caramelised coating. If you add all the sauce at the beginning, it can burn before the wings are fully cooked. The two-stage method gives you that perfect sticky finish without any bitter char.
- Let the wings rest before serving: Those 5 minutes off the heat are crucial. The glaze sets into a tacky coating rather than running off in a puddle. My husband, who’s usually picky, asked for seconds the first time I made these — and I credit the rest time for that perfect texture.
Common Mistakes to Avoid
- Overcrowding the pan: When wings are packed too closely, they steam instead of roast. The skin turns soggy rather than crispy, and the glaze becomes watery. Always leave a little space between each wing on the rack. If necessary, use two trays and rotate them halfway through baking.
- Wrong temperature: Baking at too low a temperature dries out the meat before the skin crisps. At too high a temperature, the sugar in the honey can burn before the wings cook through. Stick to 200°C (400°F) — it’s the sweet spot where the skin crisps and the sauce caramelises evenly.
- Skipping the rest time: I know it’s tempting to serve immediately, but resting allows the juices to redistribute within the meat and the glaze to set. Without this pause, you’ll end up with dry wings and a sticky mess on the plate rather than a tidy, glossy presentation.
Delicious Variations to Try
- Spicy Version: For those who like serious heat, add 1 teaspoon of red chilli flakes to the sauce along with an extra tablespoon of sriracha. You can also sprinkle a little cayenne pepper into the dry rub for heat that builds from the inside out.
- Vegetarian/Vegan Option: Replace the chicken wings with cauliflower florets cut into wing-like pieces. Toss them in the same baking powder mixture, then follow the same roasting and glazing steps. The cauliflower becomes tender with caramelised edges — a great plant-based option that still looks impressive on the platter.
- Different Protein: This sticky honey sriracha sauce works beautifully on chicken thighs, drumsticks, or even salmon fillets. Adjust cooking times as needed: boneless chicken thighs take about 25 minutes, while salmon fillets need only 12 to 15 minutes depending on thickness.
What to Serve With Sticky Honey Sriracha Chicken Wings
- A crisp Fresh Greek Salad Recipe with tangy feta and briny olives cuts through the sweet heat perfectly.
- Cool cucumber sticks or carrot batons with a simple yoghurt dip balance the spice and add a refreshing crunch.
- Steamed jasmine rice or coconut rice makes a neutral base that soaks up any extra sticky sauce on the plate.
- For a lighter side, try our Fresh Tomato And Avocado Salad — the creamy avocado and juicy tomatoes complement the wings without overwhelming them.
Still hungry for ideas? You might also love Sticky Hot Honey Chicken 30 Minute Meal, Honey Sriracha Salmon Bowls from our sister kitchens.
Frequently Asked Questions
Sticky Honey Sriracha Chicken Wings
Ingredients
Method
- Preheat the oven and prepare the wings. Set your oven to 200°C (400°F) and line a large baking tray with foil, then place a wire rack on top. In a large bowl, combine the baking powder, salt, and white pepper. Add the dried chicken wings and toss thoroughly, ensuring every piece is coated. You’ll see the powder clinging to the skin like a fine dust — that’s exactly what you want.
- Arrange and bake. Lay the wings in a single layer on the wire rack, making sure none of them are touching. Slide the tray onto the middle oven rack and bake for 30 minutes. At this point, the wings should look pale golden and the skin will feel dry and slightly puffy to the touch — a sign the baking powder is doing its job.
- Make the sticky sauce. While the wings bake, place a small saucepan over medium heat. Add the butter and let it melt until it foams gently — you’ll hear a soft sizzle. Stir in the minced garlic and cook for 30 seconds until fragrant, then add the honey, sriracha, soy sauce, rice vinegar, and sesame oil. Whisk everything together and let it simmer for 2 to 3 minutes. The sauce will thicken slightly and turn a deep, glossy amber colour. Remove from the heat and set aside.
- Glaze the wings. After 30 minutes, remove the tray from the oven. Using tongs, transfer the wings to a clean large bowl. Pour about two-thirds of the sauce over the wings and toss gently until each piece is coated. You’ll notice the sauce clings to the skin, creating a sticky, shiny layer.
- Second bake for the perfect finish. Return the glazed wings to the wire rack in a single layer. Spoon any remaining sauce from the bowl over the tops. Bake for another 12 to 15 minutes. The wings will darken to a rich caramel colour, and the sauce will bubble and set into a tacky glaze. You’ll smell the sweet-spicy aroma filling your kitchen — that’s your cue they’re nearly done.
- Rest and garnish. Remove the tray from the oven and let the wings rest on the rack for 5 minutes. This short rest allows the glaze to firm up slightly, so it doesn’t slide off when you plate them. Transfer to a serving platter, sprinkle with toasted sesame seeds, sliced spring onions, and coriander if using. The contrast of the dark, glossy wings against the bright green garnish is where the restaurant magic happens.
Notes
These Sticky Honey Sriracha Chicken Wings have become my go-to dish when I want to serve something memorable without spending the whole evening in the kitchen. The glossy glaze, the crackling skin, that first bite where sweet meets heat — it’s the kind of food that makes people lean in and ask for the recipe. I’d love to hear how yours turn out, so drop a comment below and let me know if your guests were as impressed as mine. And if you’re in the mood for another showstopper, our Chewy Fudge Brownies Dessert makes a brilliant finish to this spicy feast.