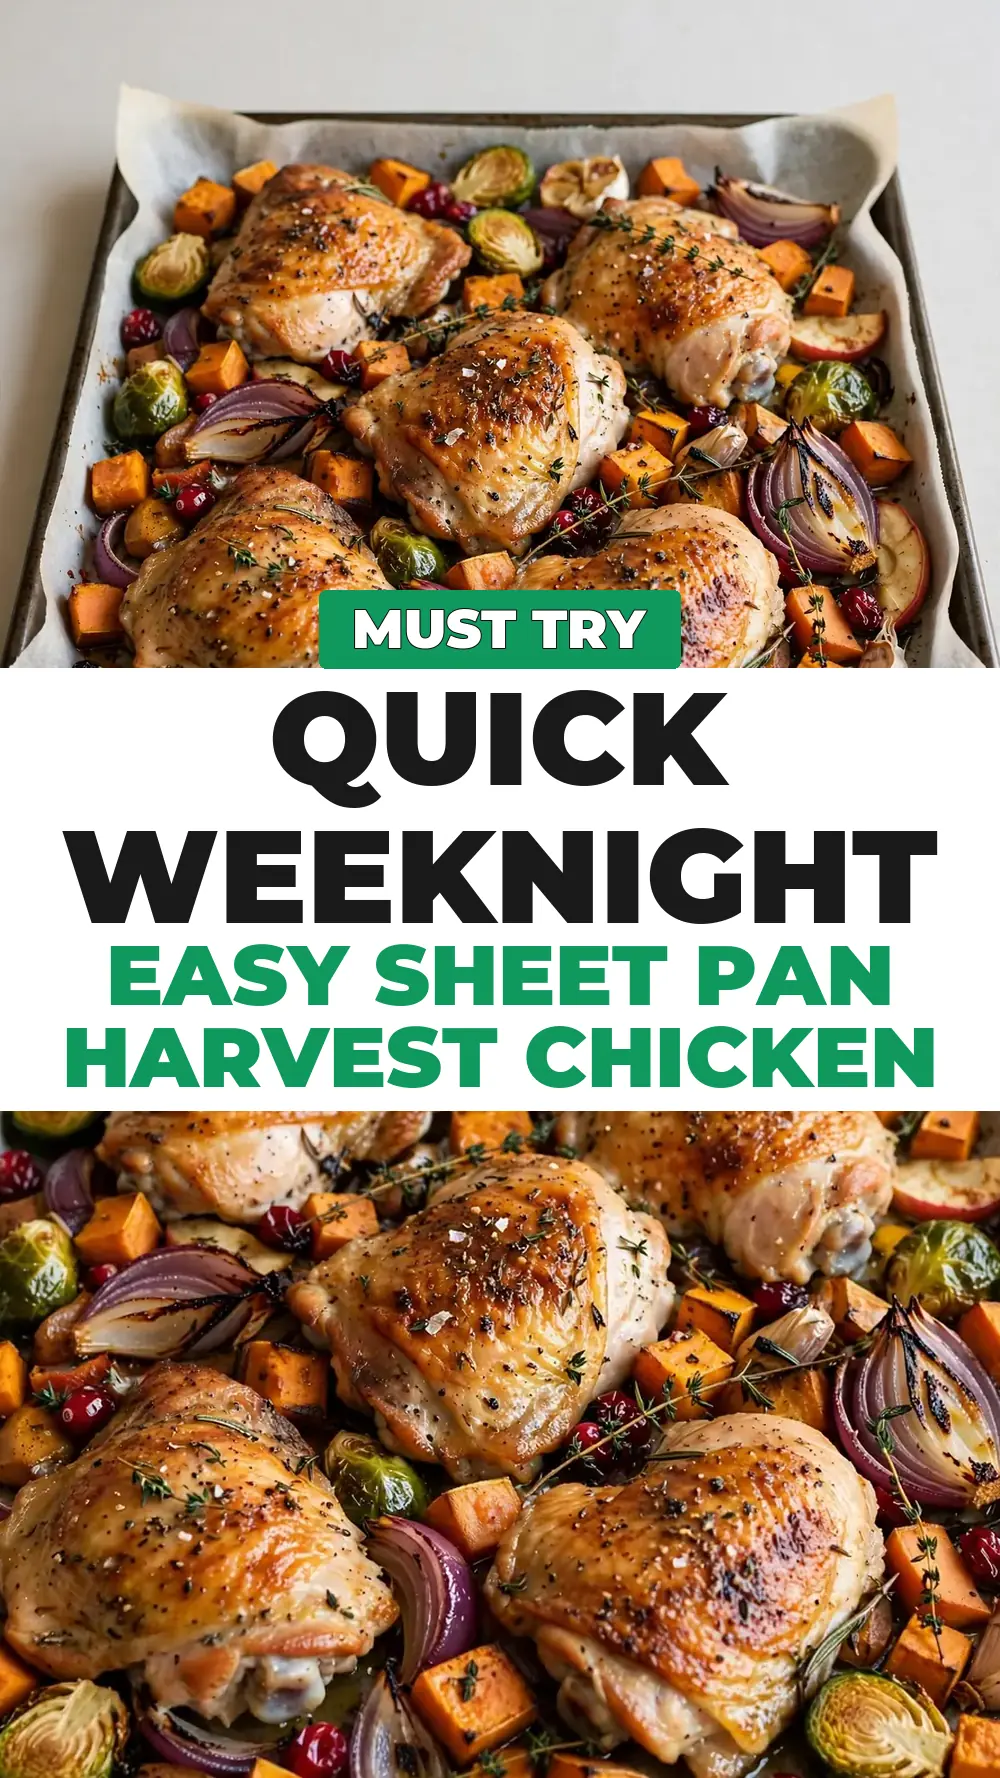
Quick Weeknight Easy Sheet Pan Harvest Chicken
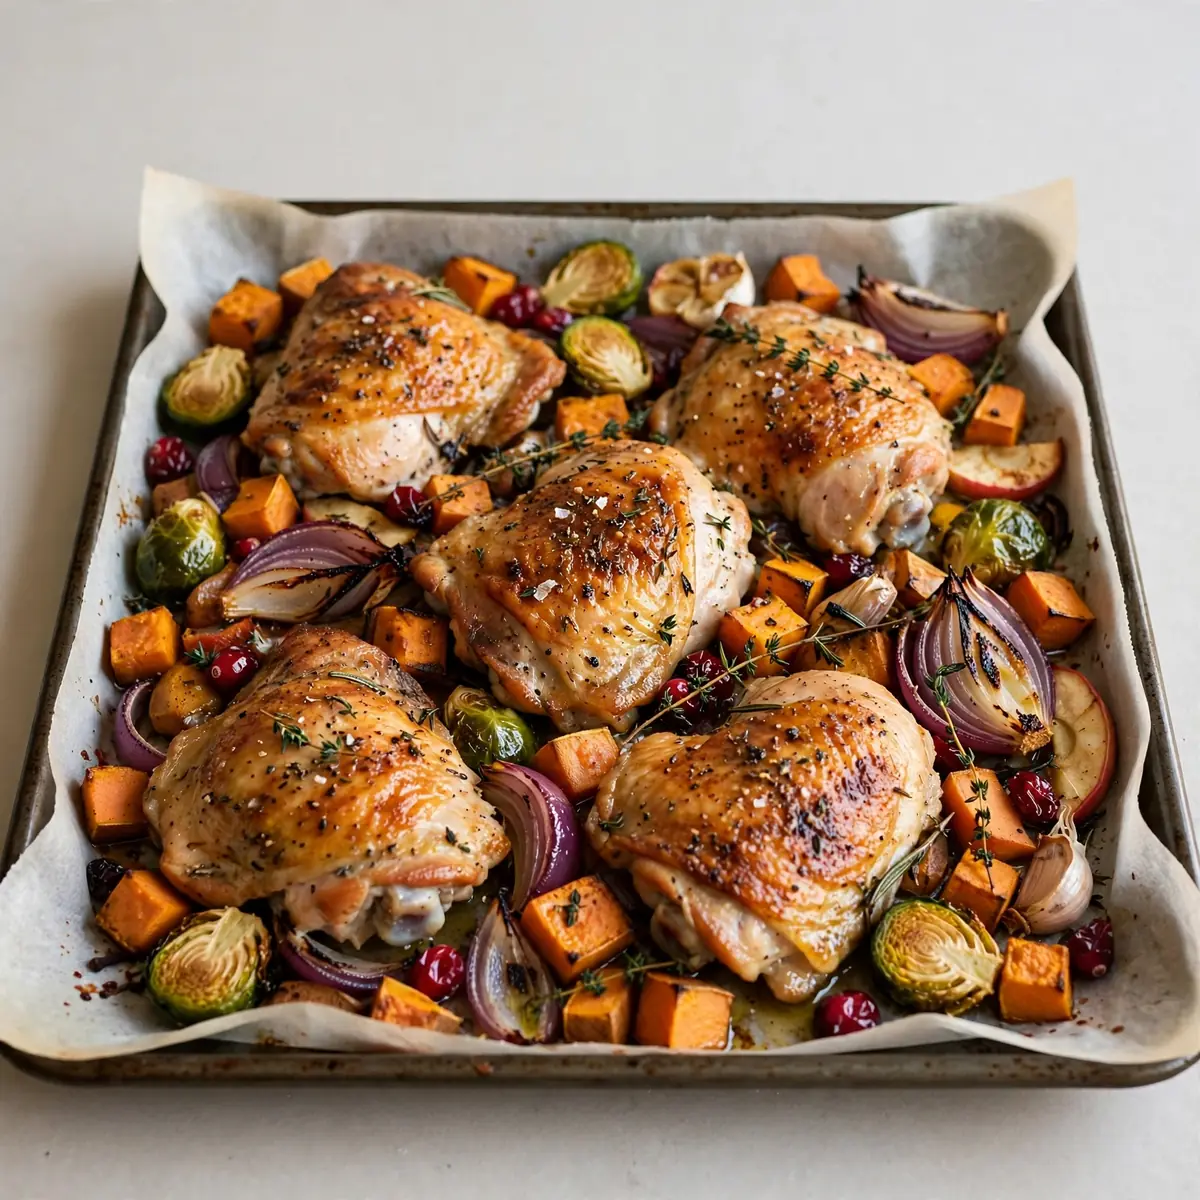
Getting a wholesome dinner on the table on a Tuesday night shouldn’t require three pans and a mountain of washing up. This easy sheet pan harvest chicken brings together juicy chicken thighs, sweet roasted squash, and tender red onions on a single tray, with a sticky maple-mustard glaze that makes the whole kitchen smell like autumn. It’s the kind of meal I make when the school run has run long and everyone is hungry and slightly grumpy.
Recipe Overview
- Prep time: 15 minutes
- Cook time: 35–40 minutes
- Total time: 50–55 minutes
- Servings: 4
- Difficulty: Easy
Why You’ll Love This easy sheet pan harvest chicken
- One tray, one wash-up. Everything roasts together, so the dishwasher stays empty and the sink stays clear — a small mercy on a busy weeknight.
- Big autumn flavours with almost no effort. The glaze does all the work, caramelising into something sticky and golden while the vegetables soften underneath.
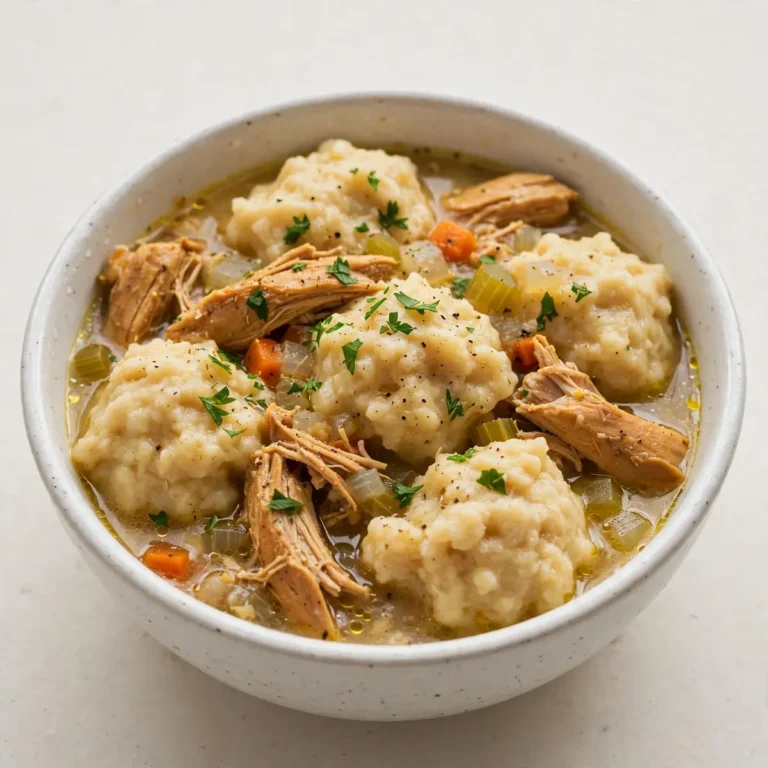
- Make-ahead friendly. You can chop the vegetables and whisk the glaze in the morning, then simply assemble and roast when you walk in the door — or, if you want something even quicker, try this Quick Chicken Salad Sandwich For Busy Weeknights, these Quick Weeknight Chicken And Dumplings, or Quick Spiced Pear French Toast For Busy Nights.kirarecipes.com/quick-weeknight-chicken-and-dumplings/”>Quick Weeknight Chicken And Dumplings .kirarecipes.com/quick-chicken-salad-sandwich-for-busy-weeknights/”>Quick Chicken Salad Sandwich For Busy Weeknights.
- Flexible by design. Whatever root vegetables are lurking in the fridge drawer will work beautifully here — nothing goes to waste.
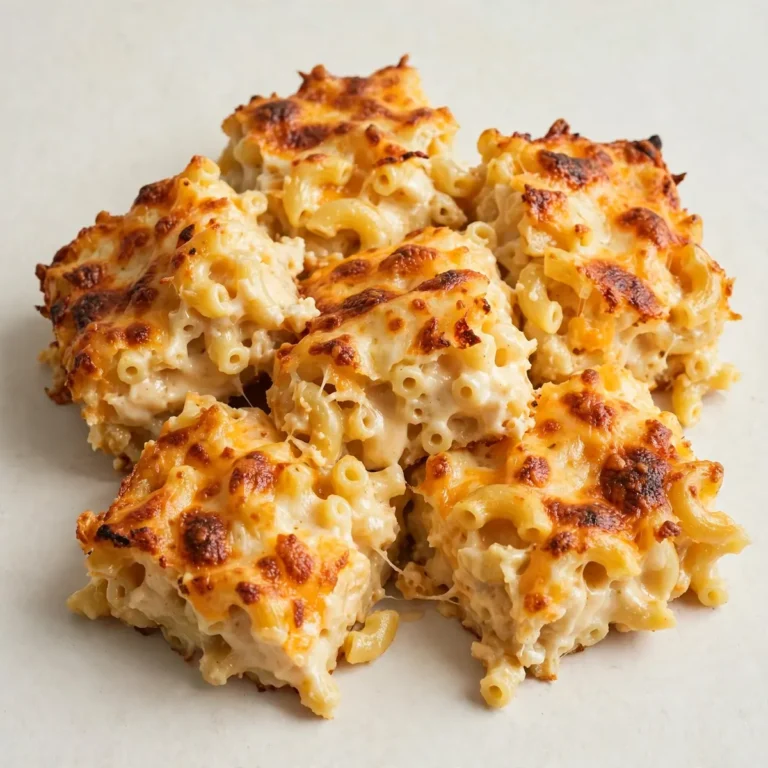
- Genuinely filling. The combination of protein, fibre-rich vegetables, and natural sweetness keeps everyone satisfied until breakfast — or round it out with a side of Quick Weeknight Baked Macaroni And Cheese.
Ingredients You’ll Need
- 8 bone-in, skin-on chicken thighs (about 1.2 kg)
- 600 g butternut squash, peeled and cut into 2.5 cm cubes
- 400 g baby potatoes, halved
- 2 red onions, cut into thick wedges
- 2 medium carrots, cut into 3 cm batons
- 3 tbsp olive oil
- 2 tbsp maple syrup
- 1 tbsp Dijon mustard
- 1 tbsp apple cider vinegar
- 3 garlic cloves, finely grated
- 1 tsp dried thyme
- 1 tsp smoked paprika
- 1 tsp fine sea salt
- ½ tsp freshly ground black pepper
- Fresh parsley, chopped, to finish
Tip: Cut your vegetables to roughly the same size — about 2.5 cm — so they roast at the same rate. If the squash is in big chunks and the potatoes are tiny, you’ll end up with burnt edges and raw centres, which is the fastest way to ruin a good tray bake.
Equipment You’ll Need
- Large frying pan or skillet
- Sharp knife and cutting board
- Mixing bowls
- Wooden spoon or spatula
How to Make easy sheet pan harvest chicken
- Heat the oven and prepare your tray. Preheat the oven to 200°C (180°C fan, gas mark 6). Line a large rimmed baking tray with parchment paper — the rim matters, because the vegetables release liquid and you don’t want it running off the edge. A tray that’s roughly 40 x 30 cm gives everything room to breathe.
- Whisk the glaze. In a small mixing bowl, combine the olive oil, maple syrup, Dijon mustard, apple cider vinegar, grated garlic, thyme, smoked paprika, salt, and pepper. Whisk until it looks glossy and uniformly amber — about 30 seconds. Give it a sniff; it should smell sweet, sharp, and faintly smoky all at once.
- Toss the vegetables. In a large bowl, add the squash, potatoes, red onion wedges, and carrot batons. Pour over about two-thirds of the glaze and toss with your hands or a wooden spoon until every piece is slicked with the mixture. The vegetables should look shiny and evenly coated, with no dry patches.
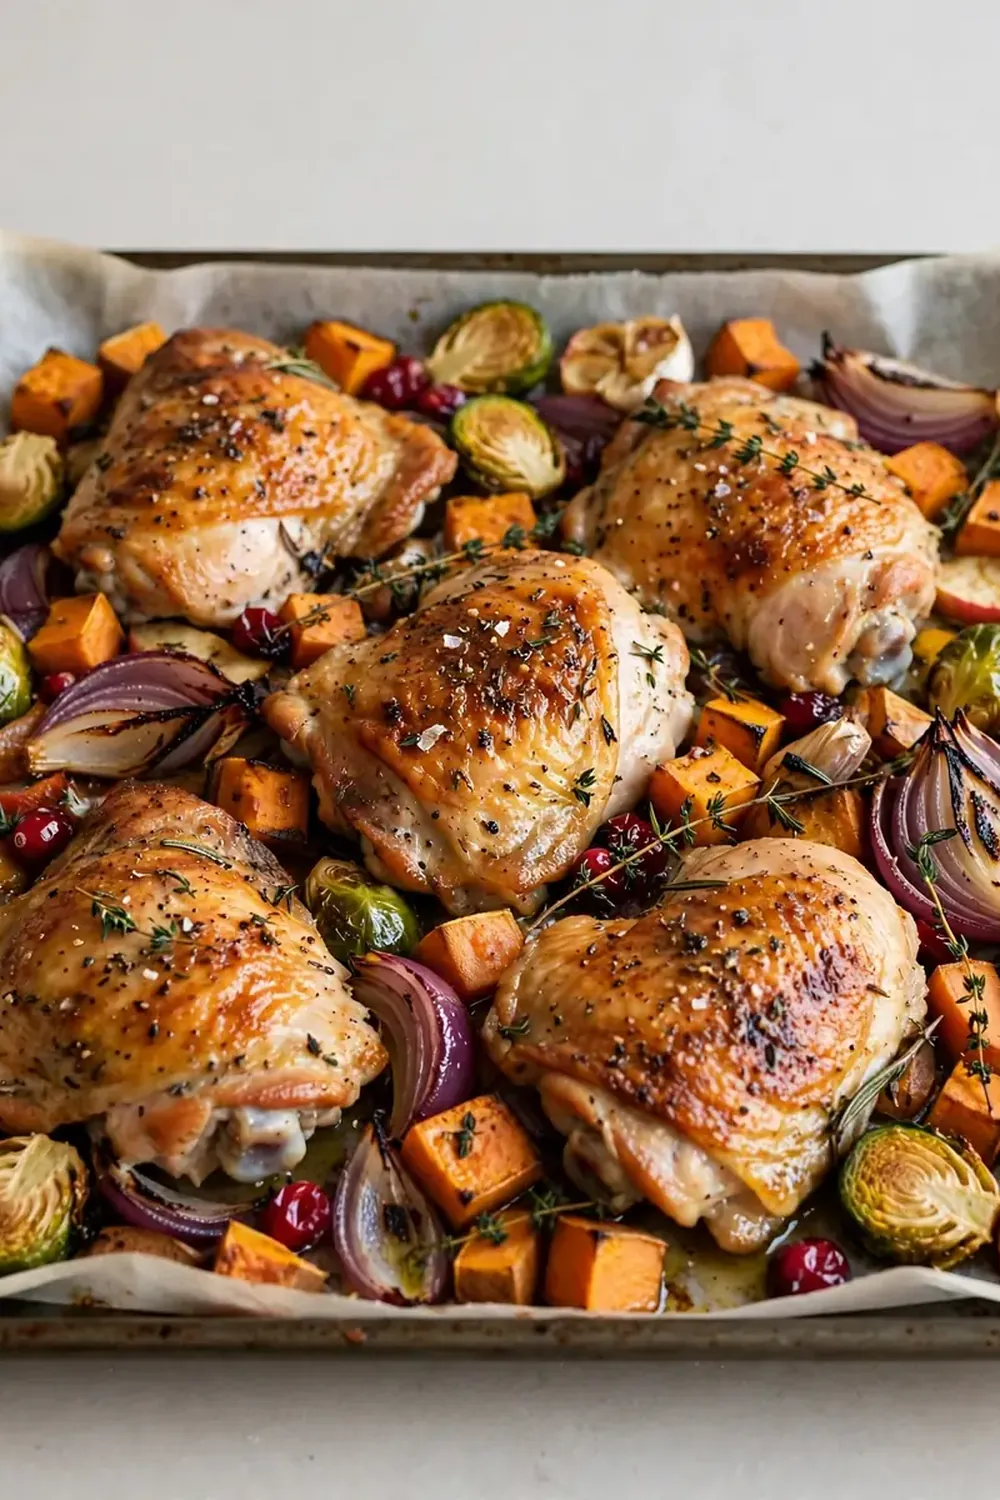
- Arrange the tray. Tip the vegetables onto the prepared tray and spread them into a single, even layer. Nestle the chicken thighs among them, skin-side up, leaving a little space between each piece. Spoon the remaining glaze over the chicken skin. At this point the tray should look colourful and generous — orange squash, deep purple onion, golden potatoes.
- Roast for 25 minutes. Slide the tray into the middle of the oven. After 25 minutes, pull it out and check: the chicken skin should be starting to turn pale gold, and the squash edges should be softening but not yet collapsing. The kitchen will already smell sweet and savoury.
- Baste and continue roasting. Spoon any juices from the bottom of the tray back over the chicken and vegetables. Return to the oven for another 10–15 minutes. You’re looking for chicken skin that’s deep golden and crisp, with juices that run clear when you pierce the thickest part of a thigh. The internal temperature should read 74°C on a meat thermometer.
- Rest before serving. Take the tray out and leave it on a heatproof surface for 5 minutes. The vegetables will absorb the pan juices and the chicken will finish cooking gently. Scatter over the chopped parsley just before you bring it to the table — the fresh green against the golden skin looks lovely.
Tips From My Kitchen
- Dry the chicken skin thoroughly. Pat the thighs with kitchen paper before they go anywhere near the glaze. Moisture is the enemy of crisp skin — if the surface is wet, the skin steams rather than roasts, and you end up with something flabby instead of golden. This one step makes the biggest difference.
- Give the vegetables a head start if your pieces are chunky. If your squash or carrots are on the larger side, roast them alone for 10 minutes before adding the chicken. This ensures the vegetables are tender at the same moment the chicken is cooked through, rather than one finishing long before the other.
- Don’t crowd the tray. If everything is piled on top of each other, the vegetables steam and the chicken skin stays pale. Use two trays if you need to — it’s worth the extra washing up. I used to struggle with this dish until I discovered this technique, and now I never cram everything onto one pan.
- Prep everything the night before. Chop the vegetables, whisk the glaze, and store them separately in airtight containers in the fridge. When you get home, all you have to do is toss, arrange, and roast. This turns a 50-minute dinner into a 10-minute assembly job.
- Save the pan juices. Those sticky, caramelised drippings at the bottom of the tray are pure flavour. Spoon them over the chicken and vegetables as you serve, or tip them into a small jug and pass it round the table. Don’t let them go to waste.
- Use a meat thermometer if you have one. Chicken thighs are forgiving, but a thermometer takes the guesswork out entirely. Aim for 74°C in the thickest part, away from the bone. It’s the single most reliable way to know your chicken is both safe and still juicy.
- Let the tray sit for five minutes. This short rest lets the juices redistribute through the meat instead of running out onto the tray the moment you cut in. It also gives the vegetables a chance to soak up all that lovely glaze.
Common Mistakes to Avoid
- Overcrowding the pan: When vegetables and chicken are packed too tightly, they release steam instead of roasting. You end up with soggy squash, pale chicken skin, and a tray full of liquid. Spread everything in a single layer with a little space between each piece, and use two trays if necessary.
- Wrong temperature: Roasting at too low a heat (below 180°C) means the vegetables never caramelise and the chicken skin stays soft. Too high (above 220°C) and the glaze burns before the chicken is cooked through. Stick to 200°C for the best balance of browning and even cooking.
- Skipping the rest time: Cutting into the chicken straight from the oven sends all the juices flooding out onto the tray, leaving the meat dry. Five minutes of resting allows the juices to redistribute, giving you tender, moist chicken every time.
Delicious Variations to Try
- Spicy Version: Add ½ teaspoon of chilli flakes to the glaze, or brush the chicken with a spoonful of harissa before roasting. The sweetness of the maple syrup balances the heat beautifully. A squeeze of lemon over the finished tray lifts everything.
- Vegetarian/Vegan Option: Replace the chicken with a block of firm tofu, pressed and cut into thick slabs, or use a can of drained chickpeas tossed in the glaze. Roast the tofu for about 25 minutes, turning once, and add a handful of walnuts for texture in the last 10 minutes.
- Different Protein: Salmon fillets work wonderfully here — add them to the tray for the final 12–15 minutes only, so they stay moist. Chicken drumsticks are another great option; they need the same cooking time as thighs but are brilliant for smaller hands.
What to Serve With easy sheet pan harvest chicken
- A crisp green salad — try this Fresh Greek Salad Recipe for a bright, tangy contrast to the sweet glaze.
- Warm crusty bread to mop up the pan juices.
- Steamed green beans or tenderstem broccoli for extra colour on the plate.
- A dollop of natural yoghurt mixed with a little lemon zest and salt.
- For a lighter side, a Fresh Tomato And Avocado Salad adds freshness without any cooking.
Still hungry for ideas? You might also love Easy Sheet Pan Pesto Gnocchi And Vegetables, Sheet Pan Chicken Fajitas Recipe Oven from our sister kitchens.
Frequently Asked Questions
easy sheet pan harvest chicken
Ingredients
Method
- Heat the oven and prepare your tray. Preheat the oven to 200°C (180°C fan, gas mark 6). Line a large rimmed baking tray with parchment paper — the rim matters, because the vegetables release liquid and you don’t want it running off the edge. A tray that’s roughly 40 x 30 cm gives everything room to breathe.
- Whisk the glaze. In a small mixing bowl, combine the olive oil, maple syrup, Dijon mustard, apple cider vinegar, grated garlic, thyme, smoked paprika, salt, and pepper. Whisk until it looks glossy and uniformly amber — about 30 seconds. Give it a sniff; it should smell sweet, sharp, and faintly smoky all at once.
- Toss the vegetables. In a large bowl, add the squash, potatoes, red onion wedges, and carrot batons. Pour over about two-thirds of the glaze and toss with your hands or a wooden spoon until every piece is slicked with the mixture. The vegetables should look shiny and evenly coated, with no dry patches.
- Arrange the tray. Tip the vegetables onto the prepared tray and spread them into a single, even layer. Nestle the chicken thighs among them, skin-side up, leaving a little space between each piece. Spoon the remaining glaze over the chicken skin. At this point the tray should look colourful and generous — orange squash, deep purple onion, golden potatoes.
- Roast for 25 minutes. Slide the tray into the middle of the oven. After 25 minutes, pull it out and check: the chicken skin should be starting to turn pale gold, and the squash edges should be softening but not yet collapsing. The kitchen will already smell sweet and savoury.
- Baste and continue roasting. Spoon any juices from the bottom of the tray back over the chicken and vegetables. Return to the oven for another 10–15 minutes. You’re looking for chicken skin that’s deep golden and crisp, with juices that run clear when you pierce the thickest part of a thigh. The internal temperature should read 74°C on a meat thermometer.
- Rest before serving. Take the tray out and leave it on a heatproof surface for 5 minutes. The vegetables will absorb the pan juices and the chicken will finish cooking gently. Scatter over the chopped parsley just before you bring it to the table — the fresh green against the golden skin looks lovely.
Notes
There’s something quietly satisfying about pulling a single tray from the oven and knowing dinner is done — no sides to babysit, no sauce to whisk at the last minute. This easy sheet pan harvest chicken has become my go-to on the nights when time is short but expectations are high, and I hope it earns a permanent spot in your weeknight rotation too. If you give it a try, I’d love to hear how it turned out — leave a comment below and tell me which vegetables you used. And if you’re after more fuss-free inspiration, this Air Fryer Sweet Potato Fries Recipe makes a brilliant partner on lazier evenings.