Cozy Weekend Project: Copycat Starbucks Pumpkin Scone
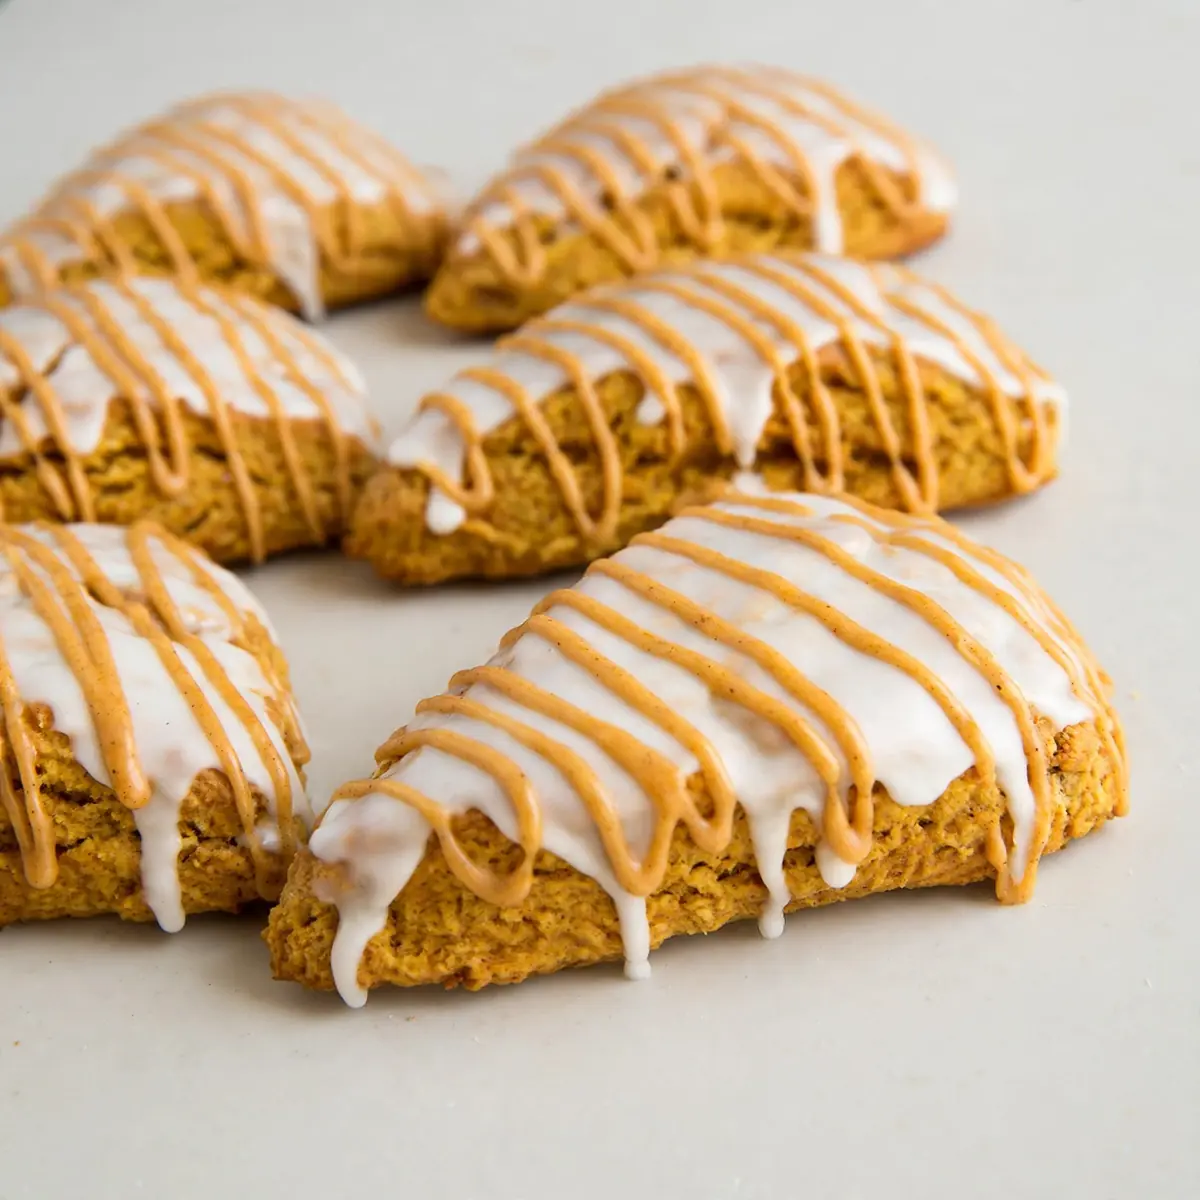
On a drizzly Saturday morning, when the house is quiet and the kettle has just boiled, there’s nothing quite like the scent of butter, sugar, and warming autumn spices drifting from the oven. This Copycat Starbucks Pumpkin Scone recipe captures that exact feeling—a cosy weekend project that fills your kitchen with the aroma of cinnamon and nutmeg, delivering a tender, flaky scone with a glossy vanilla glaze that tastes just like the coffee shop favourite.
Recipe Overview
- Prep Time: 20 minutes
- Cook Time: 16–18 minutes
- Total Time: 1 hour (includes chilling)
- Servings: 8 scones
- Difficulty: Medium
Why You’ll Love This Copycat Starbucks Pumpkin Scone
- Perfectly spiced and tender: The combination of pumpkin purée and warm spices creates a soft, moist crumb that still holds its shape beautifully.
- That iconic glaze, made at home: A simple icing sugar drizzle with a hint of vanilla mimics the signature Starbucks finish, minus the queue.
- Slows you down: This recipe demands a gentle hand and a little patience—exactly what a lazy weekend morning calls for.
- Freezes like a dream: Bake a batch, glaze half, and freeze the rest unglazed for instant cosy mornings.
- Customisable to your pantry: Swap the spices, add chopped pecans, or use a dairy-free butter—it adapts without losing its soul.
Ingredients You’ll Need
- 260g plain flour (all-purpose)
- 50g caster sugar
- 1½ teaspoons baking powder
- ½ teaspoon bicarbonate of soda
- ½ teaspoon salt
- 1½ teaspoons ground cinnamon
- ½ teaspoon ground nutmeg
- ¼ teaspoon ground ginger
- ¼ teaspoon ground cloves
- 90g cold unsalted butter, cut into small cubes
- 120ml buttermilk (or 120ml whole milk + 1 tablespoon lemon juice, rested for 5 minutes)
- 100g pumpkin purée (not pumpkin pie filling)
- 1 teaspoon vanilla extract
- For the glaze: 120g icing sugar, 2–3 tablespoons whole milk, ½ teaspoon vanilla extract
Tip: For the flakiest scones, make sure your butter is straight from the fridge—cold butter creates steam pockets as it melts, giving you that delicate, layered texture.
How to Make Copycat Starbucks Pumpkin Scone
- Whisk the dry ingredients. In a large mixing bowl, combine the flour, caster sugar, baking powder, bicarbonate of soda, salt, cinnamon, nutmeg, ginger, and cloves. Whisk until the spices are evenly distributed—the mixture should smell deeply fragrant, with no clumps of cinnamon visible.
- Cut in the cold butter. Drop the cold butter cubes into the flour mixture. Using a pastry cutter or your fingertips, work the butter into the flour until it resembles coarse breadcrumbs, with some pea-sized butter pieces still visible. You should feel the cool butter bits under your fingers—this is what creates flaky layers.
- Mix the wet ingredients. In a separate small bowl, whisk together the buttermilk, pumpkin purée, and vanilla extract until smooth and evenly orange. The mixture should look like a thick, creamy milkshake and smell faintly of vanilla and pumpkin.
- Combine wet and dry. Pour the wet mixture into the dry ingredients. Stir gently with a wooden spoon or spatula just until a shaggy dough forms—do not overmix. The dough will look rough and slightly sticky, with some dry patches remaining. This is exactly what you want.
- Chill the dough. Turn the dough out onto a lightly floured surface. Gently bring it together with your hands, patting it into a rough rectangle about 2cm thick. Wrap tightly in cling film and refrigerate for at least 30 minutes (or up to 2 hours). The dough should feel firm and cold to the touch before baking.
- Preheat and shape. Preheat your oven to 200°C (180°C fan) and line a baking tray with parchment paper. Unwrap the chilled dough and place it on a floured surface. Using a sharp knife, cut the rectangle into 8 triangles—like you’re slicing a pizza. The cut edges should be clean, not ragged.
- Bake until golden. Arrange the scones on the prepared tray, spacing them about 3cm apart. Bake for 16–18 minutes, until the bottoms are deep golden brown and the tops are lightly bronzed. The kitchen should smell of toasty butter and warm pumpkin spice. A skewer inserted into the centre should come out clean.
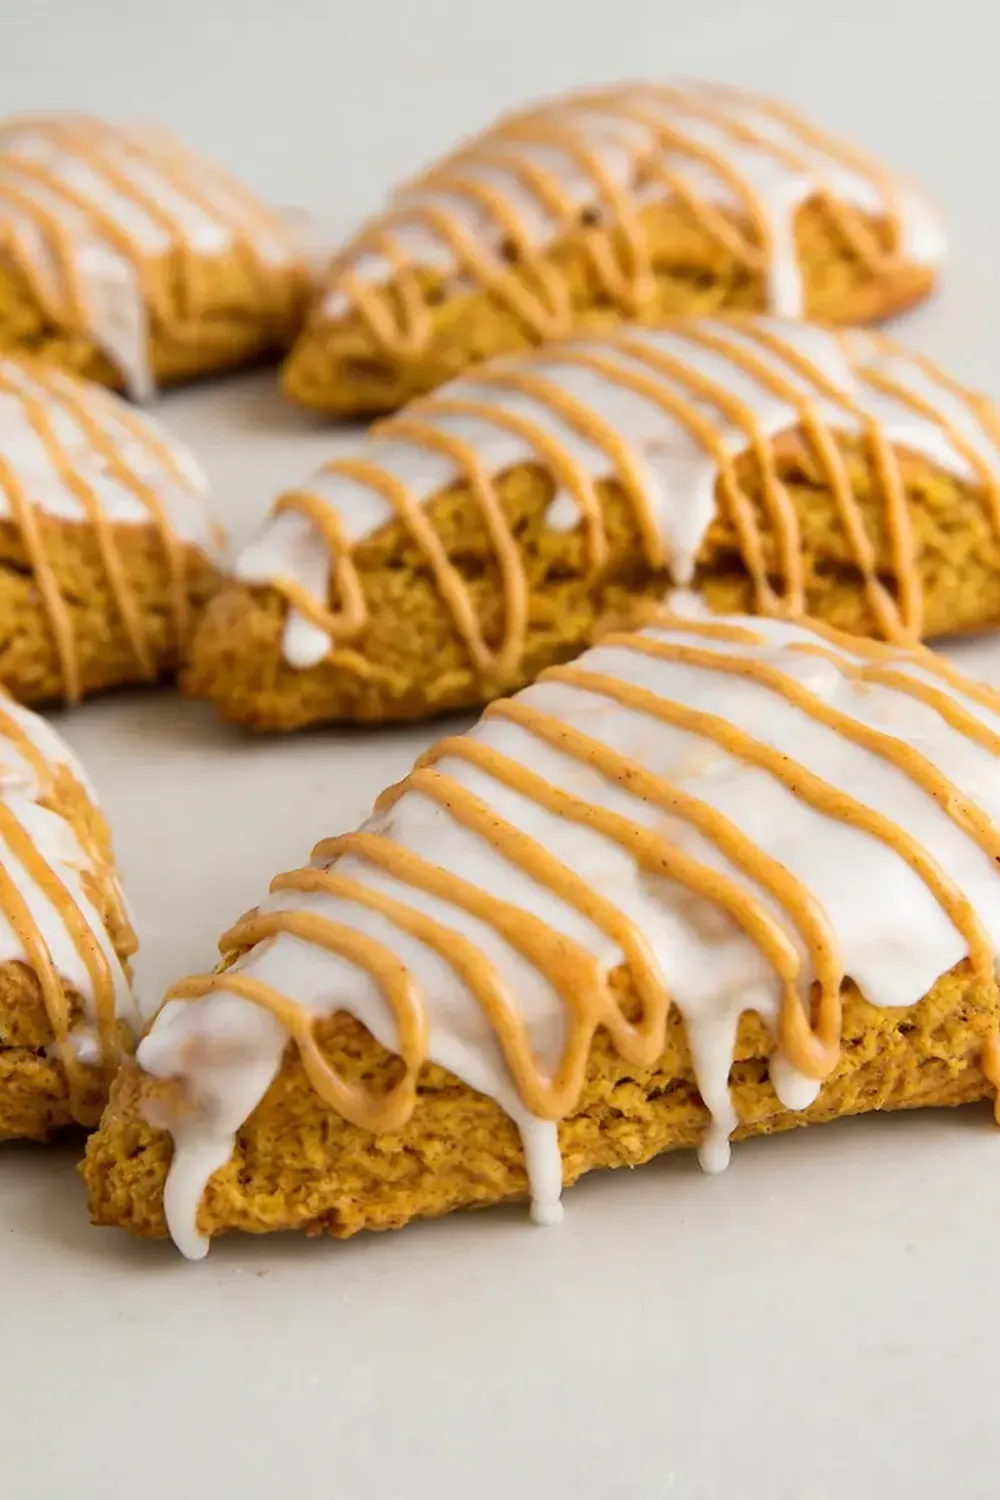
- Glaze and cool. Let the scones cool on the tray for 5 minutes, then transfer to a wire rack. While they cool, whisk together the icing sugar, milk, and vanilla until smooth and pourable—it should be thick enough to coat the back of a spoon. Drizzle generously over the warm scones. The glaze will set into a glossy, crackled finish as it cools.
Tips From My Kitchen
- Keep everything cold: Warm butter melts into the flour before baking, creating dense, flat scones. Pop your mixing bowl and even your flour in the fridge for 10 minutes if your kitchen is warm. I’ve been making this for over 3 years, and chilling the dough is the single most important step for tall, flaky scones.
- Don’t overwork the dough: The more you handle it, the tougher the scones become. Stir just until the flour is incorporated—lumps are fine. Overmixing develops gluten, and gluten wants to be chewy, not tender.
- Use pumpkin purée, not pie filling: Pumpkin pie filling is pre-sweetened and spiced, which throws off the sugar and spice balance. Stick with 100% pumpkin purée for a clean, earthy flavour that lets your own spice blend shine.
- Let them cool before glazing: If you pour the glaze onto piping-hot scones, it will slide right off and soak in, leaving a sticky mess. Wait until they’re just warm—the glaze should sit on top and set into that signature crackled shell.
- Brush with cream for a bakery shine: Before baking, gently brush the tops of the scones with a little extra buttermilk or double cream. This gives them a glossy, golden crust that looks as good as it tastes.
Equipment You’ll Need
- Large mixing bowl
- Small mixing bowl
- Pastry cutter or fork
- Wooden spoon or silicone spatula
- Sharp knife or bench scraper
- Baking tray and parchment paper
- Wire cooling rack
- Whisk for glaze
Common Mistakes to Avoid
- Overcrowding the pan: Scones need space to expand and let steam escape. If they’re too close together, they’ll steam rather than bake, resulting in pale, doughy sides. Leave at least 3cm between each scone for proper air circulation and even browning.
- Wrong temperature: Baking at too low a temperature dries out the scones before they’ve had a chance to rise. At 200°C (180°C fan), the butter melts quickly, creating steam that lifts the dough. Use an oven thermometer if yours runs cool—accuracy matters here.
- Skipping the rest time: Resting the shaped scones in the fridge for 10 minutes before baking relaxes the gluten and re-chills the butter. This prevents spreading and gives you taller, more tender scones with a better crumb structure.
Delicious Variations to Try
- Spicy Version: Add ½ teaspoon of cayenne pepper and a pinch of black pepper to the dry ingredients. The heat plays beautifully against the sweet glaze—unexpected, but I stumbled upon this combination by accident, and it’s been a hit ever since.
- Vegan Option: Substitute the butter with cold solid coconut oil or a high-quality vegan block butter. Use oat milk mixed with 1 teaspoon of apple cider vinegar in place of buttermilk. The texture will be slightly less flaky but still deliciously tender.
- Different Add-Ins: Fold in 60g of chopped pecans or walnuts after combining the wet and dry ingredients. For a sweeter twist, add 50g of white chocolate chips—they melt into little pockets of creaminess against the spiced pumpkin base.
What to Serve With Copycat Starbucks Pumpkin Scone
- A steaming mug of chai tea or spiced apple cider
- Clotted cream or softened salted butter for spreading
- A simple Fluffy Egg White Omelette for a balanced brunch plate
- Fresh fruit salad with pomegranate seeds and mint
- A side of Air Fryer Sweet Potato Fries for a sweet-savoury contrast
Still hungry for ideas? You might also love Starbucks Pumpkin Bread Copycat Recipe, Starbucks Egg Bites Copycat Air Fryer from our sister kitchens.
Frequently Asked Questions
Copycat Starbucks Pumpkin Scone
Ingredients
Method
- Whisk the dry ingredients. In a large mixing bowl, combine the flour, caster sugar, baking powder, bicarbonate of soda, salt, cinnamon, nutmeg, ginger, and cloves. Whisk until the spices are evenly distributed—the mixture should smell deeply fragrant, with no clumps of cinnamon visible.
- Cut in the cold butter. Drop the cold butter cubes into the flour mixture. Using a pastry cutter or your fingertips, work the butter into the flour until it resembles coarse breadcrumbs, with some pea-sized butter pieces still visible. You should feel the cool butter bits under your fingers—this is what creates flaky layers.
- Mix the wet ingredients. In a separate small bowl, whisk together the buttermilk, pumpkin purée, and vanilla extract until smooth and evenly orange. The mixture should look like a thick, creamy milkshake and smell faintly of vanilla and pumpkin.
- Combine wet and dry. Pour the wet mixture into the dry ingredients. Stir gently with a wooden spoon or spatula just until a shaggy dough forms—do not overmix. The dough will look rough and slightly sticky, with some dry patches remaining. This is exactly what you want.
- Chill the dough. Turn the dough out onto a lightly floured surface. Gently bring it together with your hands, patting it into a rough rectangle about 2cm thick. Wrap tightly in cling film and refrigerate for at least 30 minutes (or up to 2 hours). The dough should feel firm and cold to the touch before baking.
- Preheat and shape. Preheat your oven to 200°C (180°C fan) and line a baking tray with parchment paper. Unwrap the chilled dough and place it on a floured surface. Using a sharp knife, cut the rectangle into 8 triangles—like you’re slicing a pizza. The cut edges should be clean, not ragged.
- Bake until golden. Arrange the scones on the prepared tray, spacing them about 3cm apart. Bake for 16–18 minutes, until the bottoms are deep golden brown and the tops are lightly bronzed. The kitchen should smell of toasty butter and warm pumpkin spice. A skewer inserted into the centre should come out clean.
- Glaze and cool. Let the scones cool on the tray for 5 minutes, then transfer to a wire rack. While they cool, whisk together the icing sugar, milk, and vanilla until smooth and pourable—it should be thick enough to coat the back of a spoon. Drizzle generously over the warm scones. The glaze will set into a glossy, crackled finish as it cools.
Notes
I’d love to hear how your kitchen smelled while these were baking—drop a comment below and let me know if you added any of your own twists to this Copycat Starbucks Pumpkin Scone recipe. For another comforting weekend bake, you might also enjoy our Salmon Cakes With Canned Salmon Recipe or a simple Simple Avocado Toast Recipe for a lighter start to the day.