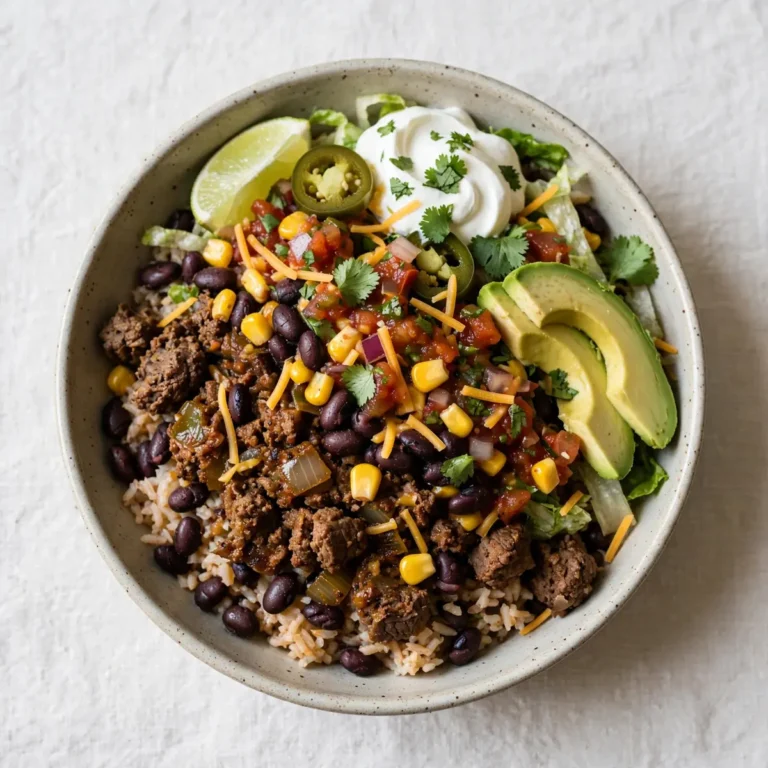
Honey Mustard Baked Chicken
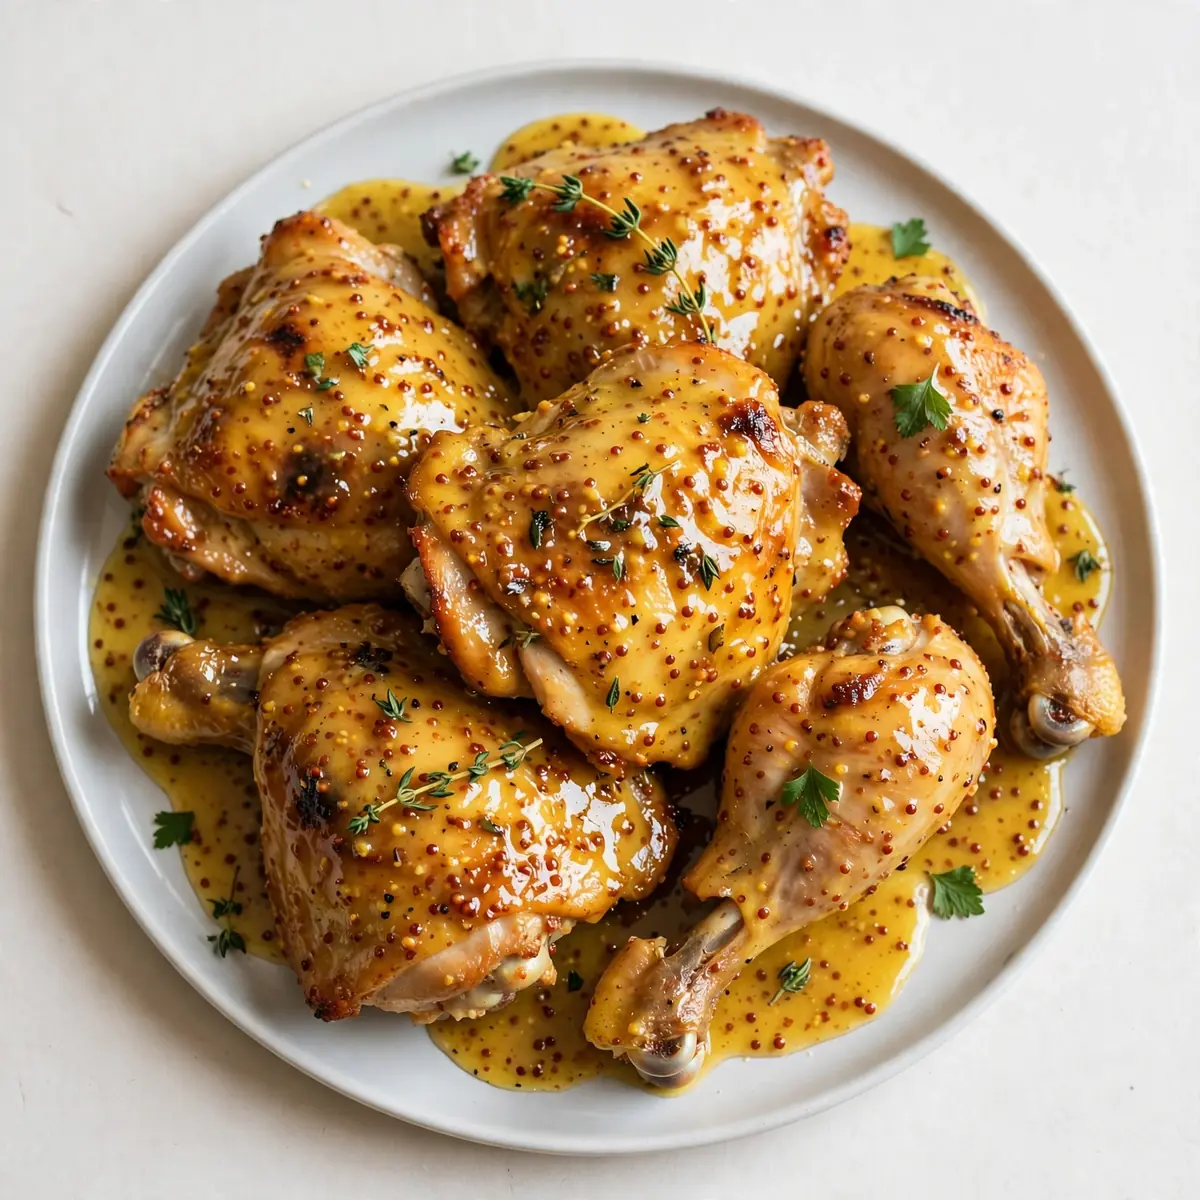
I used to struggle with presenting a baked chicken dish that looked anything more than a weeknight staple, until I discovered the technique of layering the glaze and finishing it under a high heat. This Honey Mustard Baked Chicken is my go-to recipe when I need something quick but impressive, and the key lies in those final moments in the oven that create a glossy, caramelised sheen worthy of any dinner party table.
Recipe Overview
- Prep Time: 15 minutes
- Cook Time: 40 minutes
- Total Time: 55 minutes
- Servings: 4
- Difficulty: Easy
Why You’ll Love This Honey Mustard Baked Chicken
- Restaurant-quality presentation with a beautifully lacquered, golden-brown finish that glistens under the dining room lights.
- A balanced, sophisticated sauce that marries the floral sweetness of honey with the gentle heat of whole-grain mustard, creating a complex flavour profile without overwhelming the chicken.
- Minimal hands-on preparation allows you to focus on side dishes, drinks, and your guests rather than slaving over a hot stove.
- Customisable elegance—you can adjust the mustard-to-honey ratio to suit your palate, and the recipe adapts beautifully to bone-in or boneless cuts.
- One-dish cooking means less washing up, but the final result looks as though you have spent hours in the kitchen.
Ingredients You’ll Need
- 4 boneless, skinless chicken breasts (approximately 180g each)
- 3 tablespoons runny honey
- 2 tablespoons whole-grain mustard
- 1 tablespoon Dijon mustard
- 2 tablespoons unsalted butter, melted
- 1 tablespoon light olive oil
- 2 cloves garlic, finely minced
- 1 teaspoon smoked paprika
- ½ teaspoon sea salt
- ¼ teaspoon freshly ground black pepper
- 1 tablespoon fresh thyme leaves, plus extra for garnish
- 120ml chicken stock (use a good-quality, low-sodium variety)
- 1 tablespoon cornflour mixed with 2 tablespoons cold water (slurry)
Tip: For the most impressive presentation, use chicken breasts that are of even thickness. If they are particularly thick at one end, place them between two sheets of baking paper and gently flatten them with a rolling pin to ensure uniform cooking.
How to Make Honey Mustard Baked Chicken
- Preheat your oven to 200°C (180°C fan) or Gas Mark 6. While the oven heats, pat the chicken breasts dry with kitchen paper—this is crucial for a good sear. Season both sides with the salt, black pepper, and smoked paprika, rubbing the spices gently into the flesh. The chicken should look evenly dusted with a warm, brick-red colour.
- Heat the light olive oil in a large, ovenproof frying pan over a medium-high heat until it shimmers and you see the first wisp of smoke. Carefully place the chicken breasts into the pan, laying them away from you to avoid splashing. Listen for an immediate, satisfying sizzle—that is the sound of a good sear beginning. Cook for 3-4 minutes without moving them, until the underside is a deep, golden brown and releases easily from the pan. Flip and repeat on the second side for another 2 minutes. The surface should feel firm to the touch, and the kitchen will smell rich and savoury.
- Transfer the seared chicken to a plate and set aside. Reduce the heat to medium-low and add the minced garlic to the pan. Stir constantly for about 30 seconds, until the garlic becomes fragrant and softens—you should smell its aroma mixing with the pan juices, but be careful not to let it burn.
- In a small bowl, whisk together the runny honey, whole-grain mustard, and Dijon mustard until the mixture is smooth and glossy, with the seeds from the whole-grain mustard visibly suspended. Pour this mixture into the pan with the garlic, followed by the melted butter and the chicken stock. Stir everything together, scraping the bottom of the pan with a wooden spoon to lift any browned bits. The sauce will look thin and pale at this stage, but do not worry—it will thicken beautifully in the oven.
- Bring the sauce to a gentle simmer, then return the chicken breasts to the pan, nestling them into the liquid. Sprinkle the fresh thyme leaves over the top. Transfer the pan to the preheated oven and bake, uncovered, for 20 minutes. After 20 minutes, remove the pan from the oven and spoon the sauce over the tops of the chicken breasts. Return to the oven for a further 10 minutes.
- After the total 30 minutes of baking, check the chicken is cooked through. A digital thermometer inserted into the thickest part should read 74°C. If you do not have a thermometer, pierce the thickest part with a knife—the juices should run clear, and the flesh should be opaque all the way through, with no pinkness. The sauce should be bubbling and slightly reduced around the chicken.
- For that restaurant-quality finish, remove the chicken from the pan and set it on a warm plate, tenting it loosely with foil. Place the pan on the hob over a medium heat. If the sauce looks thin, stir in the cornflour slurry and simmer for 1-2 minutes, stirring constantly, until the sauce thickens to a glossy, coat-the-back-of-a-spoon consistency. The colour will deepen to a warm amber, and the bubbles will become slower and larger. Taste and adjust the seasoning if necessary.
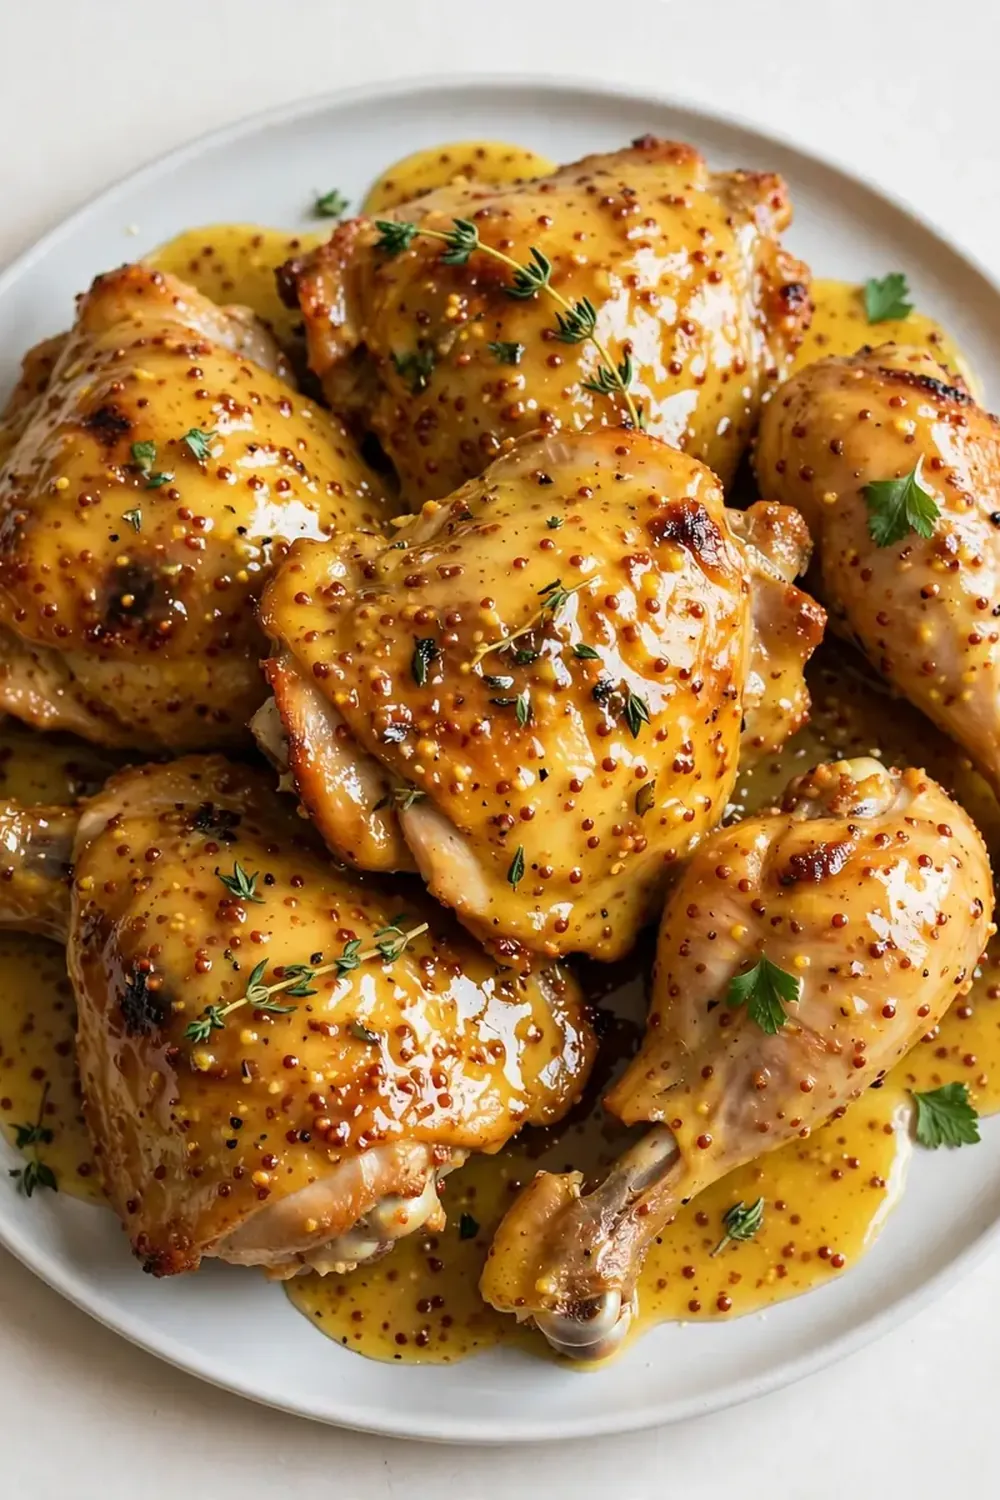
- To serve, spoon a generous amount of the sauce onto each warm plate, then place a chicken breast on top. Garnish with a few fresh thyme leaves and a pinch of flaky sea salt. The contrast between the shiny, lacquered chicken and the verdant green thyme creates a visually stunning plate that looks as though it came from a professional kitchen.
Tips From My Kitchen
- Pat the chicken bone-dry before seasoning. Moisture is the enemy of a good sear. If the chicken is wet, it will steam rather than brown, and you will lose that deep, caramelised flavour that builds the foundation of the dish. Take a few extra seconds with the kitchen paper—it makes a noticeable difference to the final colour and texture.
- Do not overcrowd the pan during searing. If you are cooking more than four breasts, work in batches. When the pan is too full, the temperature drops, and the chicken releases its juices rather than browning. You want that audible sizzle; if it is silent, the pan is not hot enough or is too crowded. A good sear creates the fond—those browned bits in the pan—which enriches the sauce with a savoury depth that cannot be replicated.
- Use a combination of mustards for complexity. Whole-grain mustard provides texture and a gentle pop of heat, while Dijon mustard brings a smooth, sharp tang that balances the honey’s sweetness. Using only one type of mustard will result in a flatter flavour. The interplay between the two is what makes the sauce taste carefully composed rather than one-note.
- Rest the chicken before slicing. After the chicken comes out of the oven, allow it to rest under foil for at least 5 minutes before serving. This allows the juices to redistribute throughout the meat. If you cut into it immediately, those juices will run out onto the cutting board, leaving you with dry, disappointing chicken. A rested breast remains moist and tender, and the sauce will cling to it more beautifully.
- For a flawless, glossy finish, use the grill (broiler) for the last 2 minutes. Once the chicken is fully cooked, switch your oven to the grill setting and place the pan on a high rack for 1-2 minutes. Watch it carefully—the honey can catch quickly. The sugar in the honey will caramelise, creating a sticky, lacquered glaze that looks spectacular. This small step transforms the dish from home-cooked to something you would be proud to serve in a fine dining setting.
- Make the sauce in advance if you are entertaining. You can prepare the honey mustard mixture (honey, both mustards, melted butter) up to two days ahead and store it in the fridge. When you are ready to cook, simply sear the chicken and pour the pre-made sauce over it. This reduces your prep time on the day, allowing you to spend more time with your guests and less time chopping and measuring.
Equipment You’ll Need
- 9×13 inch baking dish (or a large, ovenproof frying pan)
- Aluminium foil
- Mixing bowls
- Sharp knife
- Digital meat thermometer (highly recommended for consistent results)
- Wooden spoon or silicone spatula
- Kitchen paper
Delicious Variations to Try
- Spicy Version: Add ½ teaspoon of cayenne pepper or a finely chopped red chilli to the honey mustard mixture. For an extra layer of heat, stir in 1 teaspoon of harissa paste along with the stock. The sweetness of the honey will temper the spice, leaving a warm, lingering heat that keeps guests coming back for more.
- Vegetarian/Vegan Option: Replace the chicken with large, portobello mushroom caps or thick slices of cauliflower steak. For a vegan version, substitute the butter with a good-quality vegan margarine and use vegetable stock instead of chicken stock. The honey can be swapped for maple syrup or agave nectar, which will create a similarly glossy finish. Roast the vegetables for 20-25 minutes, until they are tender and the sauce has reduced to a sticky glaze.
- Different Protein: This sauce works exceptionally well with chicken thighs (bone-in or boneless), which have a higher fat content and remain incredibly succulent. Adjust the cooking time: boneless thighs need about 25 minutes, while bone-in thighs require around 35-40 minutes. You can also use this glaze on turkey steaks, which pair beautifully with the same accompaniments—try serving it with our Turkey Sandwiches With Mozzarella for a completely different take on the protein.
What to Serve With Honey Mustard Baked Chicken
Because the chicken is rich and sweet, I like to pair it with sides that offer acidity, freshness, or a gentle bitterness to cut through the glaze. A crisp green salad with a sharp vinaigrette works wonderfully, as does a pile of steamed green beans tossed with lemon zest. For something starchier, buttery mashed potatoes or a nutty wild rice pilaf are excellent choices. If you are looking for a lighter, seafood-based starter to precede this dish, our Zesty Shrimp Tacos Recipe would make a vibrant and refreshing first course. For a complete, comforting meal, a side of Creamy Chicken Patties Recipe is another option, though you may want to keep the star of the show as the baked chicken itself.
- Steamed green beans with toasted almonds and lemon
- Buttered new potatoes with fresh parsley
- Warm crusty bread for mopping up the sauce
- A simple rocket and parmesan salad with a lemon-tahini dressing
Still hungry for ideas? You might also love Baked Honey Dijon Chicken Recipe, Crunchy Crispy Baked Chicken Tenders Recipe from our sister kitchens.
Frequently Asked Questions
Honey Mustard Baked Chicken
Ingredients
Method
- Preheat your oven to 200°C (180°C fan) or Gas Mark 6. While the oven heats, pat the chicken breasts dry with kitchen paper—this is crucial for a good sear. Season both sides with the salt, black pepper, and smoked paprika, rubbing the spices gently into the flesh. The chicken should look evenly dusted with a warm, brick-red colour.
- Heat the light olive oil in a large, ovenproof frying pan over a medium-high heat until it shimmers and you see the first wisp of smoke. Carefully place the chicken breasts into the pan, laying them away from you to avoid splashing. Listen for an immediate, satisfying sizzle—that is the sound of a good sear beginning. Cook for 3-4 minutes without moving them, until the underside is a deep, golden brown and releases easily from the pan. Flip and repeat on the second side for another 2 minutes. The surface should feel firm to the touch, and the kitchen will smell rich and savoury.
- Transfer the seared chicken to a plate and set aside. Reduce the heat to medium-low and add the minced garlic to the pan. Stir constantly for about 30 seconds, until the garlic becomes fragrant and softens—you should smell its aroma mixing with the pan juices, but be careful not to let it burn.
- In a small bowl, whisk together the runny honey, whole-grain mustard, and Dijon mustard until the mixture is smooth and glossy, with the seeds from the whole-grain mustard visibly suspended. Pour this mixture into the pan with the garlic, followed by the melted butter and the chicken stock. Stir everything together, scraping the bottom of the pan with a wooden spoon to lift any browned bits. The sauce will look thin and pale at this stage, but do not worry—it will thicken beautifully in the oven.
- Bring the sauce to a gentle simmer, then return the chicken breasts to the pan, nestling them into the liquid. Sprinkle the fresh thyme leaves over the top. Transfer the pan to the preheated oven and bake, uncovered, for 20 minutes. After 20 minutes, remove the pan from the oven and spoon the sauce over the tops of the chicken breasts. Return to the oven for a further 10 minutes.
- After the total 30 minutes of baking, check the chicken is cooked through. A digital thermometer inserted into the thickest part should read 74°C. If you do not have a thermometer, pierce the thickest part with a knife—the juices should run clear, and the flesh should be opaque all the way through, with no pinkness. The sauce should be bubbling and slightly reduced around the chicken.
- For that restaurant-quality finish, remove the chicken from the pan and set it on a warm plate, tenting it loosely with foil. Place the pan on the hob over a medium heat. If the sauce looks thin, stir in the cornflour slurry and simmer for 1-2 minutes, stirring constantly, until the sauce thickens to a glossy, coat-the-back-of-a-spoon consistency. The colour will deepen to a warm amber, and the bubbles will become slower and larger. Taste and adjust the seasoning if necessary.
- To serve, spoon a generous amount of the sauce onto each warm plate, then place a chicken breast on top. Garnish with a few fresh thyme leaves and a pinch of flaky sea salt. The contrast between the shiny, lacquered chicken and the verdant green thyme creates a visually stunning plate that looks as though it came from a professional kitchen.
Notes
I hope this Honey Mustard Baked Chicken becomes a staple in your entertaining repertoire, just as it has in mine. There is something immensely satisfying about lifting that dish from the oven and seeing the golden, sticky glaze catching the light—it makes the effort feel worthwhile. If you try it, I would love to hear how it went in the comments below. Did you add your own twist? What did you serve alongside it? Your stories and questions are always welcome here.