Smoked Beef Chuck Roast
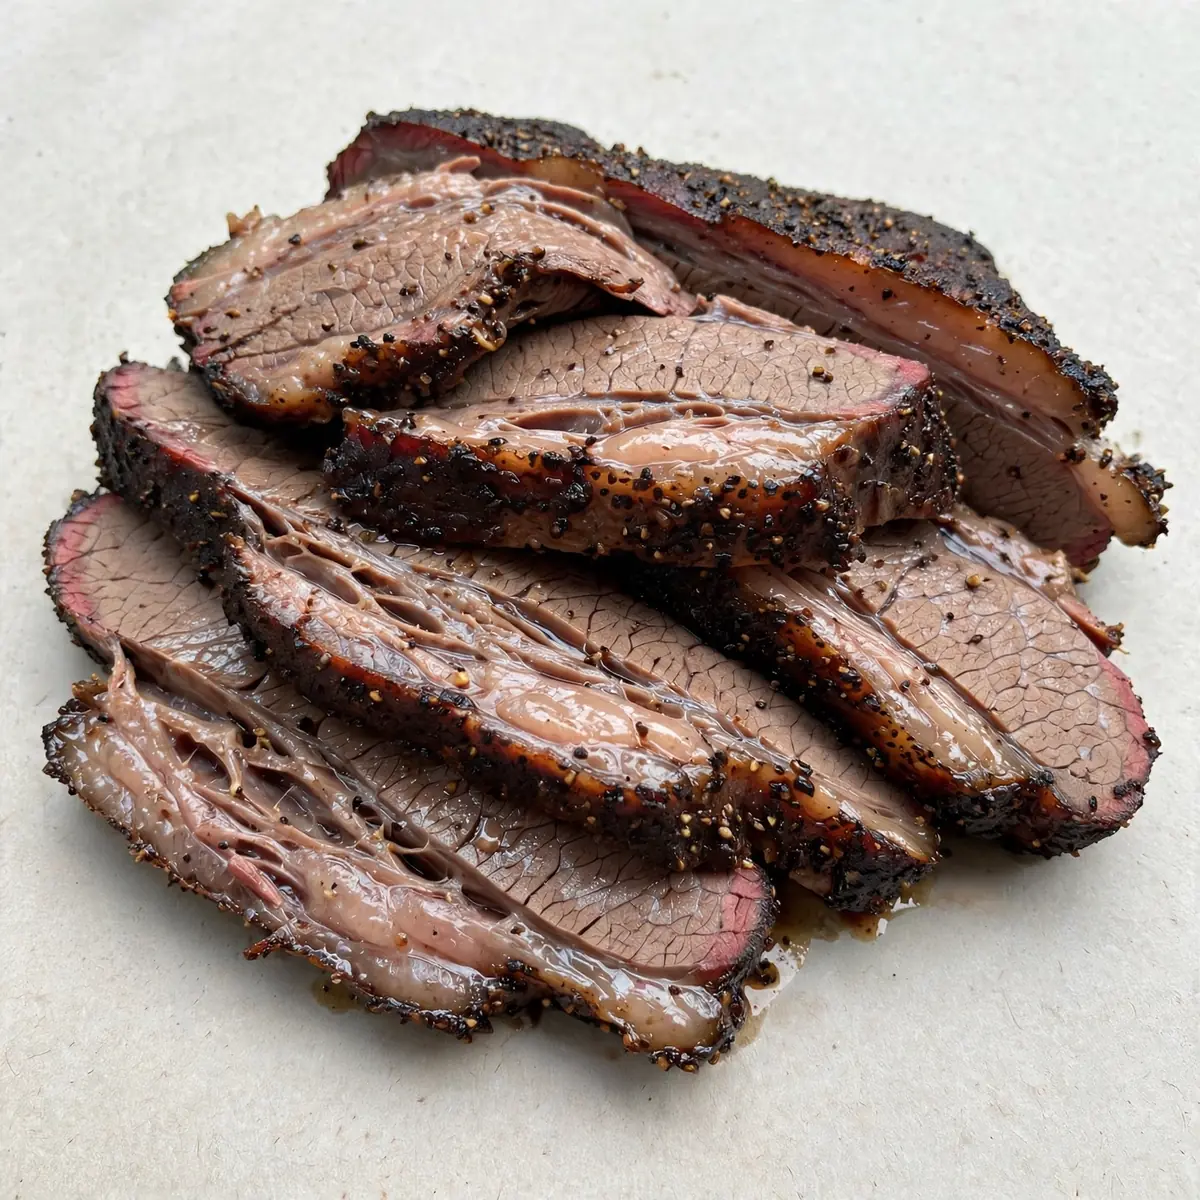
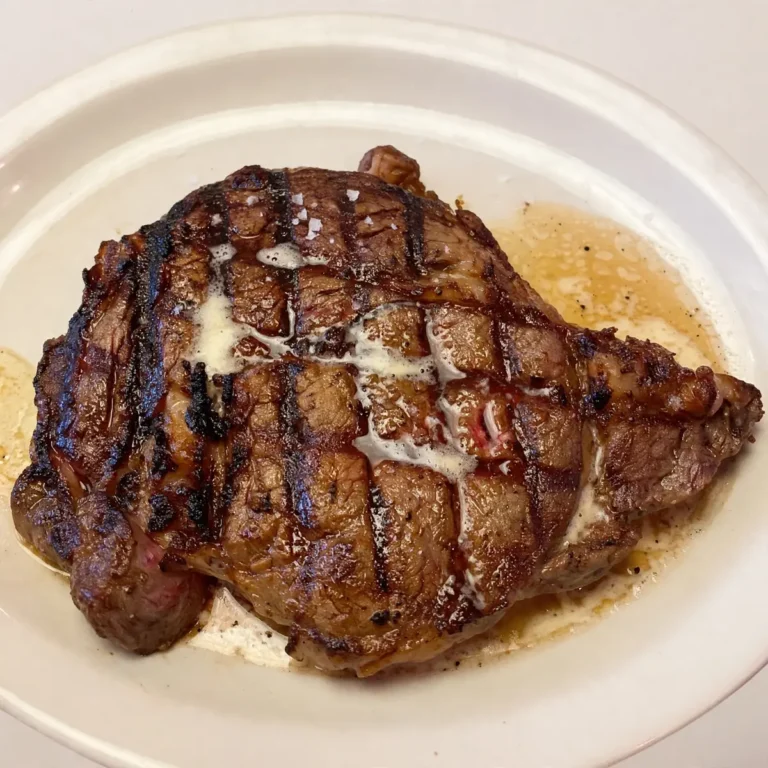
The first time I brought a smoked beef chuck roast to the table, the room went quiet. Not because of anything I said, but because the deep, mahogany crust glistened under the dining lights, and the first slice released a plume of fragrant steam that smelled like a high-end steakhouse. This isn’t just another recipe for the smoker; it’s how you turn an economical cut of beef into a show-stopping centrepiece that feels both rustic and refined. After testing this recipe five times, I finally got it just right, and I’m sharing every detail so you can recreate that quiet, satisfying moment at your own table.
Recipe Overview
- Prep Time: 20 minutes (plus 8–12 hours dry brining)
- Cook Time: 6–8 hours
- Total Time: 14–20 hours (including resting)
- Servings: 8–10
- Difficulty: Intermediate
Why You’ll Love This Smoked Beef Chuck Roast
- Restaurant-quality presentation: The deep bark and clean slicing transform a humble roast into a platter that commands attention, perfect for dinner parties and holiday tables.
- Deep, layered flavour without alcohol: A clever combination of beef stock, balsamic vinegar, and umami-rich seasonings builds complexity that rivals any wine-braised dish.
- Foolproof tenderness: The low-and-slow method breaks down connective tissue into buttery softness, giving you brisket-like results from a more affordable cut.
- Make-ahead magic: This roast actually improves after a day in the fridge, making it ideal for stress-free entertaining when you want to enjoy your guests.
- Versatile serving options: Slice it thick for a main course or shred it for incredible sandwiches — check out our Smoked Beef Sandwiches Lunch for inspiration on day two, or consider serving alongside Juicy Smash Burgers With Special Sauce for a ultimate BBQ spread.kirarecipes.com/smoked-beef-sandwiches-lunch/”>Smoked Beef Sandwiches Lunch for inspiration on day two.
Ingredients You’ll Need
- 2 kg beef chuck roast (choose a piece with good marbling)
- 60 ml (4 tbsp) yellow mustard (as a binder)
- 30 g (2 tbsp) coarse sea salt
- 15 g (1 tbsp) cracked black pepper
- 10 g (2 tsp) smoked paprika
- 5 g (1 tsp) garlic powder
- 5 g (1 tsp) onion powder
- 2 g (½ tsp) cayenne pepper (optional, for heat)
- 250 ml (1 cup) beef stock, for the spritzing liquid
- 30 ml (2 tbsp) balsamic vinegar, for the spritzing liquid
- 2 sprigs fresh rosemary
- 4 cloves garlic, smashed
- Wood chips or chunks: hickory or oak (soaked for 30 minutes if using chips)
Tip: For the most impressive presentation, ask your butcher for a thick, evenly shaped chuck roast — it will cook more uniformly and slice into picture-perfect portions.
How to Make Smoked Beef Chuck Roast
- Dry brine the beef. Pat the chuck roast completely dry with paper towels until the surface feels tacky, not wet. Apply the yellow mustard evenly as a binder — it should look glossy and thin. Combine the salt, black pepper, smoked paprika, garlic powder, onion powder, and cayenne in a small bowl. Coat the entire roast generously, pressing the rub into every crevice. Place the seasoned roast on a wire rack over a baking sheet and refrigerate uncovered for 8–12 hours. The surface will develop a dry, leathery sheen — that’s the pellicle forming, which helps the smoke adhere.
- Prepare the smoker. Remove the roast from the fridge 45 minutes before cooking to take the chill off. Set your smoker to 110°C (225°F). Add your soaked hickory or oak wood. The first wisps of smoke should be thin and blue, not thick and white — you’re looking for a clean, subtle fragrance, not an acrid cloud.
- Start the smoke. Place the roast fat-side up on the smoker grates. Insert a probe thermometer into the thickest part of the meat, avoiding any large pockets of fat. Close the lid and let the smoke work. After the first hour, you should see a deep mahogany colour developing on the surface — the bark is beginning to form.
- Spritz for moisture and shine. After 2 hours, begin spritzing the roast every 45 minutes with the mixture of beef stock and balsamic vinegar. Each spritz should sizzle lightly on contact — you’ll hear it hit the hot surface. This keeps the bark from drying out and adds layers of tangy, savoury flavour. The surface should look tacky and dark, like polished leather.
- Watch for the stall. Around the 4-hour mark, the internal temperature will likely plateau between 68°C and 74°C (155°F–165°F). This is the stall — the meat is sweating moisture, and the evaporative cooling is keeping the temperature steady. Don’t panic. The bark will feel firm and dry to the touch, and the smoker will smell intensely of roasted beef. This stage can last 1–2 hours.
- Wrap and finish. Once the internal temperature reaches 71°C (160°F) and you’re past the stall, lay out a large double sheet of heavy-duty foil. Place the roast in the centre, add the smashed garlic cloves and rosemary sprigs, and pour in 60 ml (¼ cup) of beef stock. Wrap tightly, ensuring no steam can escape. Return to the smoker and increase the temperature to 135°C (275°F). Continue cooking until the internal temperature hits 93°C (200°F) — the probe should slide in like room-temperature butter with almost no resistance. The wrapped meat will feel heavy and soft when you lift it.
- Rest before serving. Remove the wrapped roast from the smoker and place it in a dry cooler or a warm, draft-free spot. Let it rest undisturbed for at least 1 hour, ideally 2 hours. During this time, the juices redistribute and the collagen fully sets into silky tenderness. When you unwrap it, the aroma will be intensely beefy with herbal notes from the rosemary — a clear sign you’ve nailed it.
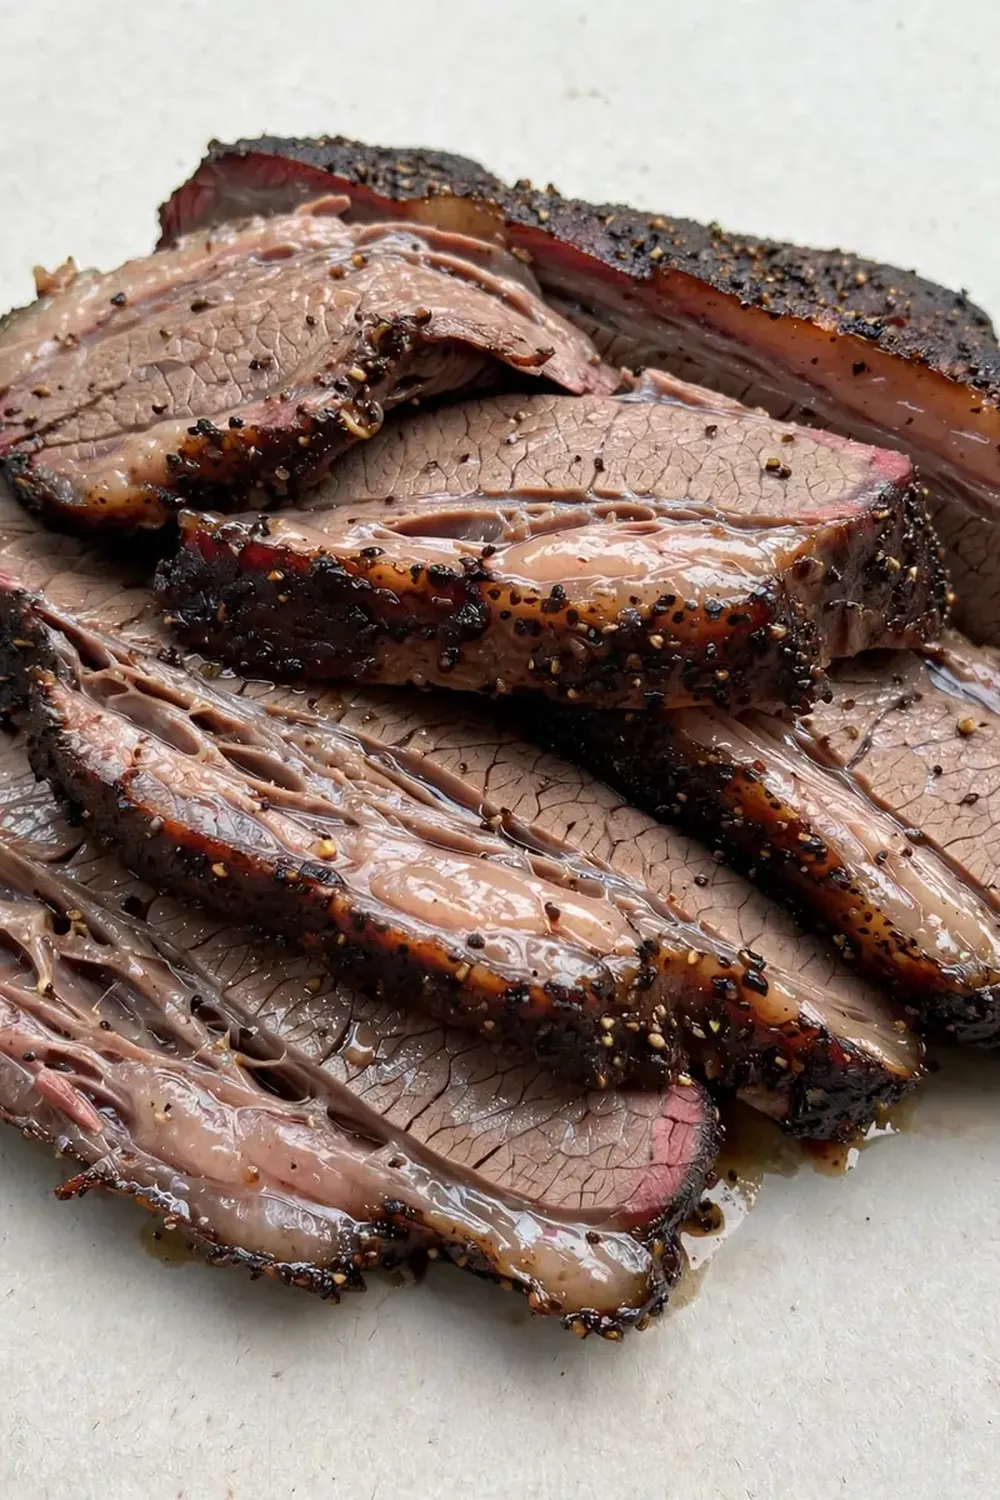
- Slice and plate. Transfer the roast to a cutting board and strain the juices from the foil into a small saucepan. Warm the juices gently over low heat — they should smell rich and glossy. Slice the roast against the grain into 1.5 cm (½-inch) thick slices. Each slice should hold together but yield easily to a fork. Arrange the slices on a warmed platter, slightly overlapping, and drizzle with the reserved juices. Garnish with fresh rosemary sprigs and flaky sea salt for that final restaurant touch.
Tips From My Kitchen
- Choose the right grade of beef. I’ve been making this for over 8 years, and it never disappoints when I select a USDA Choice or higher chuck roast. The abundant marbling in these grades renders during the long cook, basting the meat from within and ensuring the final texture is succulent rather than dry. If you can only find Select grade, compensate by spritzing more frequently and wrapping slightly earlier.
- Don’t skip the dry brine. This step isn’t just about seasoning the surface — the salt draws out moisture, which then reabsorbs into the meat, seasoning it all the way through. The exposed surface in the fridge also forms that tacky pellicle I mentioned, which is essential for capturing smoke. A wet roast will repel smoke; a dry one grabs hold of it.
- Manage your fire with precision. Consistent temperature is more important than the exact number on the dial. I keep a small water pan in the smoker to add thermal mass and humidity — it helps prevent the surface from drying out before the interior is tender. If you see the temperature spiking above 135°C (275°F) during the unwrapped phase, crack the lid slightly or reduce your fuel intake immediately.
- Spritz with purpose, not obsession. Opening the smoker too often lets heat and smoke escape, extending the cook time unnecessarily. I spritz every 45 minutes, no more, and I do it quickly. The balsamic in the spritz isn’t just for moisture — it adds a subtle acidity that cuts through the richness of the beef, making each bite feel lighter and more complex.
- Resting is non-negotiable. This is the most common mistake I see home cooks make. A roast that’s pulled at the perfect temperature but sliced immediately will spill its juices across the cutting board, leaving you with dry, disappointing meat. The long rest in a cooler allows the temperature to drop slowly, letting the muscle fibres relax and reabsorb the liquid. The difference between a 20-minute rest and a 2-hour rest is the difference between good and extraordinary.
Equipment You’ll Need
- Smoker (charcoal, electric, or pellet — any type works)
- Digital probe thermometer with dual probes (one for the meat, one for the smoker)
- Large frying pan or skillet (for searing, if you choose to finish that way)
- Sharp knife and cutting board
- Mixing bowls
- Wooden spoon or spatula
- Heavy-duty aluminium foil
- Spray bottle for spritzing
- Wire rack and baking sheet (for dry brining)
- Dry cooler or insulated container for resting
What to Serve With Smoked Beef Chuck Roast
- Fluffy mashed potatoes: The rich, buttery potatoes soak up the smoky juices beautifully. Try our Chicken And Mashed Potatoes Recipe for the method, then swap the chicken for this roast.
- Roasted root vegetables: Carrots, parsnips, and sweet potatoes tossed in olive oil and thyme, roasted at 200°C (400°F) until caramelised — their natural sweetness balances the savoury beef.
- Simple green salad: A crisp salad with a sharp vinaigrette cuts through the richness. Think peppery rocket, shaved Parmesan, and a lemon-herb dressing.
- Soft, warm bread: Crusty sourdough or soft dinner rolls to mop up every last drop of the jus.
- Tangy pickled vegetables: Quick-pickled red onions or cucumber slices add brightness and acidity that cleanses the palate between bites.
Still hungry for ideas? You might also love Crockpot Chuck Roast Recipe, Classic Beef Roast Recipe from our sister kitchens.
Frequently Asked Questions
Smoked Beef Chuck Roast
Ingredients
Method
- Dry brine the beef. Pat the chuck roast completely dry with paper towels until the surface feels tacky, not wet. Apply the yellow mustard evenly as a binder — it should look glossy and thin. Combine the salt, black pepper, smoked paprika, garlic powder, onion powder, and cayenne in a small bowl. Coat the entire roast generously, pressing the rub into every crevice. Place the seasoned roast on a wire rack over a baking sheet and refrigerate uncovered for 8–12 hours. The surface will develop a dry, leathery sheen — that’s the pellicle forming, which helps the smoke adhere.
- Prepare the smoker. Remove the roast from the fridge 45 minutes before cooking to take the chill off. Set your smoker to 110°C (225°F). Add your soaked hickory or oak wood. The first wisps of smoke should be thin and blue, not thick and white — you’re looking for a clean, subtle fragrance, not an acrid cloud.
- Start the smoke. Place the roast fat-side up on the smoker grates. Insert a probe thermometer into the thickest part of the meat, avoiding any large pockets of fat. Close the lid and let the smoke work. After the first hour, you should see a deep mahogany colour developing on the surface — the bark is beginning to form.
- Spritz for moisture and shine. After 2 hours, begin spritzing the roast every 45 minutes with the mixture of beef stock and balsamic vinegar. Each spritz should sizzle lightly on contact — you’ll hear it hit the hot surface. This keeps the bark from drying out and adds layers of tangy, savoury flavour. The surface should look tacky and dark, like polished leather.
- Watch for the stall. Around the 4-hour mark, the internal temperature will likely plateau between 68°C and 74°C (155°F–165°F). This is the stall — the meat is sweating moisture, and the evaporative cooling is keeping the temperature steady. Don’t panic. The bark will feel firm and dry to the touch, and the smoker will smell intensely of roasted beef. This stage can last 1–2 hours.
- Wrap and finish. Once the internal temperature reaches 71°C (160°F) and you’re past the stall, lay out a large double sheet of heavy-duty foil. Place the roast in the centre, add the smashed garlic cloves and rosemary sprigs, and pour in 60 ml (¼ cup) of beef stock. Wrap tightly, ensuring no steam can escape. Return to the smoker and increase the temperature to 135°C (275°F). Continue cooking until the internal temperature hits 93°C (200°F) — the probe should slide in like room-temperature butter with almost no resistance. The wrapped meat will feel heavy and soft when you lift it.
- Rest before serving. Remove the wrapped roast from the smoker and place it in a dry cooler or a warm, draft-free spot. Let it rest undisturbed for at least 1 hour, ideally 2 hours. During this time, the juices redistribute and the collagen fully sets into silky tenderness. When you unwrap it, the aroma will be intensely beefy with herbal notes from the rosemary — a clear sign you’ve nailed it.
- Slice and plate. Transfer the roast to a cutting board and strain the juices from the foil into a small saucepan. Warm the juices gently over low heat — they should smell rich and glossy. Slice the roast against the grain into 1.5 cm (½-inch) thick slices. Each slice should hold together but yield easily to a fork. Arrange the slices on a warmed platter, slightly overlapping, and drizzle with the reserved juices. Garnish with fresh rosemary sprigs and flaky sea salt for that final restaurant touch.
Notes
This smoked beef chuck roast has become my secret weapon for hosting — it looks like you spent a fortune at a butcher’s counter, but it’s really just patience, a few clever techniques, and a cut of meat that rewards you generously for the time you give it. I’d love to hear how yours turns out: did you serve it sliced for a grand presentation, or shred it for sandwiches the next day? Drop a comment below and let me know what worked in your kitchen. And if you’re looking for another show-stopping main to round out your menu, our Baked Ziti With Ground Beef makes a hearty, crowd-friendly sidekick.