Lemon Garlic Butter Chicken Thighs
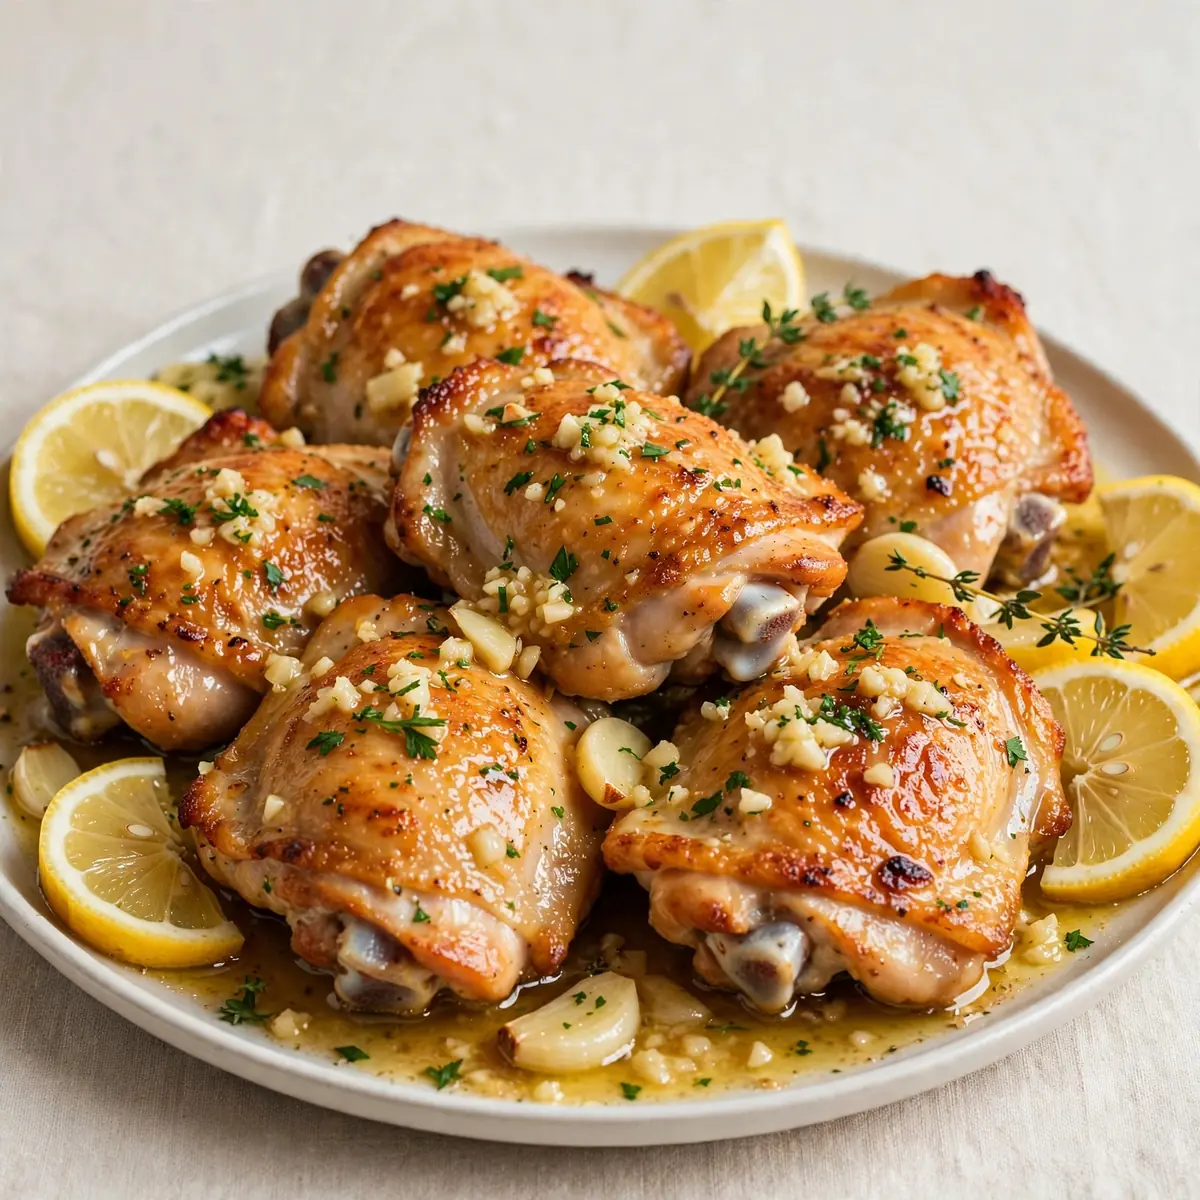
I remember the first time I made these Lemon Garlic Butter Chicken Thighs for a dinner party, I was aiming for something that felt special without chaining me to the stove all evening. After testing this recipe five times, I finally got it just right, and the key was learning to trust the sizzle and the colour of the pan sauce. This is the dish I turn to when I want to serve something that looks like it came from a restaurant kitchen, right down to the glossy, buttery spoonfuls over perfectly cooked chicken.
Recipe Overview
- Prep Time: 15 minutes
- Cook Time: 35 minutes
- Total Time: 50 minutes
- Servings: 4
- Difficulty: Medium
Why You’ll Love This Lemon Garlic Butter Chicken Thighs
- Restaurant-quality plating is achievable at home, thanks to a glossy, emulsified butter sauce that clings beautifully to each piece.
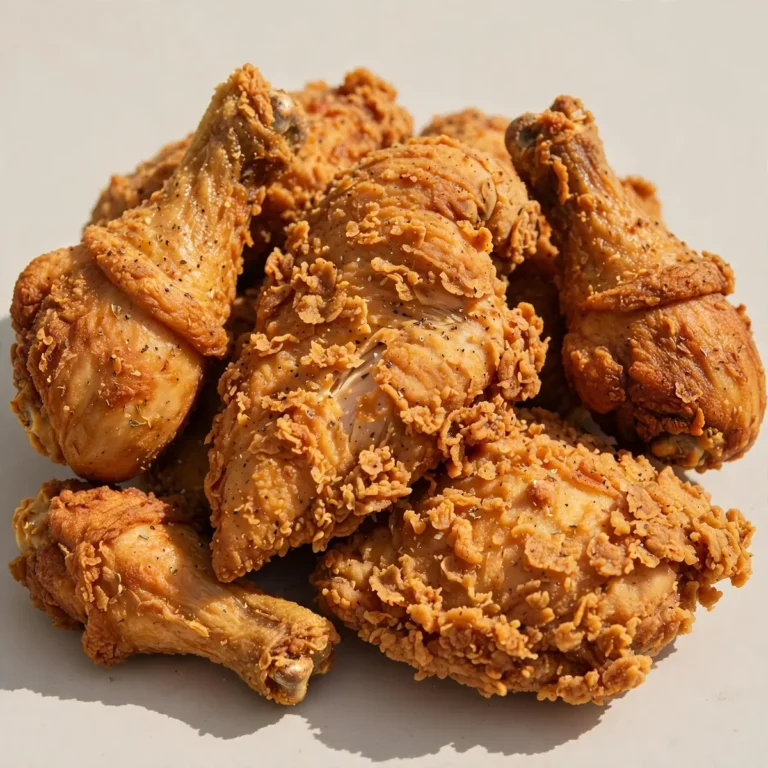
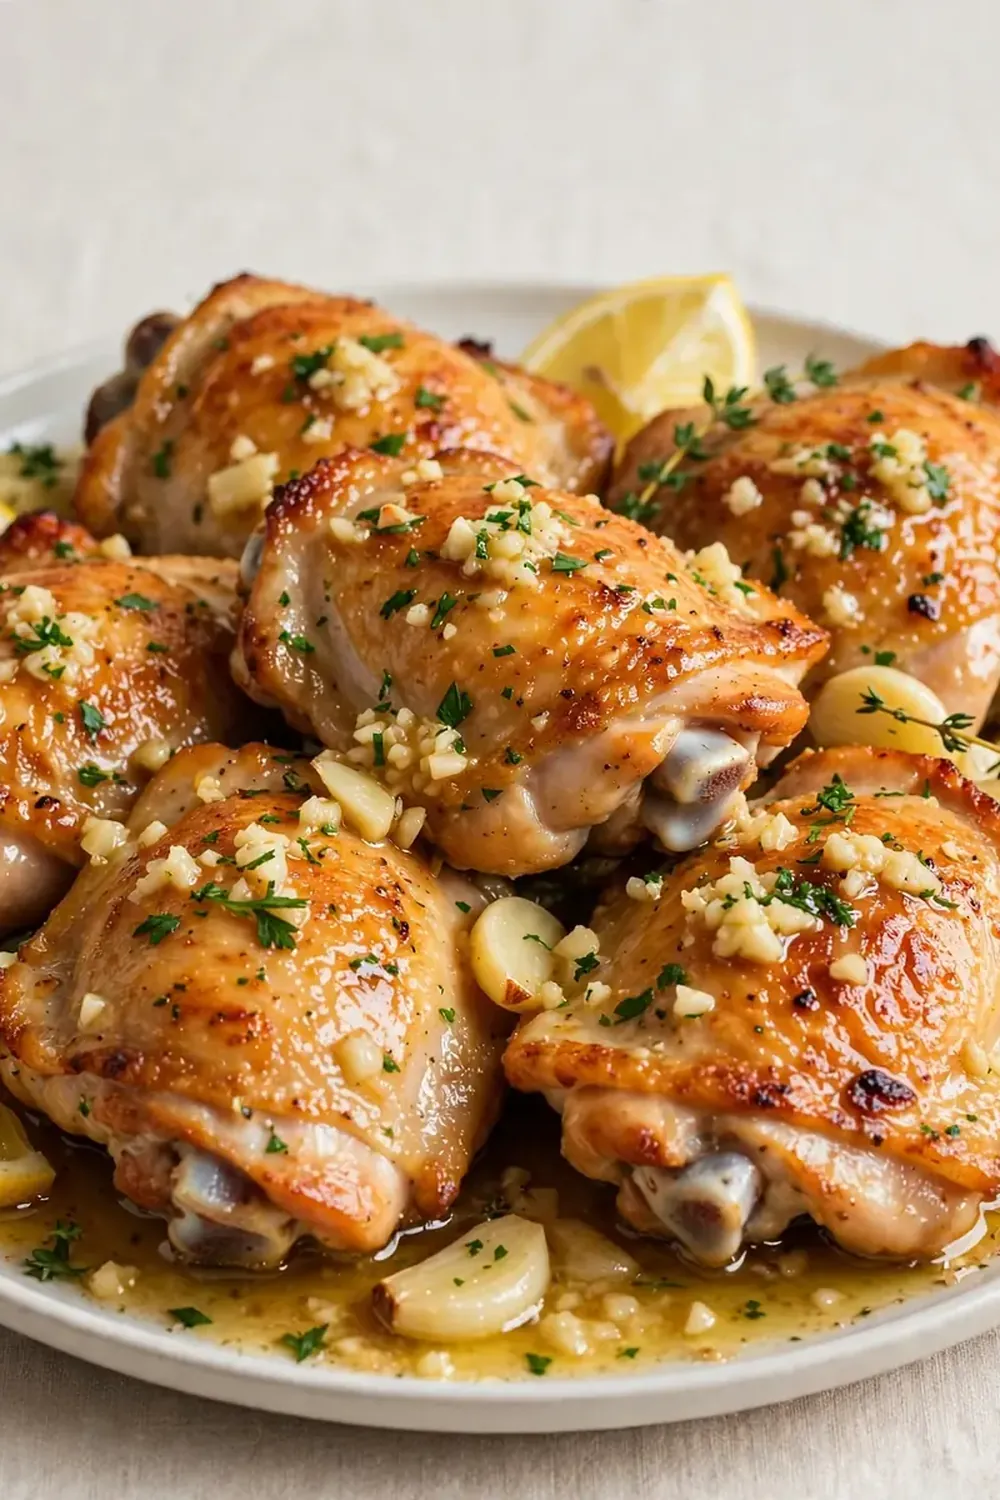
- The skin turns exceptionally crisp and golden, providing a satisfying textural contrast against the tender, juicy meat underneath.
- It relies on simple, everyday ingredients, yet the final flavour tastes layered and complex, which always impresses guests.
- The entire dish comes together in one pan, meaning less washing up and more time to focus on your side dishes and presentation.
- I’ve been making this for over 5 years, and it never disappoints; the technique is forgiving enough for a weeknight but polished enough for a celebration.
Ingredients You’ll Need
- 8 bone-in, skin-on chicken thighs (about 1.2 kg)
- 2 tablespoons olive oil
- 60 g unsalted butter
- 6 cloves garlic, thinly sliced
- 2 lemons, one juiced and one thinly sliced into rounds
- 250 ml chicken stock
- 1 tablespoon fresh thyme leaves
- 1 teaspoon sea salt
- ½ teaspoon black pepper
- 2 tablespoons fresh parsley, finely chopped (for garnish)
- Flaky sea salt, for finishing
Tip: For the best presentation, choose chicken thighs that are similar in size so they cook evenly and look uniform on the plate. The bone-in skin-on variety is non-negotiable here for flavour and that dramatic, crispy skin.
How to Make Lemon Garlic Butter Chicken Thighs
- Pat the chicken thighs thoroughly dry with kitchen paper. Season generously on both sides with the sea salt and black pepper. Let them sit at room temperature for 10 minutes — this helps the skin dry out further, which is the first secret to achieving that crackling crispiness.
- Heat the olive oil in a large frying pan or skillet over medium-high heat until it shimmers and you see the first wisp of smoke. Place the chicken thighs skin-side down in a single layer, being careful not to overcrowd the pan. You should hear an immediate, vigorous sizzle — that sound tells you the skin is searing correctly. Cook for 6–8 minutes, until the skin is a deep, burnished gold and releases easily from the pan.
- Flip the chicken thighs using tongs. The cooked side should be a rich amber colour with a few darker spots, which is exactly what we want for flavour. Cook for a further 4 minutes, then transfer the chicken to a plate. The pan will have a fond (those browned bits) stuck to the bottom — do not discard this, as it is pure flavour.
- Reduce the heat to medium-low and add the butter to the pan. Let it melt, then add the sliced garlic. Stir constantly for about 1 minute, until the garlic is fragrant and just beginning to turn a pale straw colour. The smell will shift from raw to sweet and nutty — this is your cue to move to the next step before the garlic burns.
- Pour in the chicken stock and the juice of one lemon. Using a wooden spoon, scrape up all the browned bits from the bottom of the pan. The liquid will start to bubble gently and reduce. Let it simmer for 2–3 minutes, until it has thickened slightly and looks glossy. You will see the bubbles become larger and slower, and the sauce will coat the back of a spoon.
- Return the chicken thighs to the pan, skin-side up, nestling them into the sauce. Add the lemon slices around the chicken, tucking them into the liquid. Sprinkle the fresh thyme leaves over everything. Bring the sauce to a gentle simmer, then cover the pan with a lid and cook for 15 minutes. The chicken should be cooked through, with the internal temperature reaching 75°C, and the sauce will have reduced to a rich, buttery consistency.
- Remove the lid and increase the heat to medium-high for the final 2 minutes. Spoon the hot butter sauce over the chicken thighs repeatedly to glaze the skin. The skin will become sticky and shiny, and the sauce will emulsify further. The chicken is ready when the sauce clings to the meat and the skin looks lacquered.
- Let the chicken rest in the pan off the heat for 5 minutes. This allows the juices to redistribute, ensuring each thigh is succulent when you cut into it. Sprinkle with the fresh parsley and a pinch of flaky sea salt just before serving.
Tips From My Kitchen
- Dry the skin meticulously: Moisture is the enemy of crispy skin. After patting the chicken dry with paper towels, leave it uncovered in the fridge for an hour if you have time. This air-dries the surface even further, guaranteeing a shatteringly crisp result that holds up under the sauce.
- Use a heavy-bottomed pan: A cast-iron skillet or a stainless-steel pan with a thick base distributes heat evenly and holds temperature well. This prevents hot spots that can burn the butter sauce or leave the chicken undercooked in places. A flimsy pan will lead to uneven browning and a broken sauce.
- Do not move the chicken too early: When you first place the chicken skin-side down, resist the urge to peek or shift it for at least 5 minutes. The skin needs uninterrupted contact with the hot pan to develop that deep, golden crust. If you try to lift it and it sticks, it is not ready — wait another minute and try again.
- Slice your garlic thinly, not minced: Thin slices of garlic infuse the butter sauce with a gentle sweetness and look far more elegant on the plate than minced garlic, which can burn quickly and turn bitter. The slices also become tender and almost confit-like in the butter, adding a lovely soft texture to the dish.
- Finish with flaky sea salt: A light sprinkle of flaky sea salt over the finished dish right before serving does more than just season — it adds a delicate crunch and a burst of salinity that contrasts with the rich, buttery sauce. This small touch elevates the presentation from home-cooked to restaurant-worthy.
Equipment You’ll Need
- Large frying pan or skillet (preferably cast-iron or stainless steel)
- Sharp knife and cutting board
- Mixing bowls
- Wooden spoon or spatula
- Tongs for flipping the chicken
- Kitchen paper for drying the chicken
Common Mistakes to Avoid
- Overcrowding the pan: If you cram all the chicken thighs into the pan at once, they will steam rather than sear. The skin will turn pale and rubbery, and you will lose that essential golden crust. Cook in batches if necessary, or use a larger pan. The chicken needs space for the heat to circulate properly.
- Wrong temperature: Cooking the chicken over too low a heat will render the fat slowly, resulting in greasy, soft skin. Over high heat, the butter will burn before the chicken is cooked through. The ideal is a steady medium-high heat for searing, then a gentle simmer for the braising stage. Watch the butter carefully when you add the garlic — if it starts to smoke, the heat is too high.
- Skipping the rest time: Cutting into the chicken immediately after cooking is the quickest way to a dry meal. The juices need those 5 minutes off the heat to redistribute throughout the meat. If you skip this step, you will see a pool of liquid run out onto the board, leaving the chicken less succulent. Patience here is rewarded with every juicy bite.
Delicious Variations to Try
- Spicy Version: Add ½ teaspoon of red chilli flakes along with the garlic, and finish the sauce with a drizzle of chilli oil before serving. The heat cuts through the richness of the butter beautifully and adds a vibrant colour contrast to the plate.
- Vegetarian/Vegan Option: Use large, meaty portobello mushrooms or thick slabs of cauliflower in place of the chicken. Sear them well in oil, then proceed with the same butter garlic sauce using a good-quality vegetable stock. The mushrooms will absorb all the lemony, buttery flavours beautifully.
- Different Protein: Boneless, skinless chicken thighs or breasts work well, though the cooking time will be shorter. You can also use turkey thighs, which have a similar richness, or even firm white fish fillets like cod or halibut — just reduce the braising time to 8–10 minutes.
What to Serve With Lemon Garlic Butter Chicken Thighs
- Fluffy mashed potatoes or creamy polenta to soak up the extra sauce
- A crisp green salad with a sharp vinaigrette to balance the richness
- Steamed green beans or tenderstem broccoli, lightly seasoned
- Crispy Oven Roasted Potatoes Side — the crunchy edges and fluffy centres are a perfect match for the buttery sauce
- A side of warm crusty bread for mopping up every last drop
Still hungry for ideas? You might also love Quick Easy Homemade Butter Chicken, Garlic Butter Chicken Alfredo Shells from our sister kitchens.
Frequently Asked Questions
Lemon Garlic Butter Chicken Thighs
Ingredients
Method
- Pat the chicken thighs thoroughly dry with kitchen paper. Season generously on both sides with the sea salt and black pepper. Let them sit at room temperature for 10 minutes — this helps the skin dry out further, which is the first secret to achieving that crackling crispiness.
- Heat the olive oil in a large frying pan or skillet over medium-high heat until it shimmers and you see the first wisp of smoke. Place the chicken thighs skin-side down in a single layer, being careful not to overcrowd the pan. You should hear an immediate, vigorous sizzle — that sound tells you the skin is searing correctly. Cook for 6–8 minutes, until the skin is a deep, burnished gold and releases easily from the pan.
- Flip the chicken thighs using tongs. The cooked side should be a rich amber colour with a few darker spots, which is exactly what we want for flavour. Cook for a further 4 minutes, then transfer the chicken to a plate. The pan will have a fond (those browned bits) stuck to the bottom — do not discard this, as it is pure flavour.
- Reduce the heat to medium-low and add the butter to the pan. Let it melt, then add the sliced garlic. Stir constantly for about 1 minute, until the garlic is fragrant and just beginning to turn a pale straw colour. The smell will shift from raw to sweet and nutty — this is your cue to move to the next step before the garlic burns.
- Pour in the chicken stock and the juice of one lemon. Using a wooden spoon, scrape up all the browned bits from the bottom of the pan. The liquid will start to bubble gently and reduce. Let it simmer for 2–3 minutes, until it has thickened slightly and looks glossy. You will see the bubbles become larger and slower, and the sauce will coat the back of a spoon.
- Return the chicken thighs to the pan, skin-side up, nestling them into the sauce. Add the lemon slices around the chicken, tucking them into the liquid. Sprinkle the fresh thyme leaves over everything. Bring the sauce to a gentle simmer, then cover the pan with a lid and cook for 15 minutes. The chicken should be cooked through, with the internal temperature reaching 75°C, and the sauce will have reduced to a rich, buttery consistency.
- Remove the lid and increase the heat to medium-high for the final 2 minutes. Spoon the hot butter sauce over the chicken thighs repeatedly to glaze the skin. The skin will become sticky and shiny, and the sauce will emulsify further. The chicken is ready when the sauce clings to the meat and the skin looks lacquered.
- Let the chicken rest in the pan off the heat for 5 minutes. This allows the juices to redistribute, ensuring each thigh is succulent when you cut into it. Sprinkle with the fresh parsley and a pinch of flaky sea salt just before serving.
Notes
I hope this recipe becomes a favourite in your home, just as it has in mine. If you give it a go, I would love to hear how you plate it up and what side dishes you chose to accompany it. For another simple yet impressive dinner, you might also enjoy our Cheesy Beef Enchiladas Dinner, or if you are after something lighter, a Tuna Sandwiches With Halal Mayo makes for a lovely lunch. Please leave a comment below and share your own tips — there is always something new to learn in the kitchen.